All Photographs by David Lilly
Mactaquac Provincial Park (often pronounced or phonetically spelled similarly to the way it is spelled. It is located just a short drive outside of Fredericton along the scenic Saint John River. Covering over 1,300 acres, it is a premier destination for birdwatchers due to its rich mixture of habitats and accessible trails.
Here is why it is such a fantastic place for birding:
1. Diverse Habitats in One Place
The park features a diverse blend of ecosystems that attract many different types of birds:
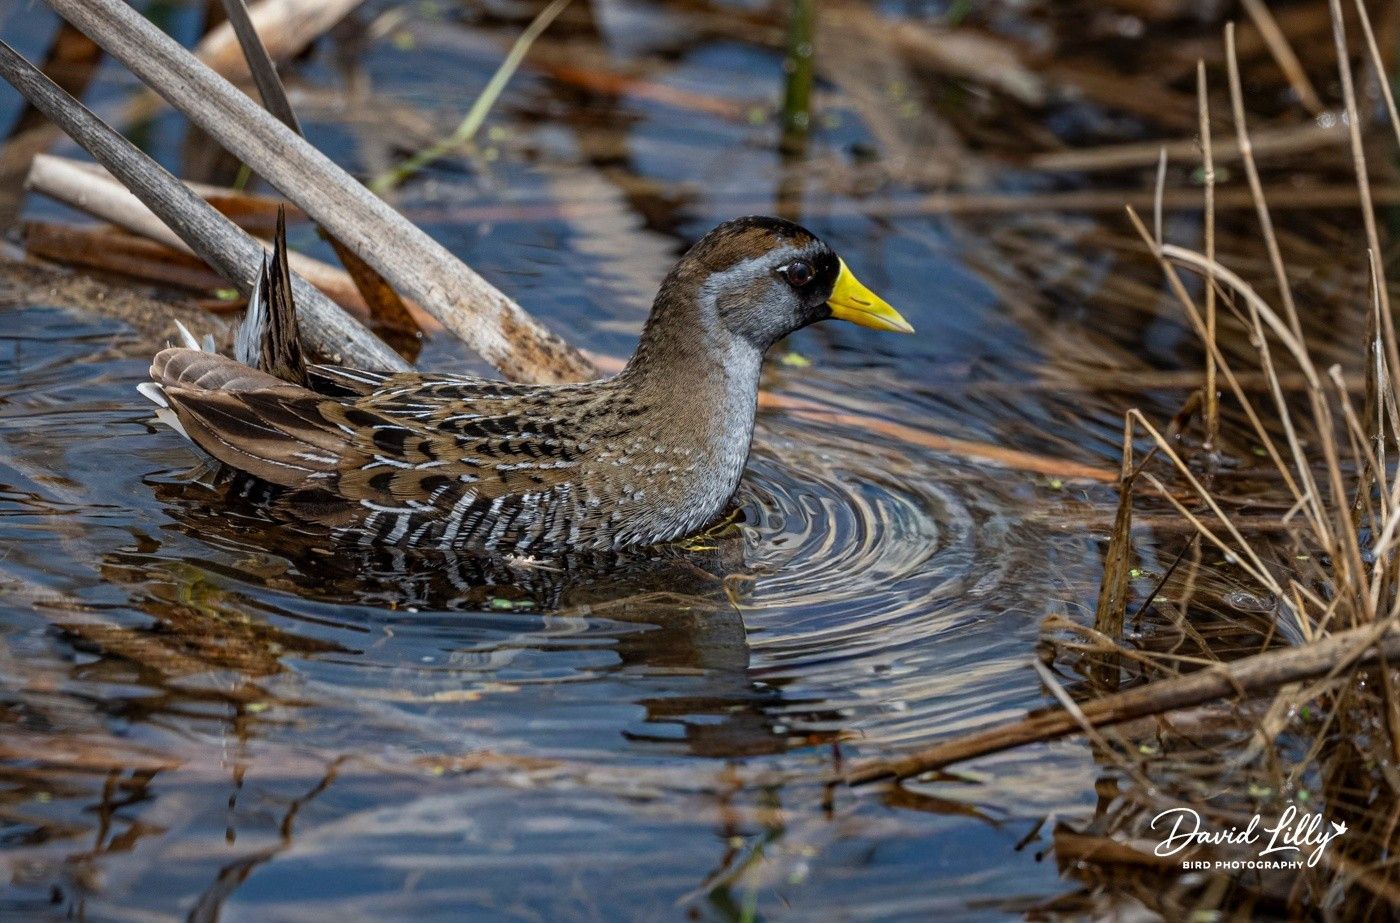
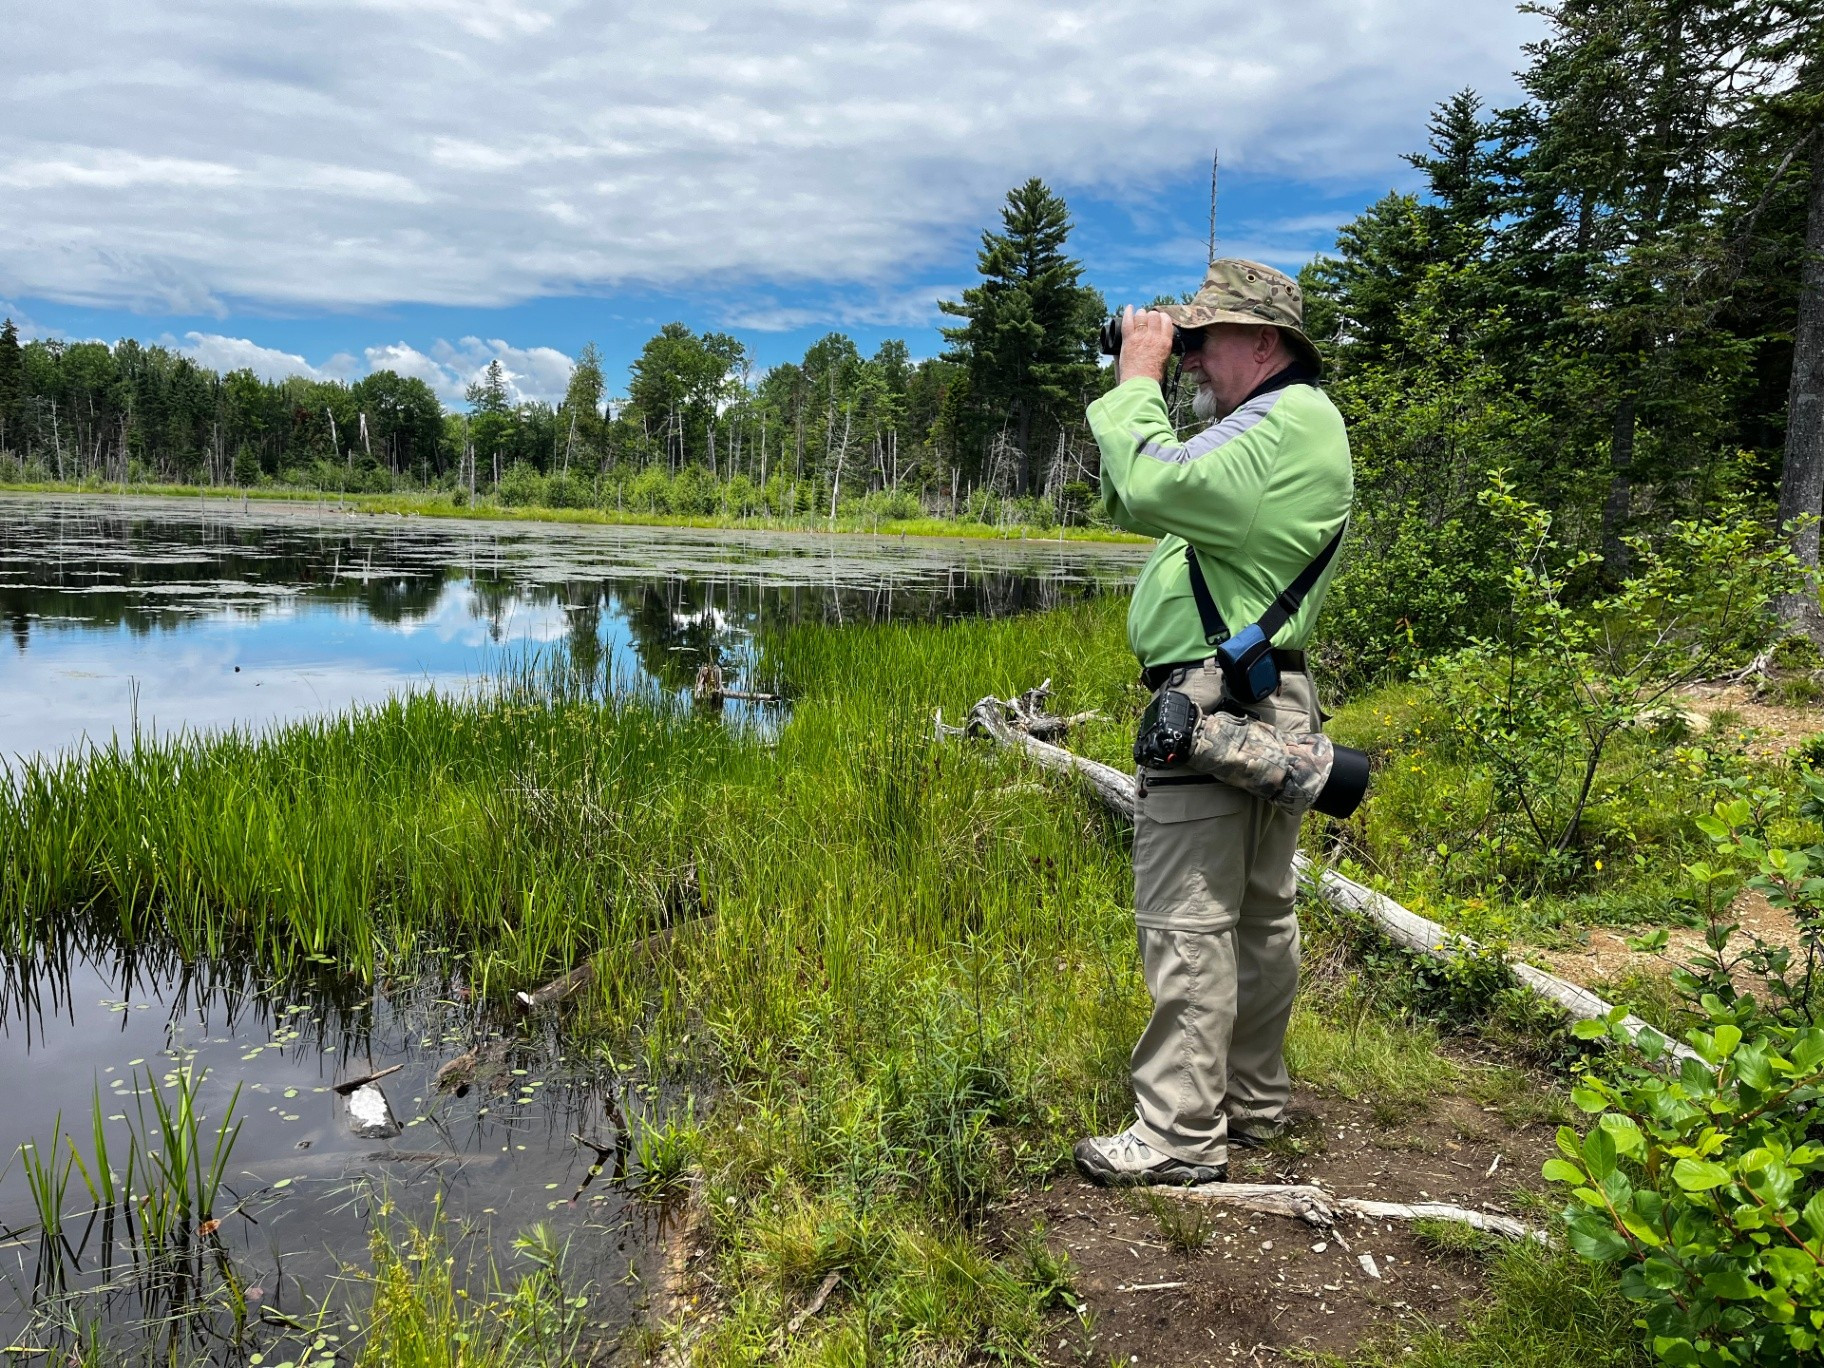
The Beaver Pond Nature Reserve: A tranquil wetland environment featuring a 1.3-km level trail, a boardwalk, and duck nesting boxes. It is the perfect place to spot waterfowl and swamp-dwelling species.
Expansive Woodlands: Mature mixed forests and pine strands provide shelter and food for a wide variety of songbirds and forest-dwelling species year-round.
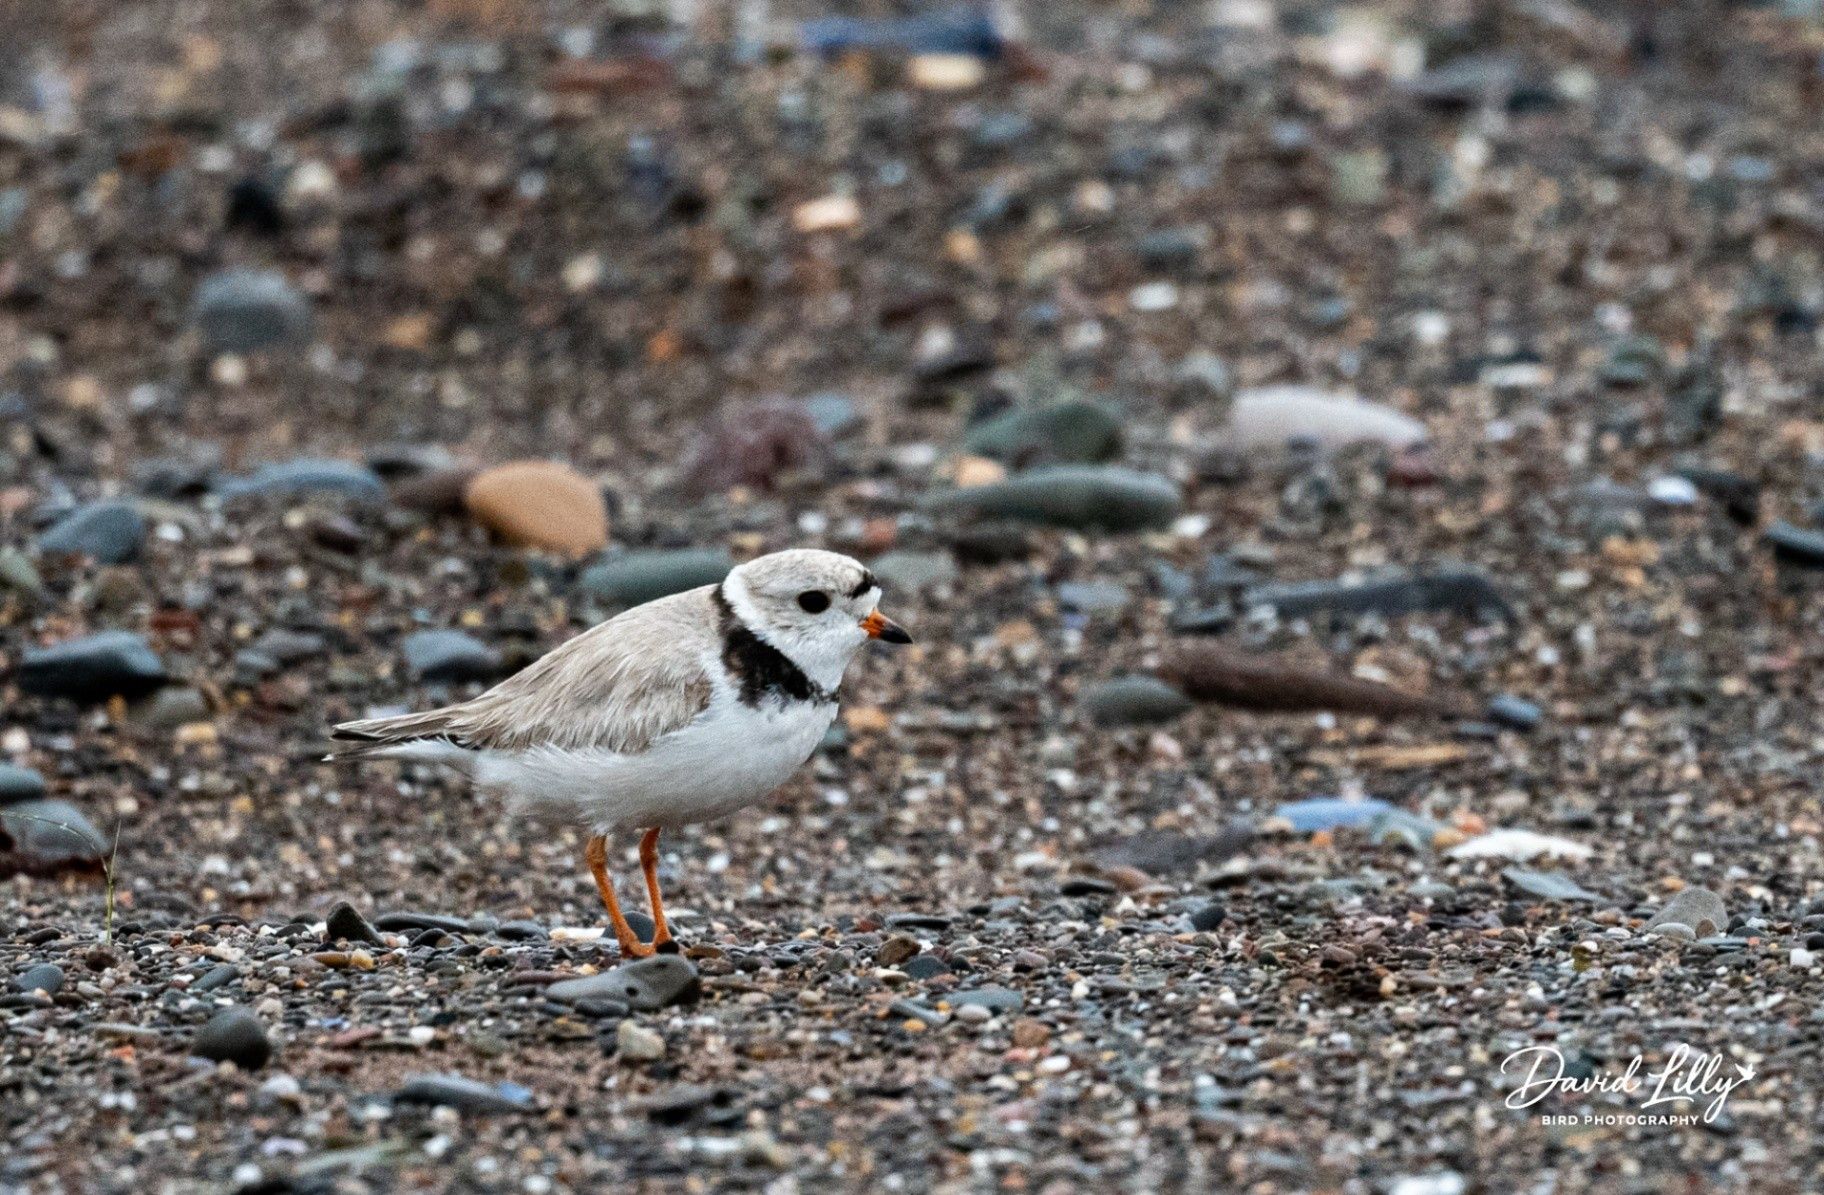
The Saint John River Shoreline: The open water and riverside access attract diving birds, shorebirds, and large raptors.
2. Incredible Bird Diversity
Depending on the season, you can find a massive variety of birds thriving here:
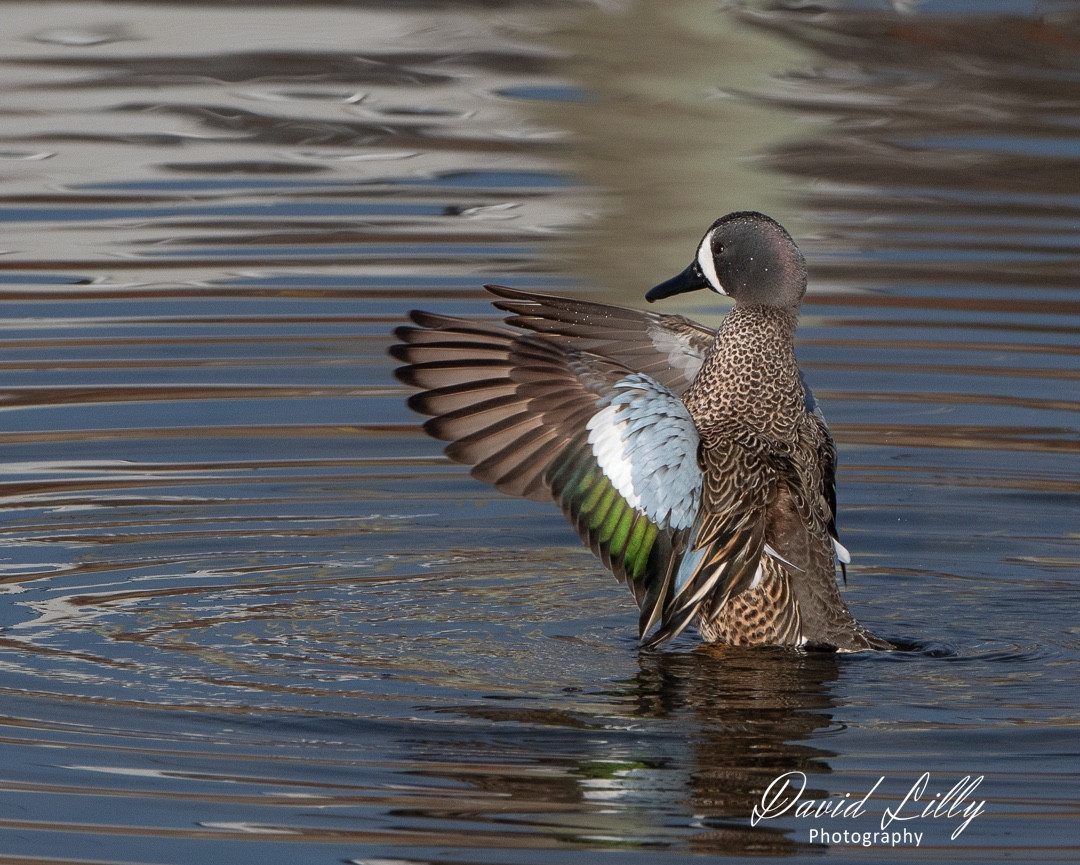
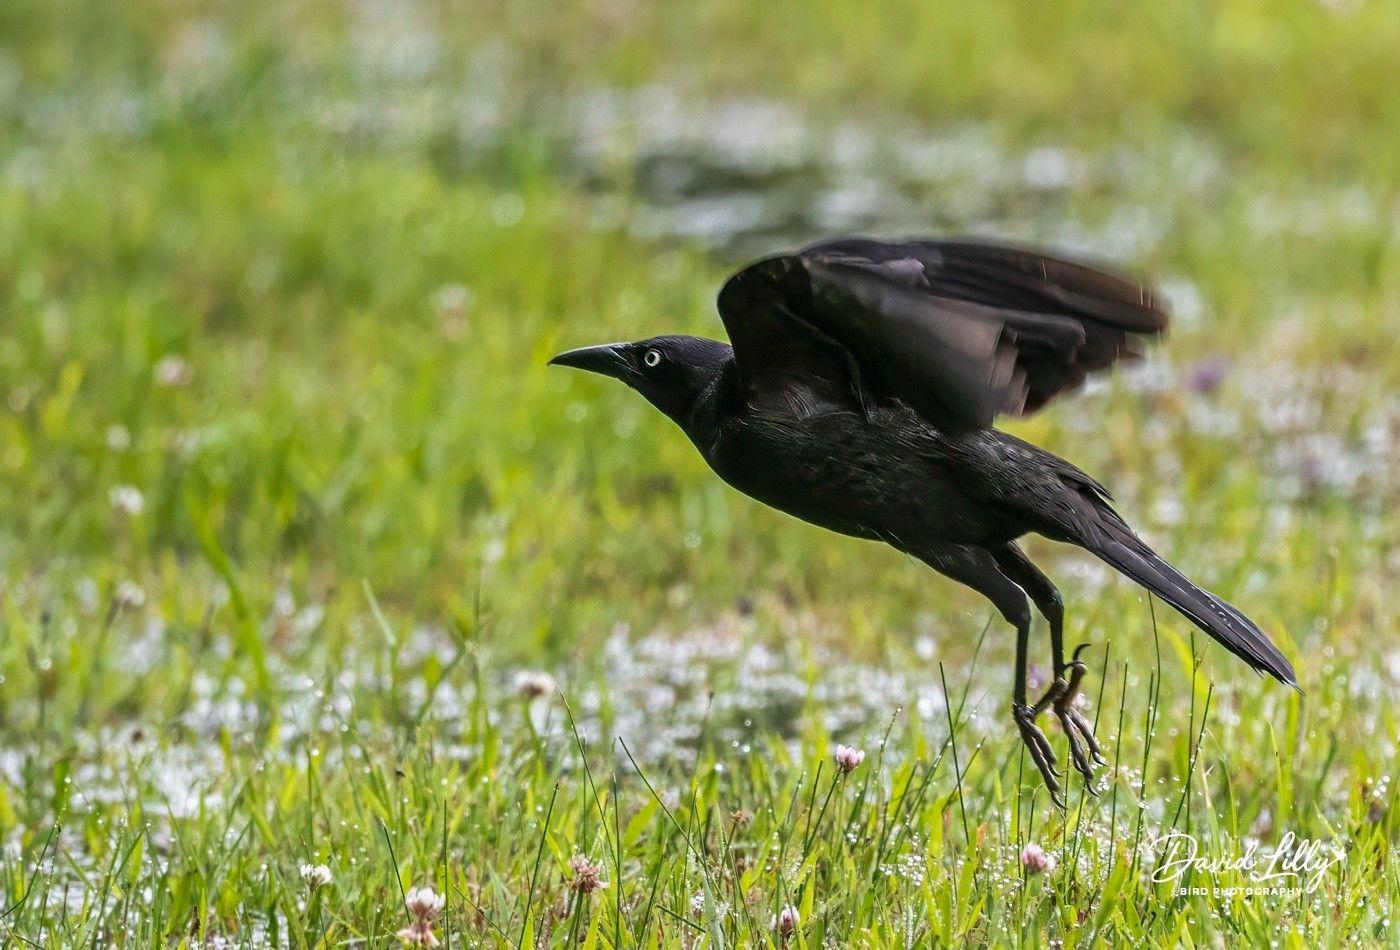
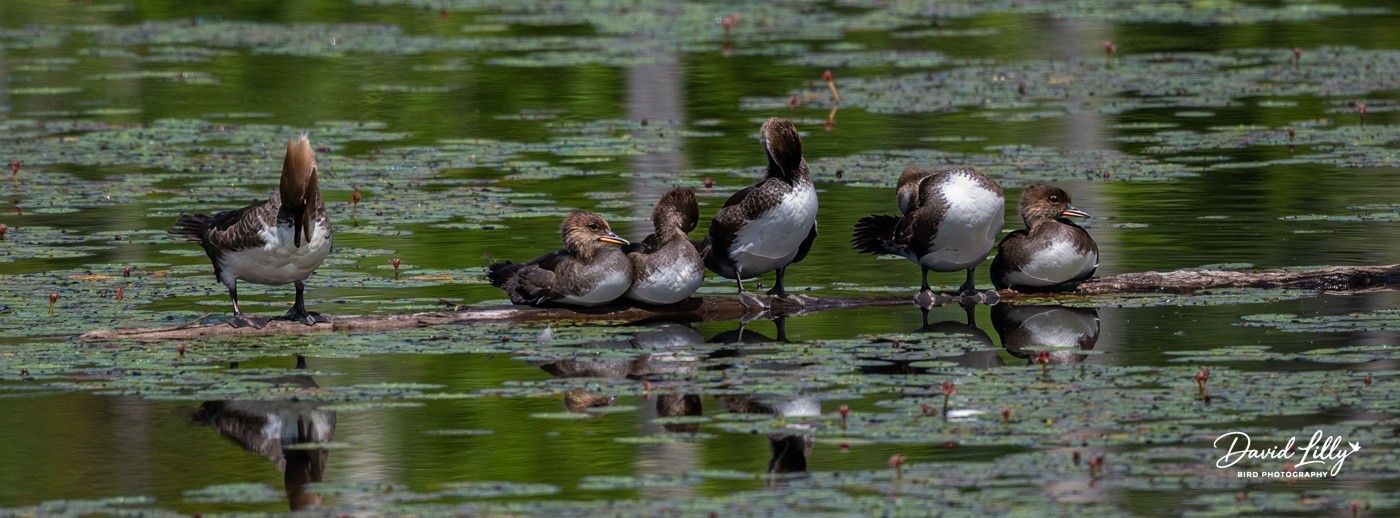
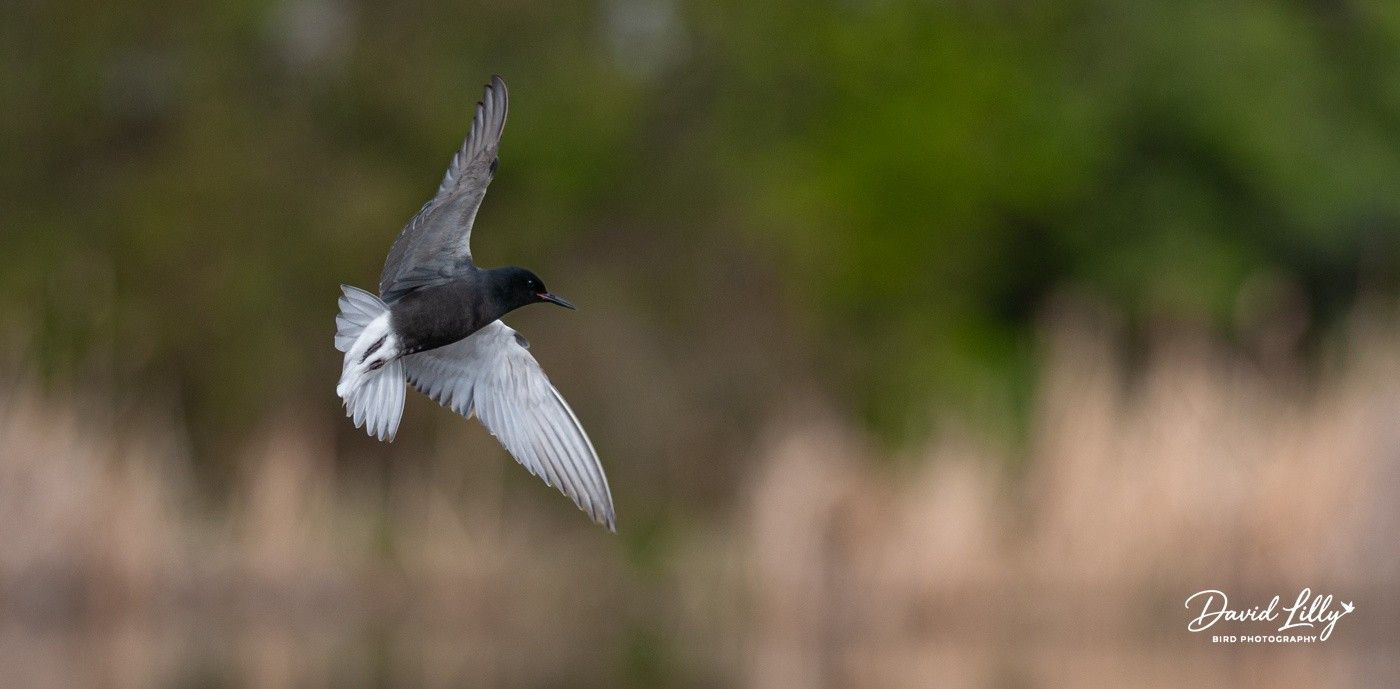
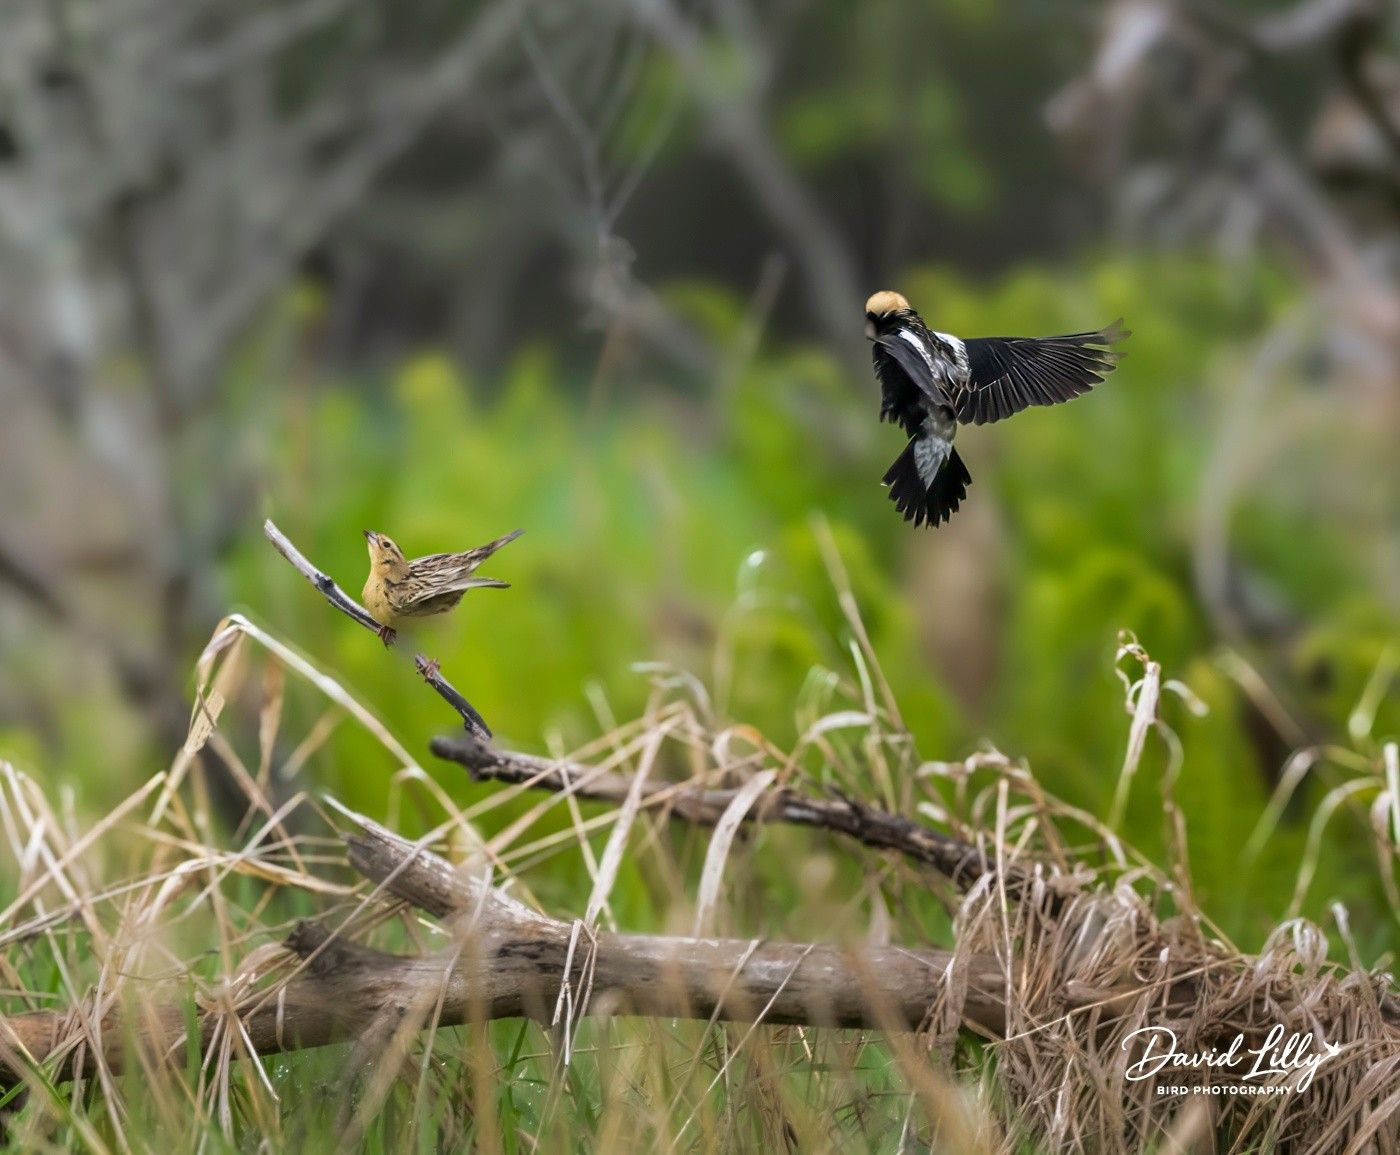
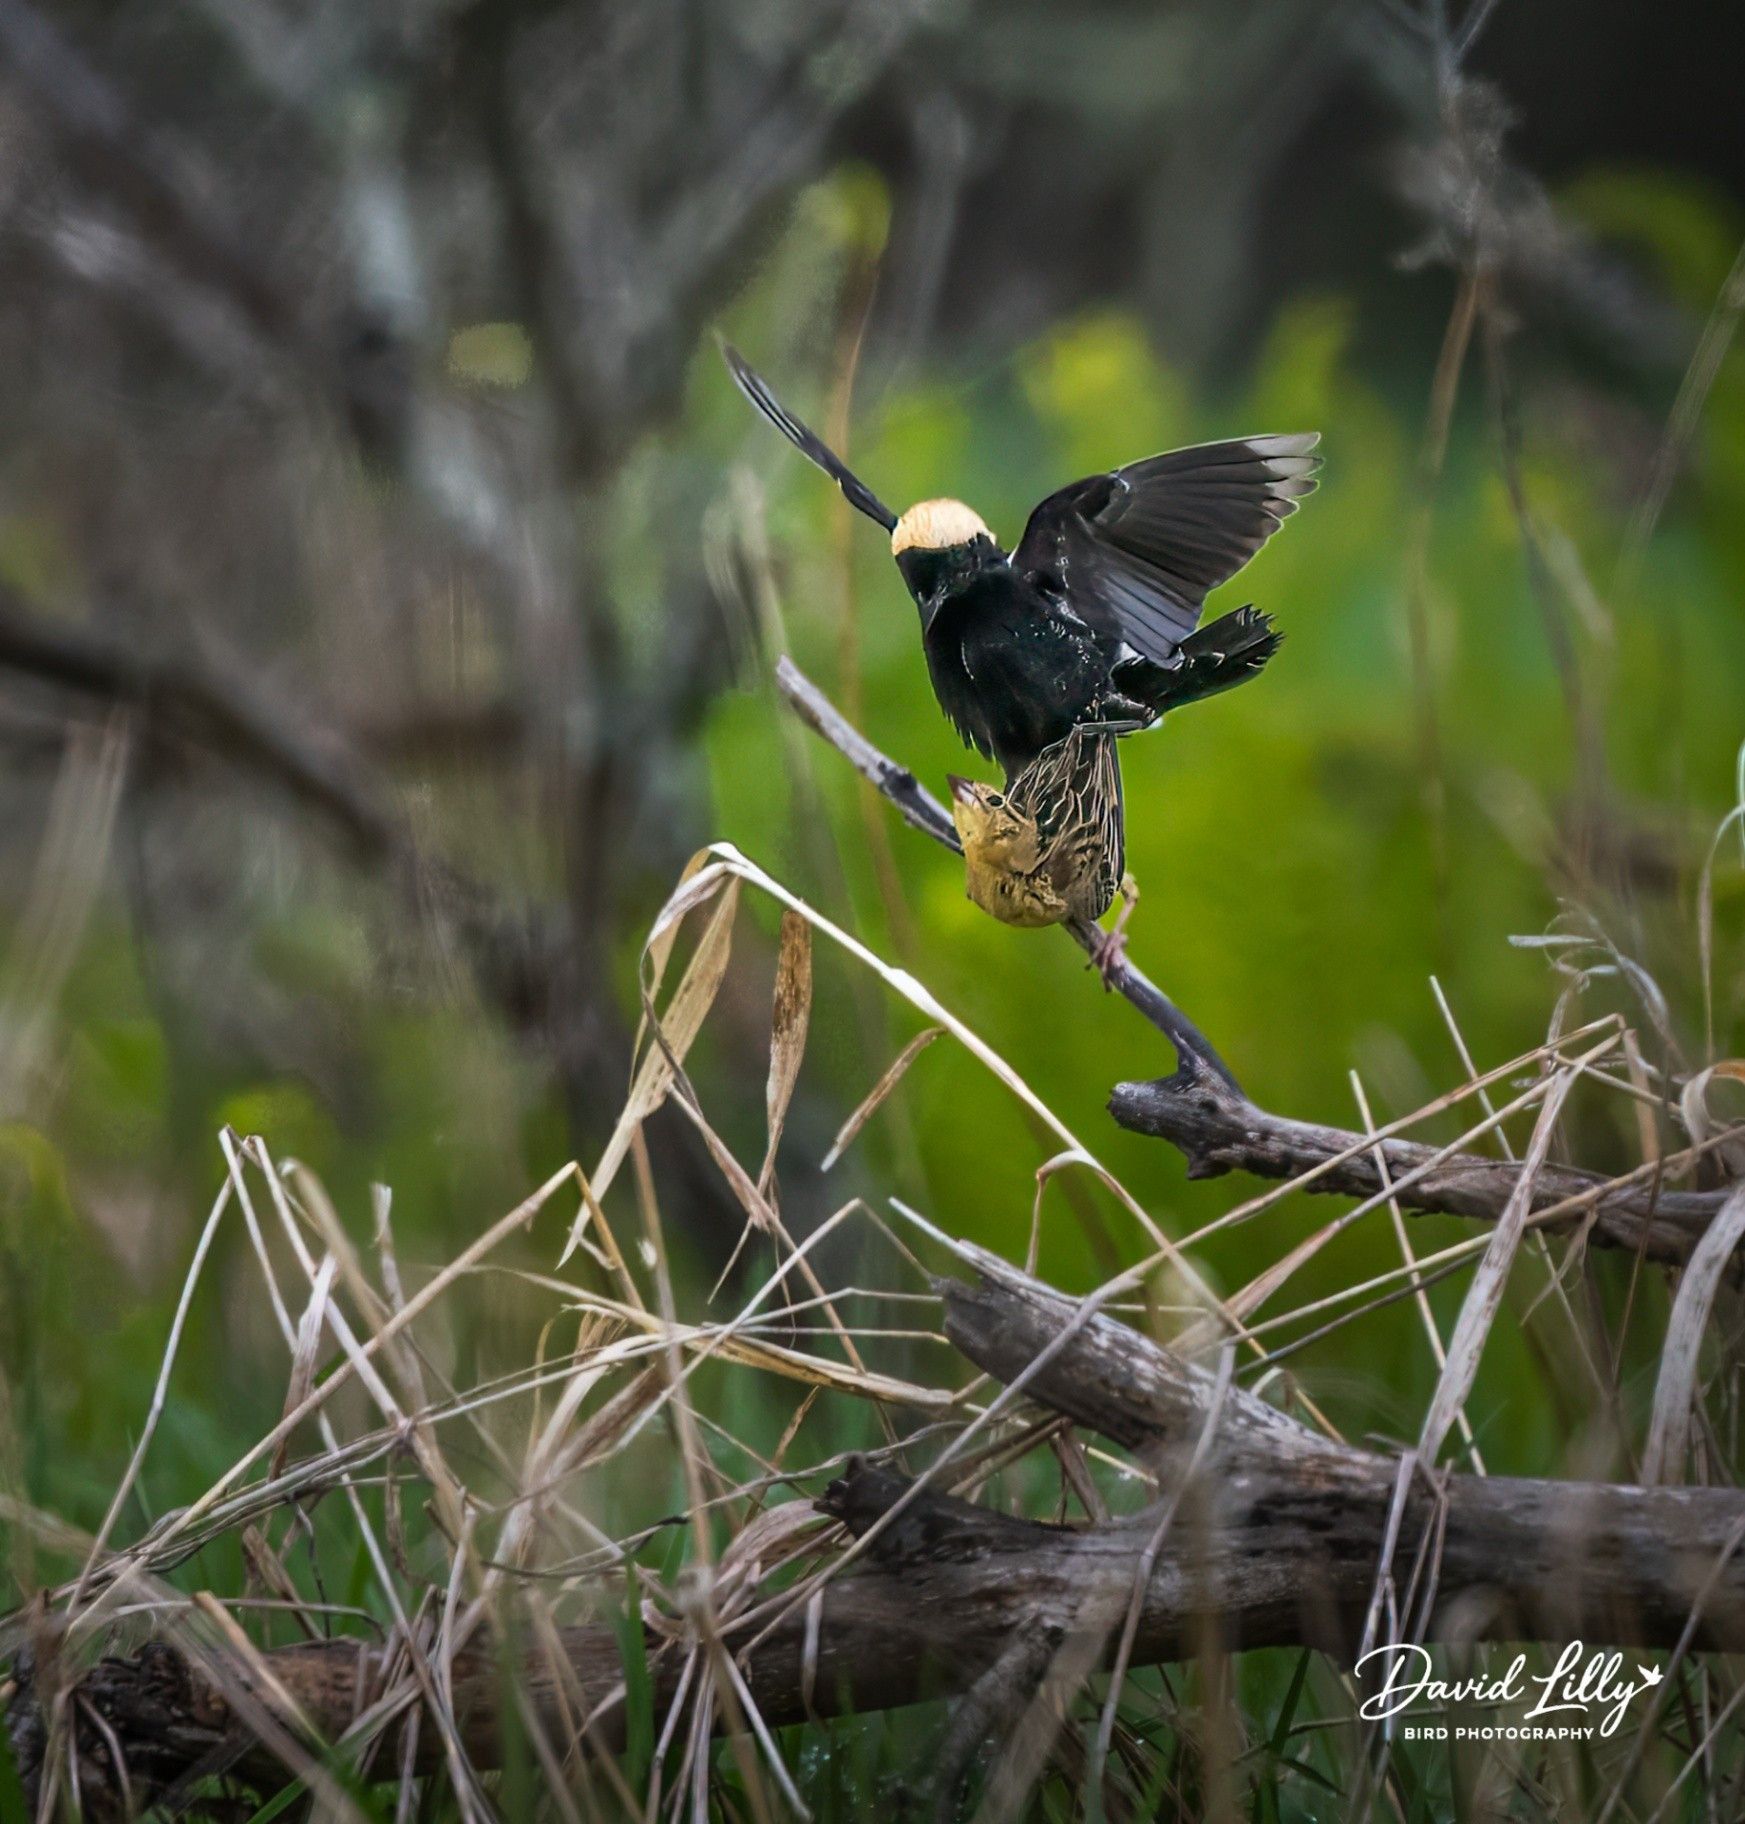
Waterfowl: Look for Wood Ducks, Mallards, Lesser Scaups, and Common Mergansers swimming in the ponds or near the river. My wife and I recorded 15 species of birds.
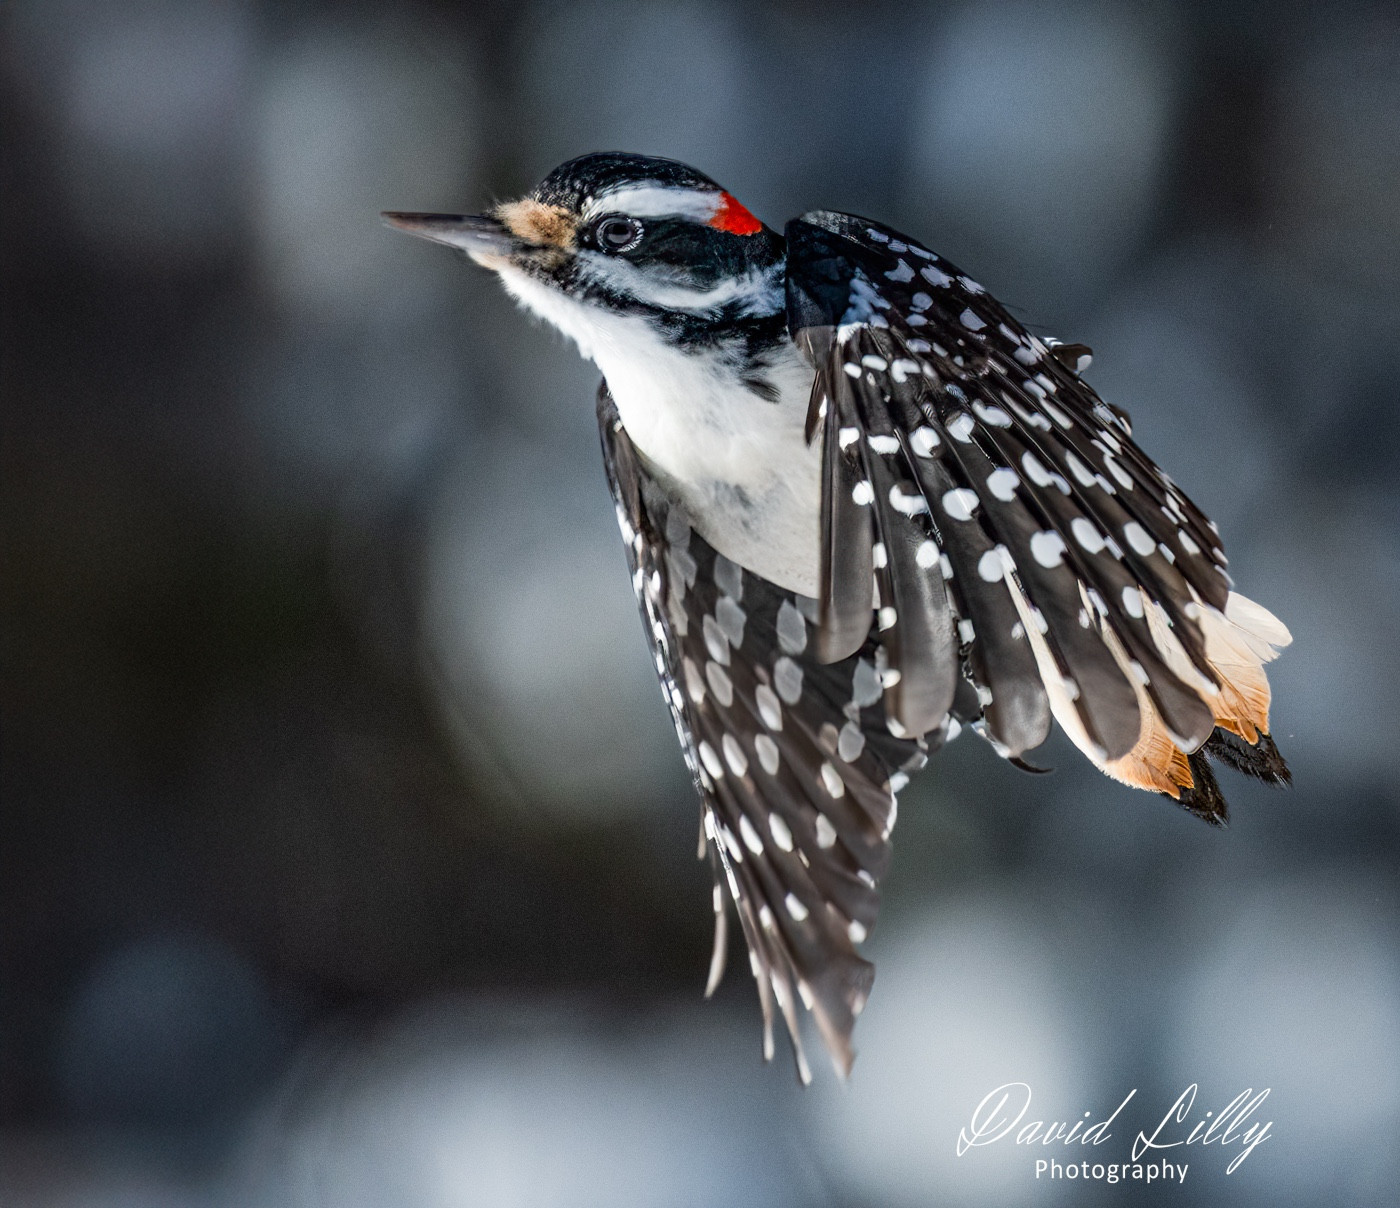
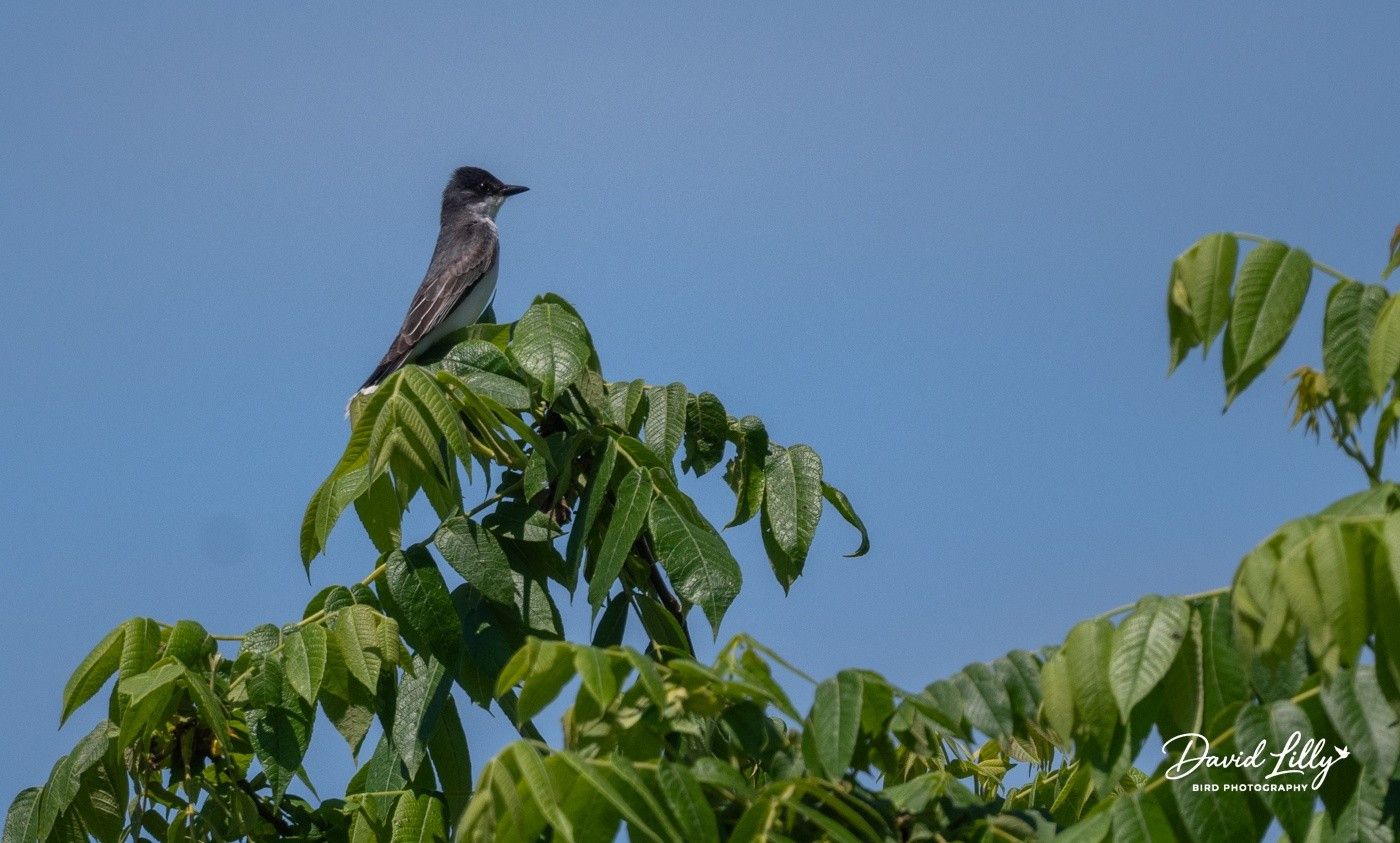
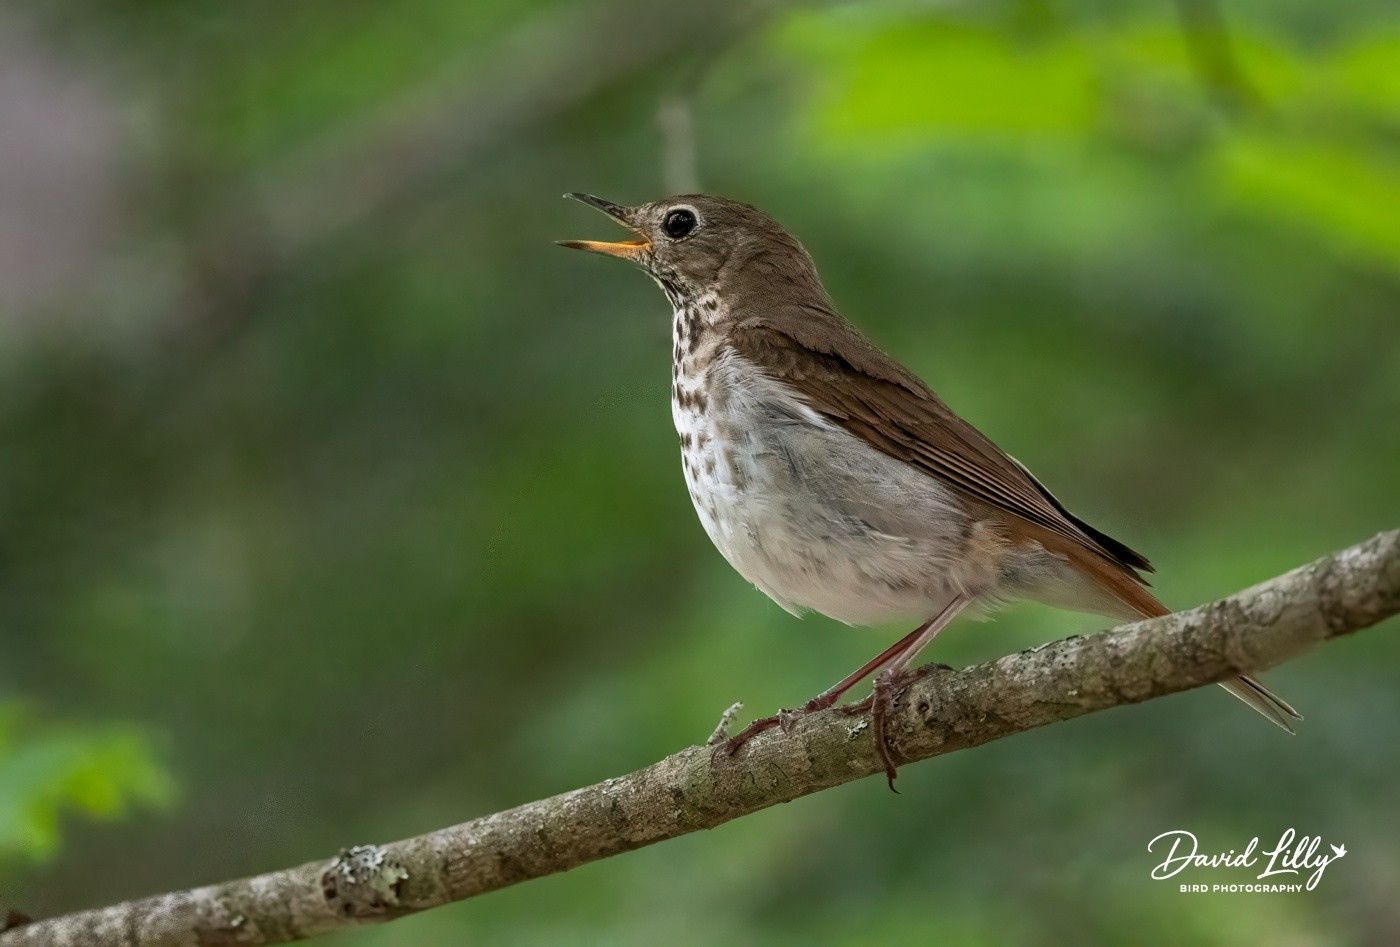
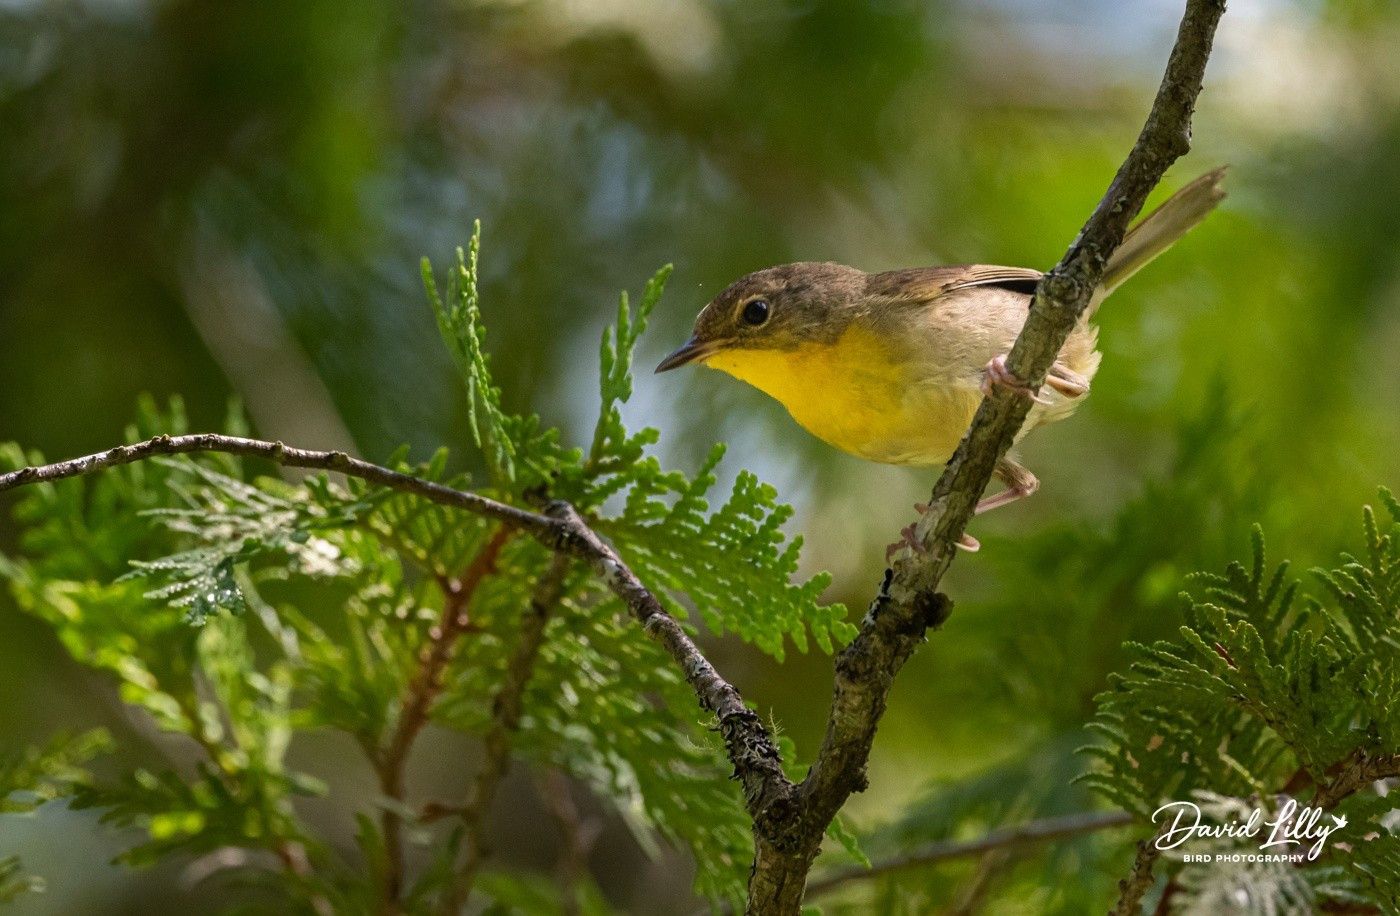
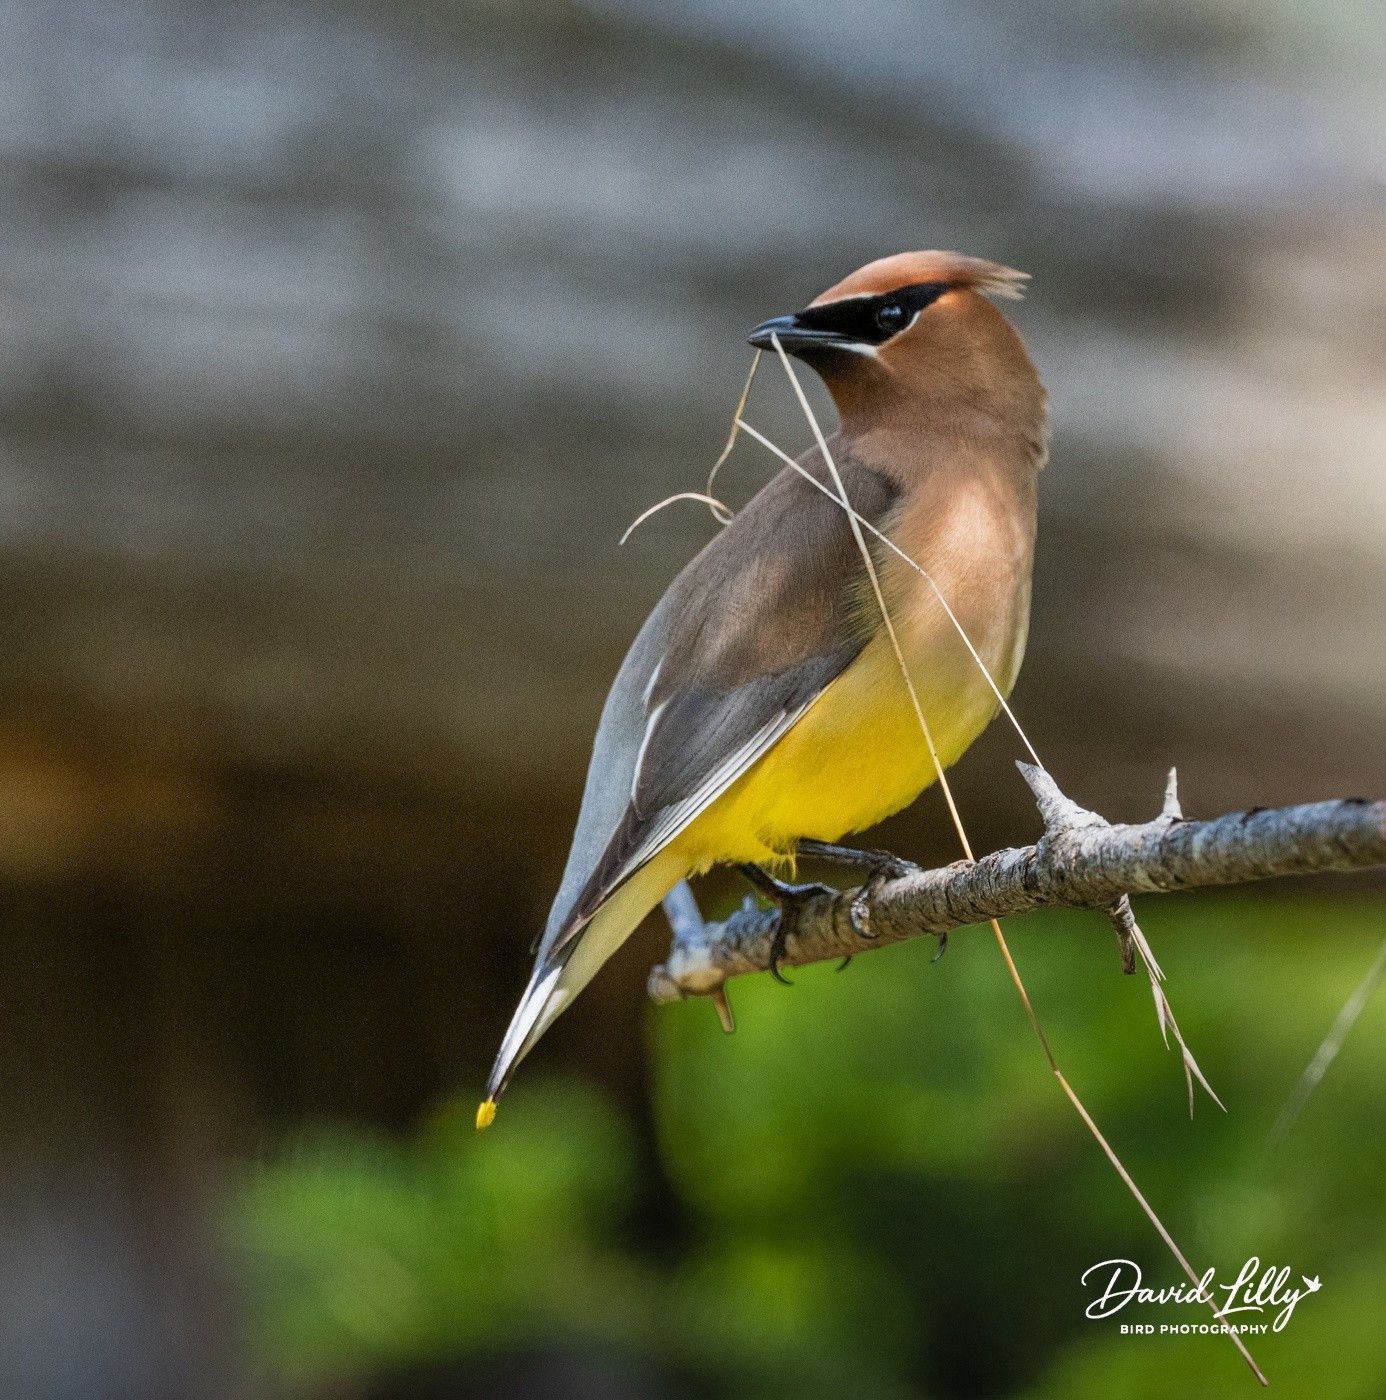
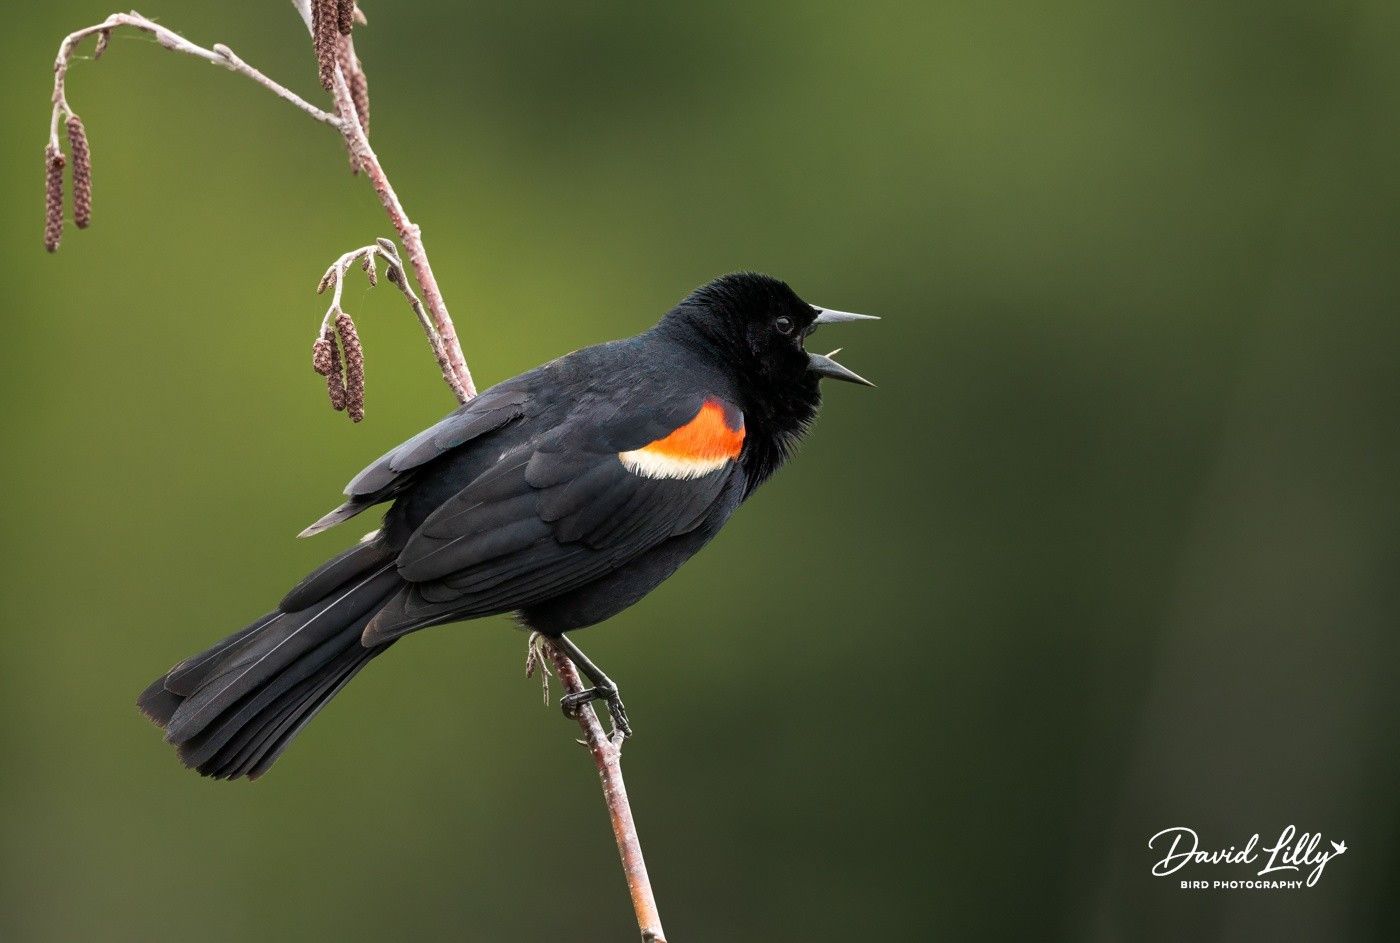
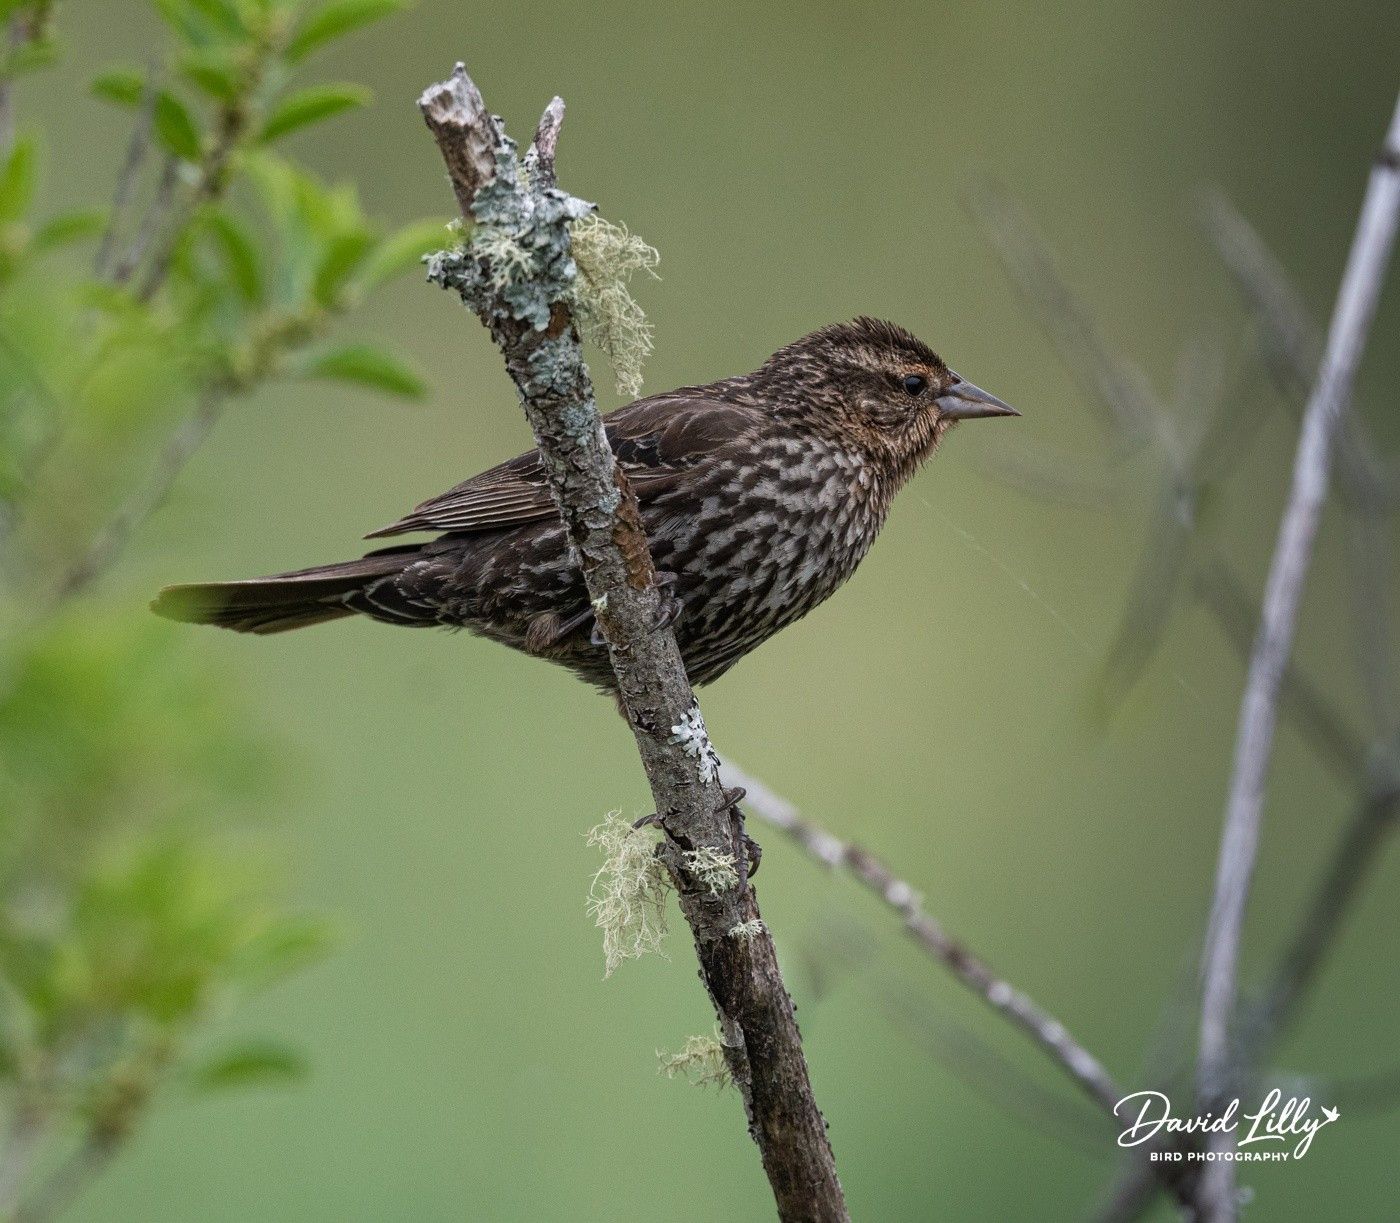
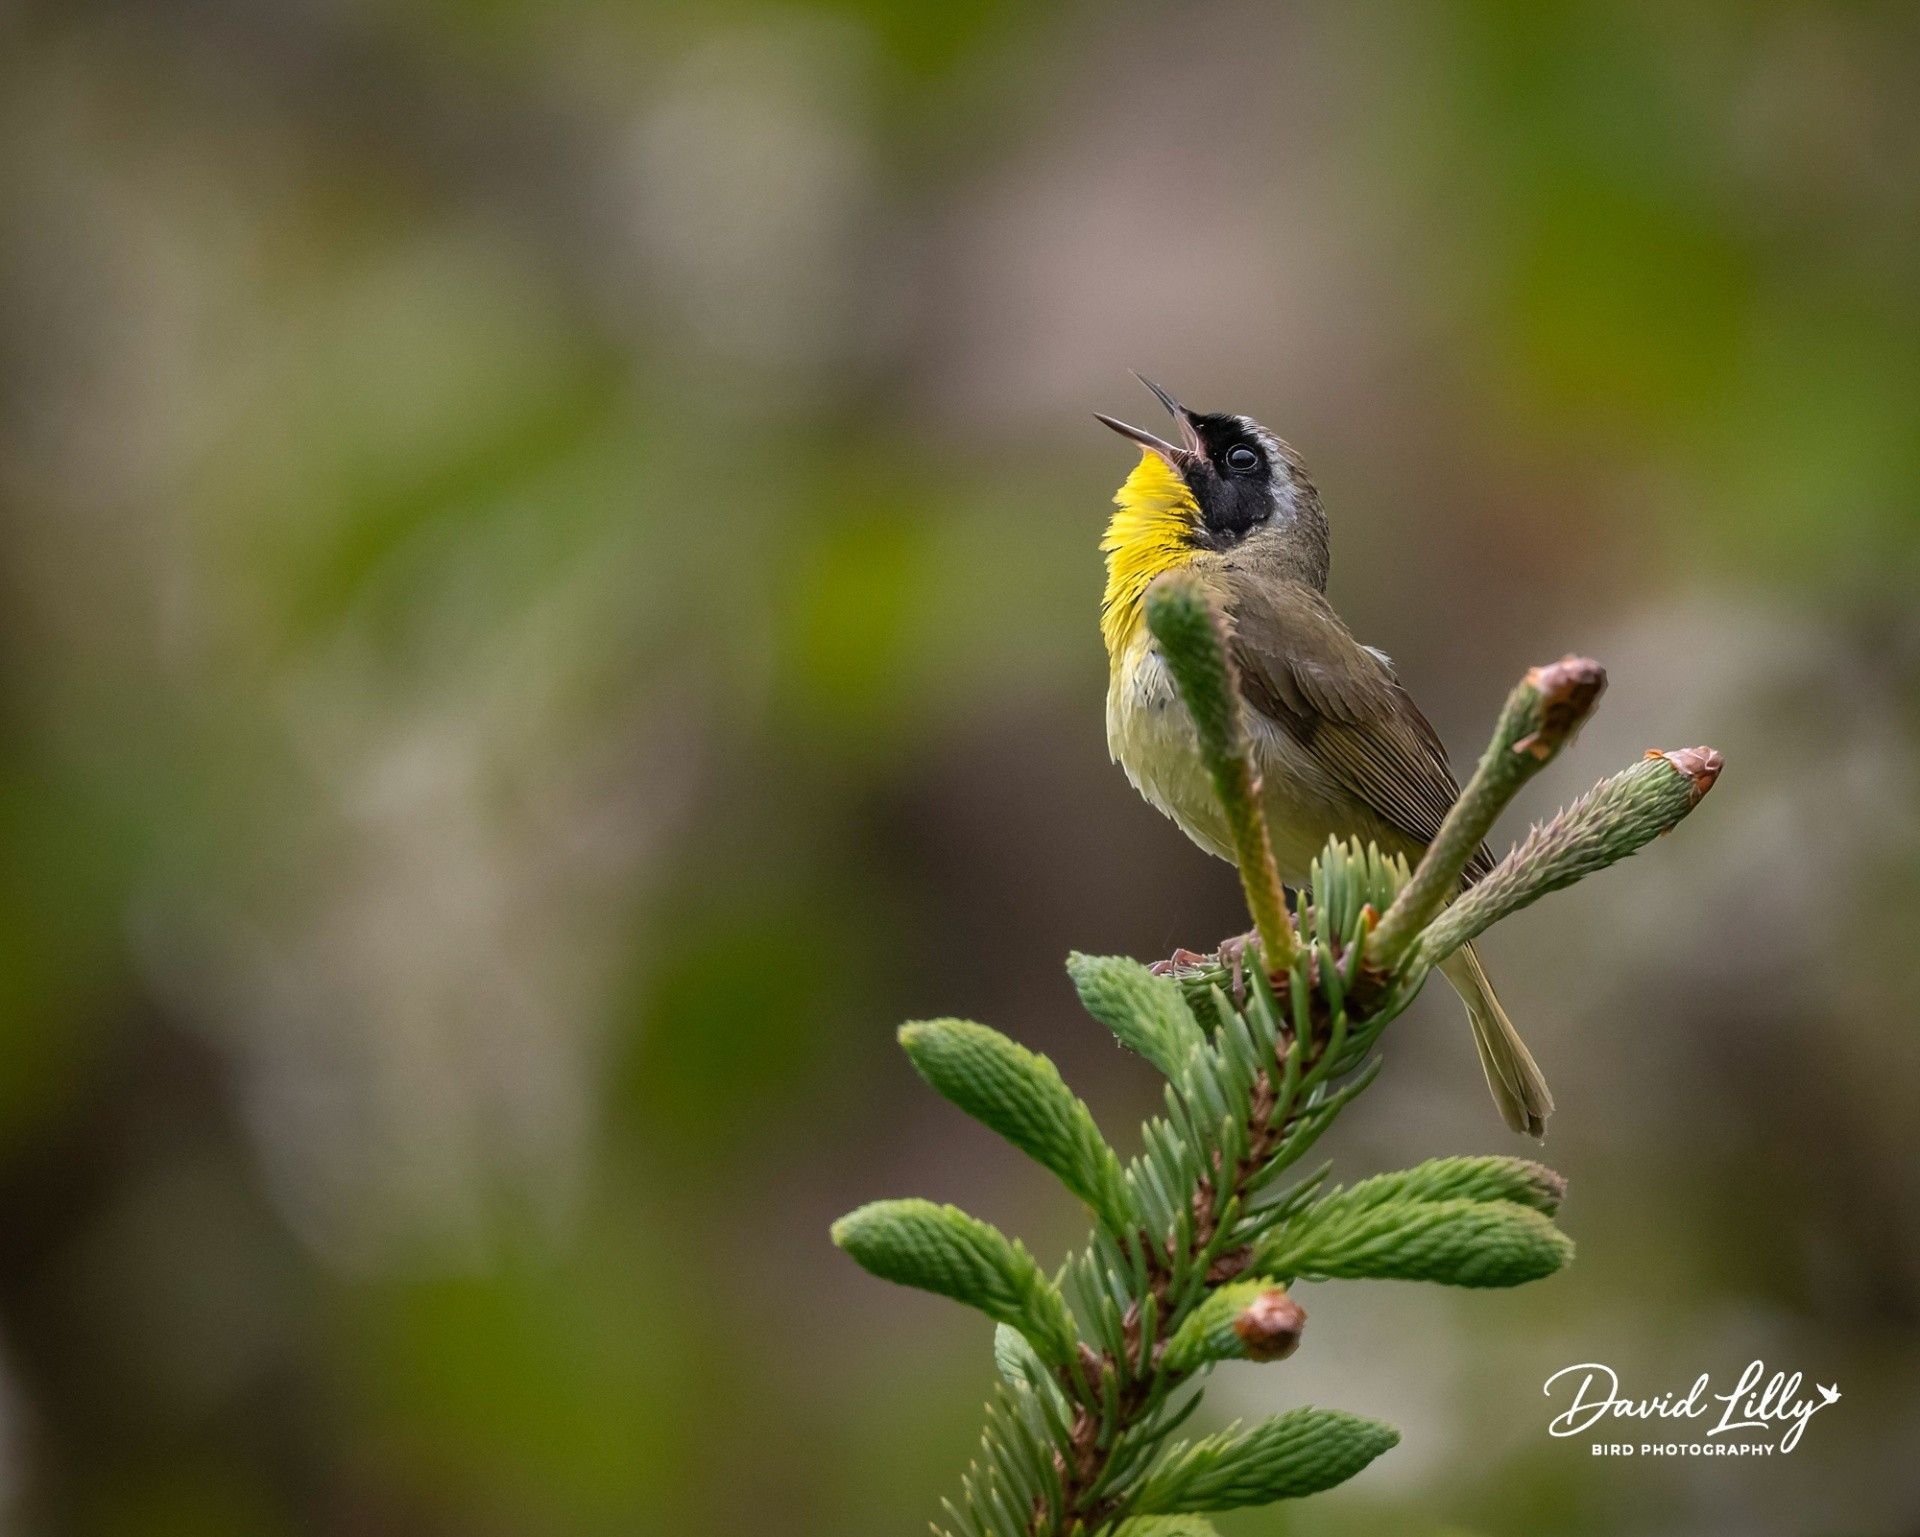
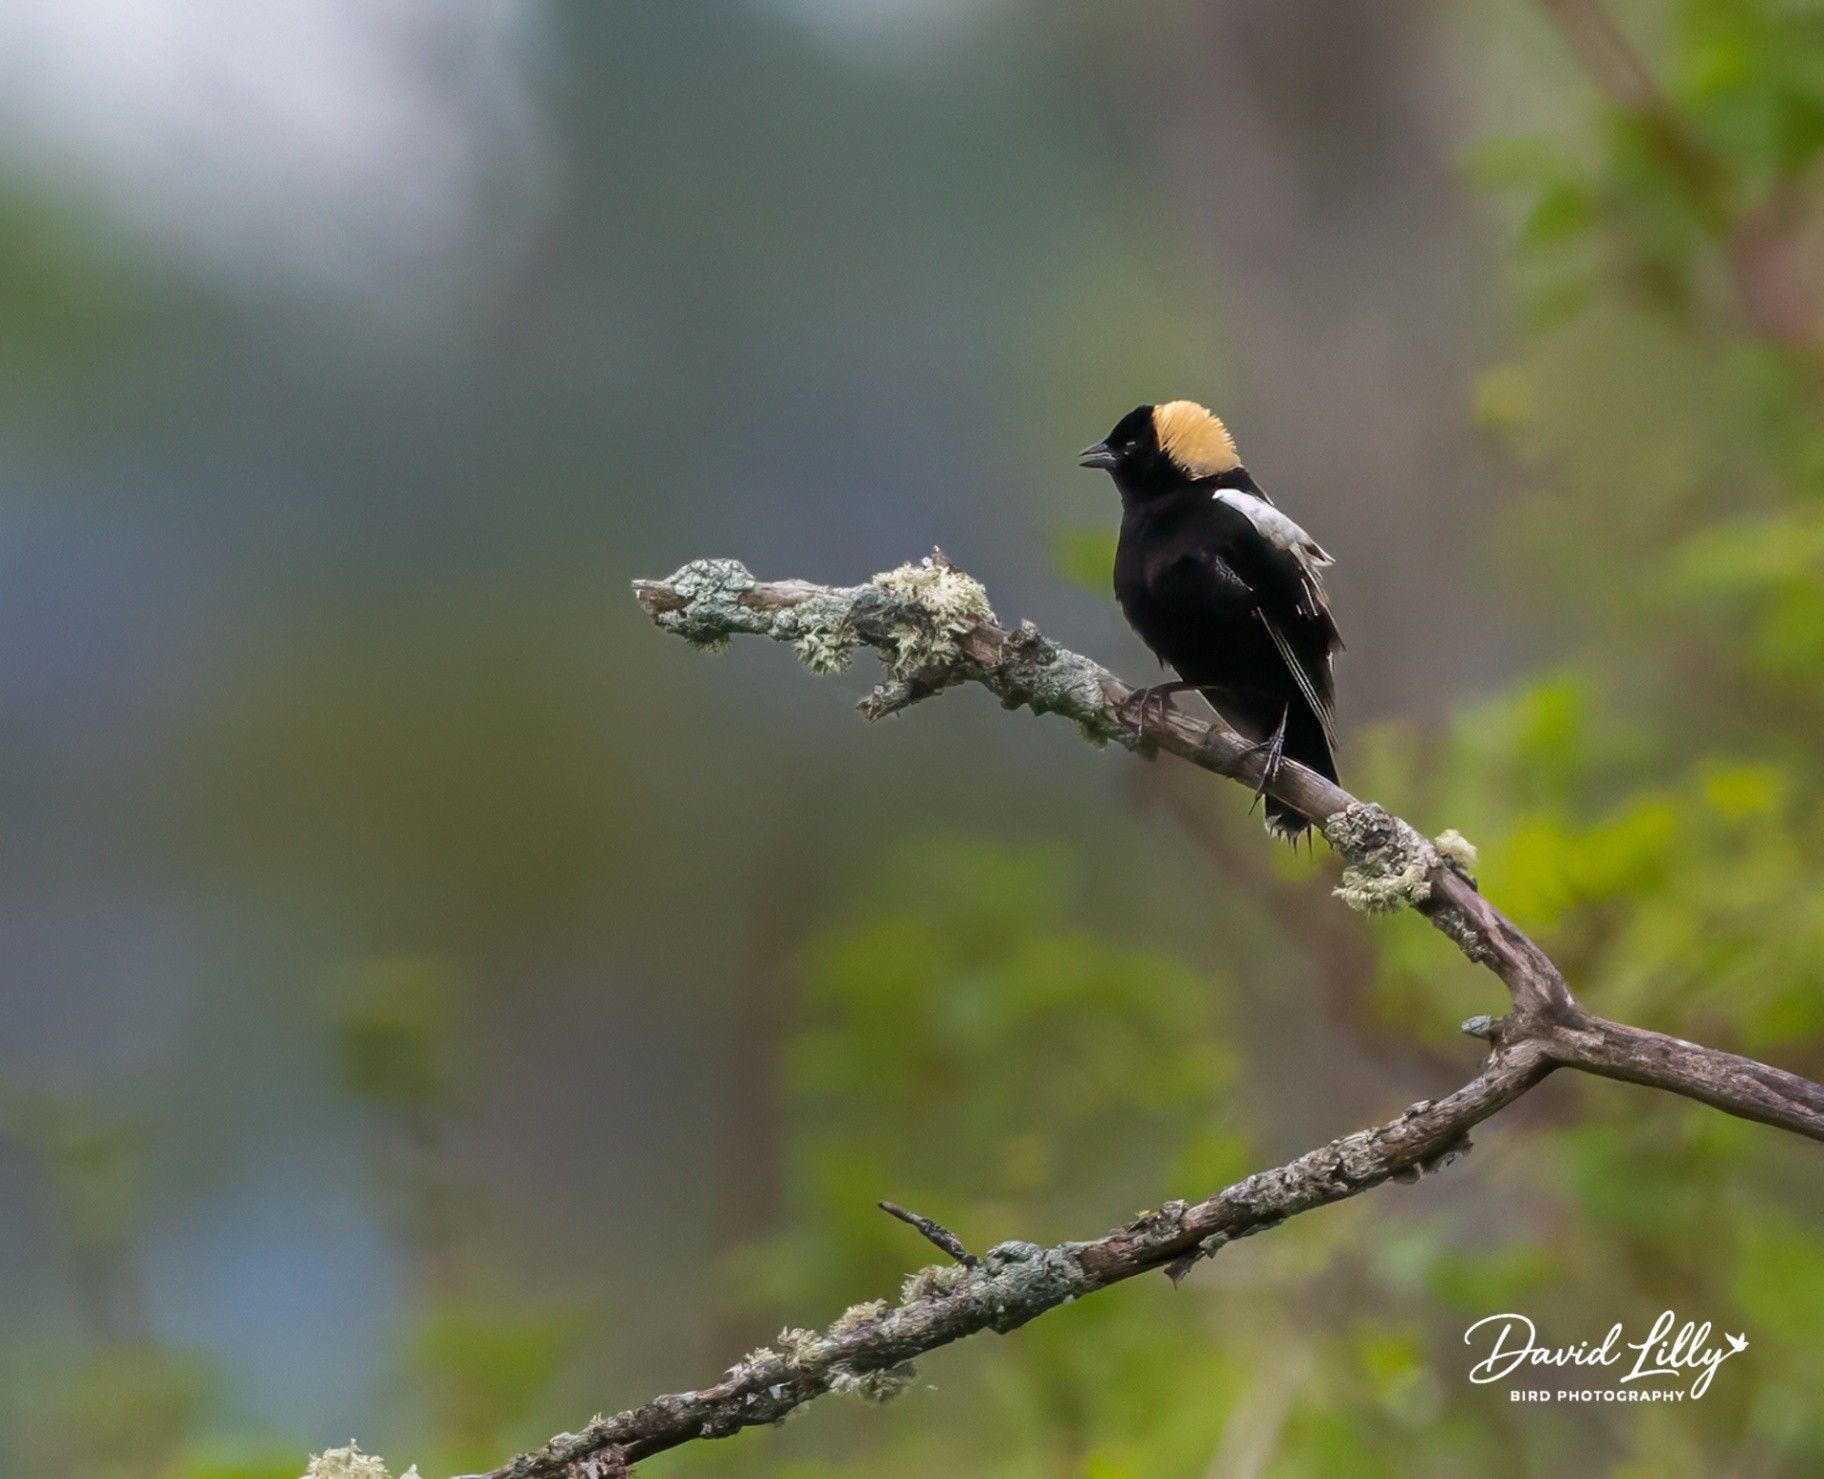
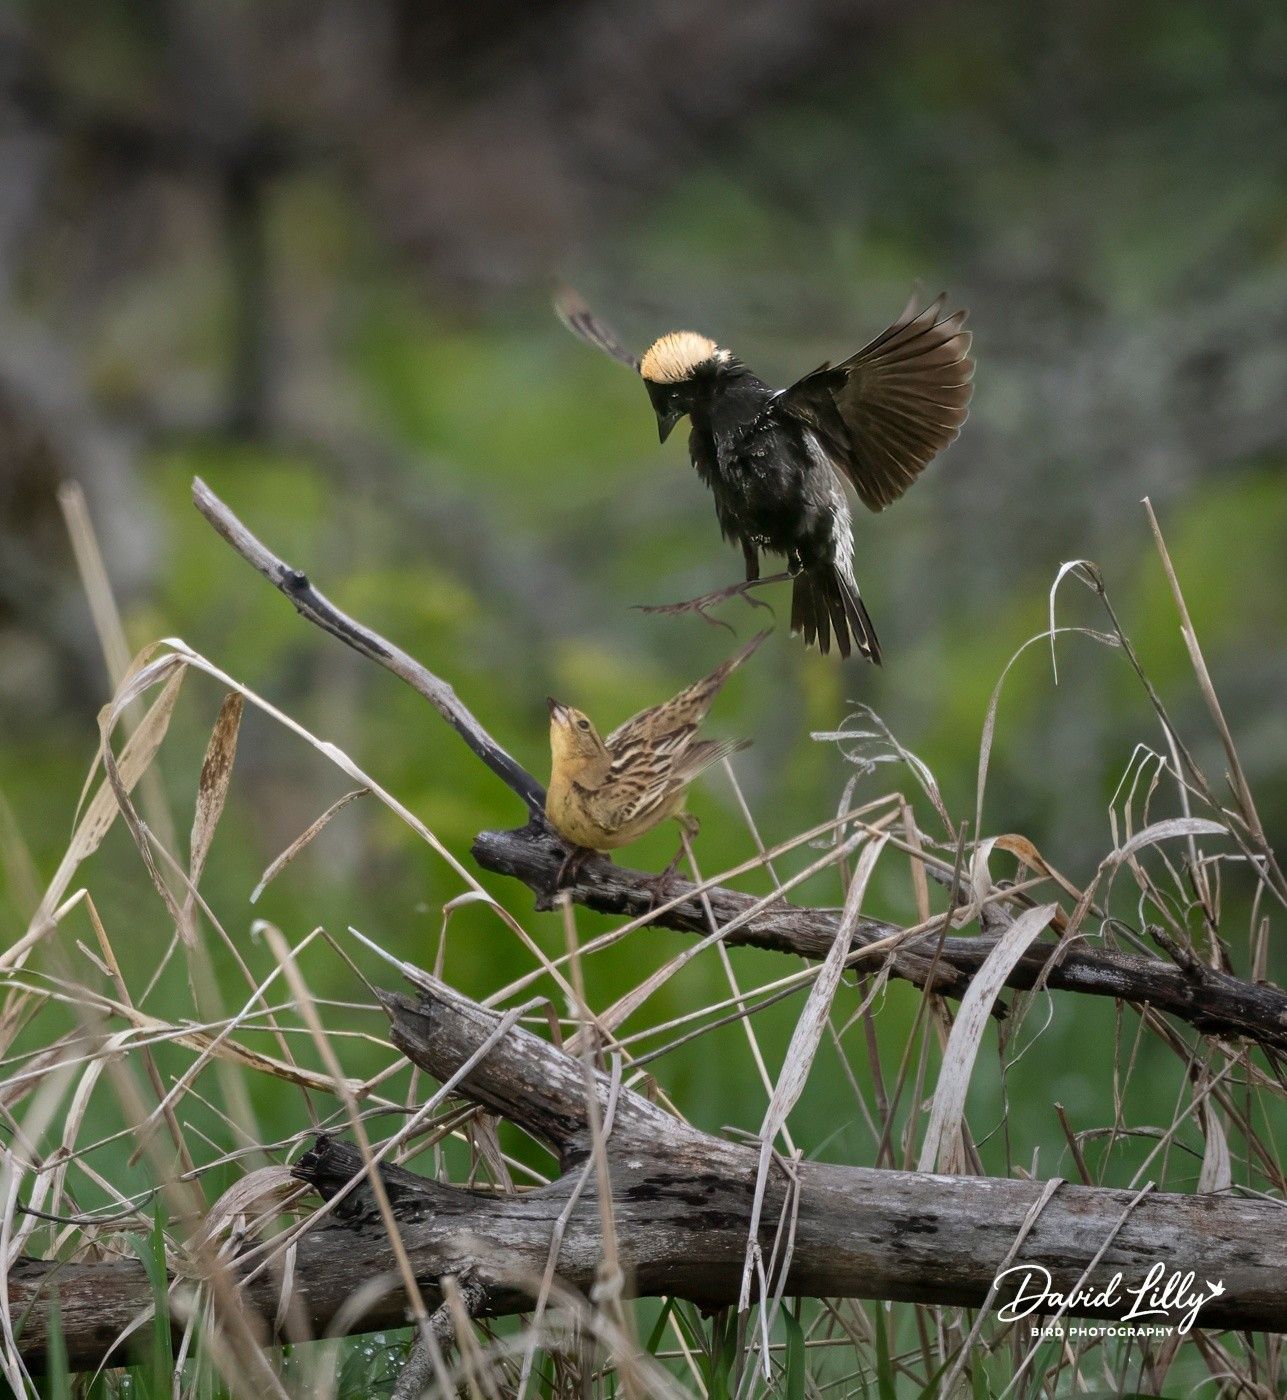
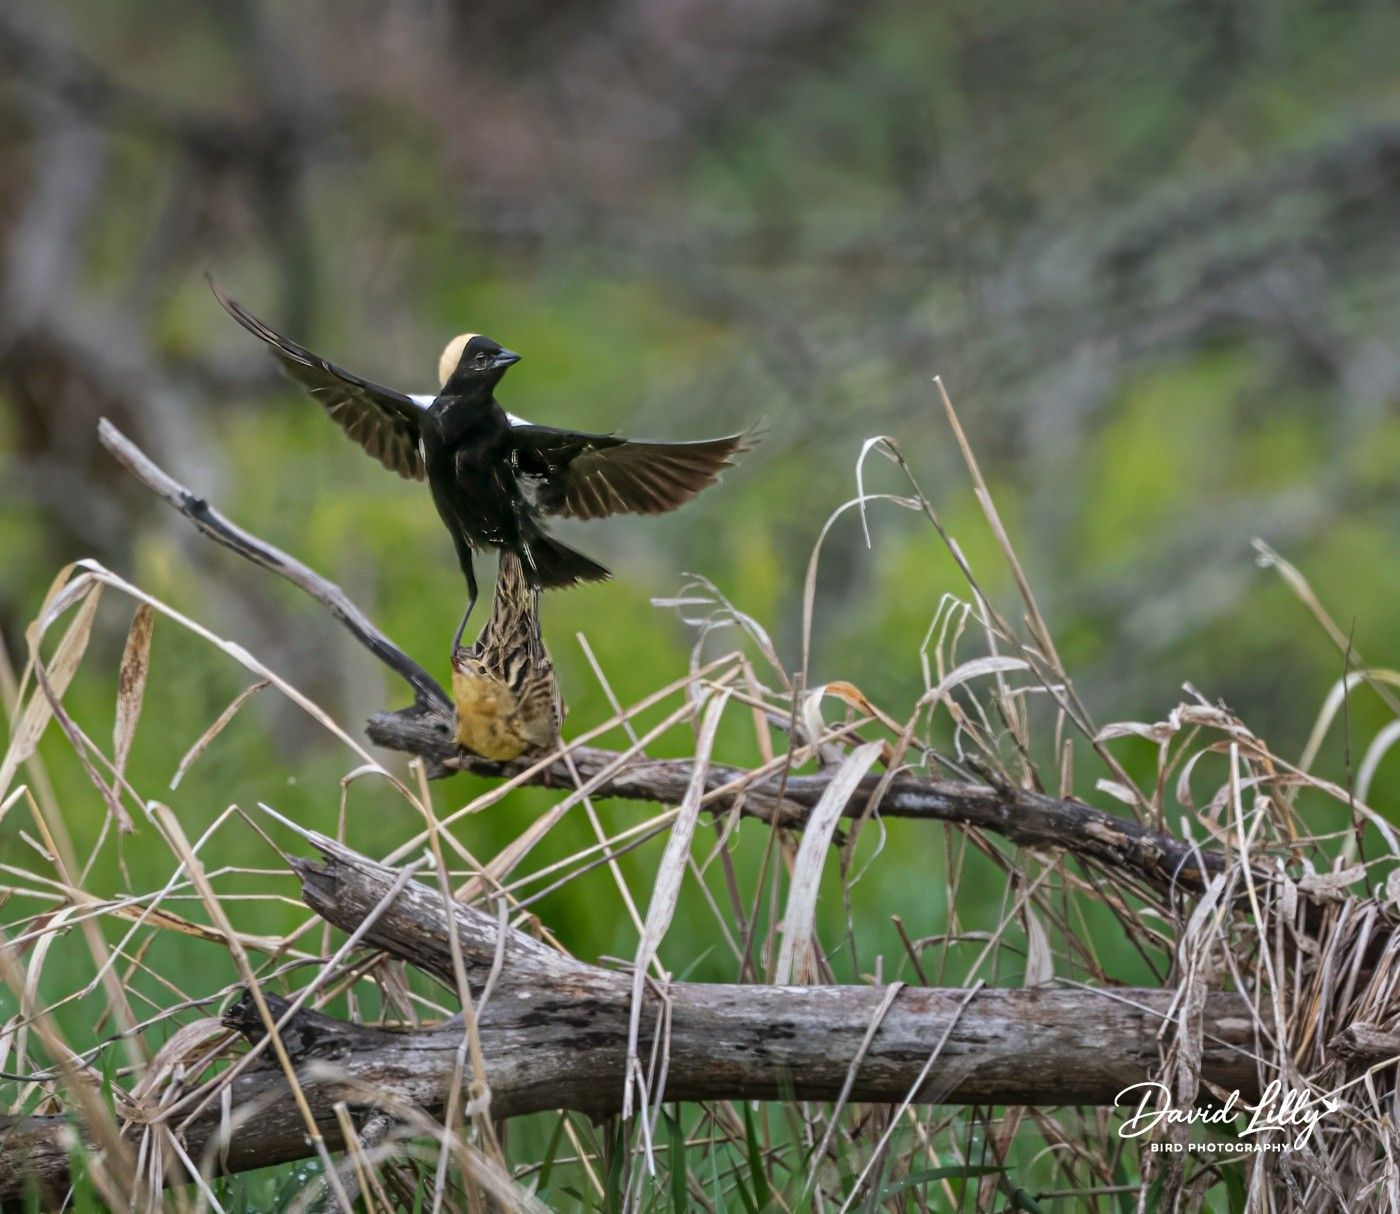
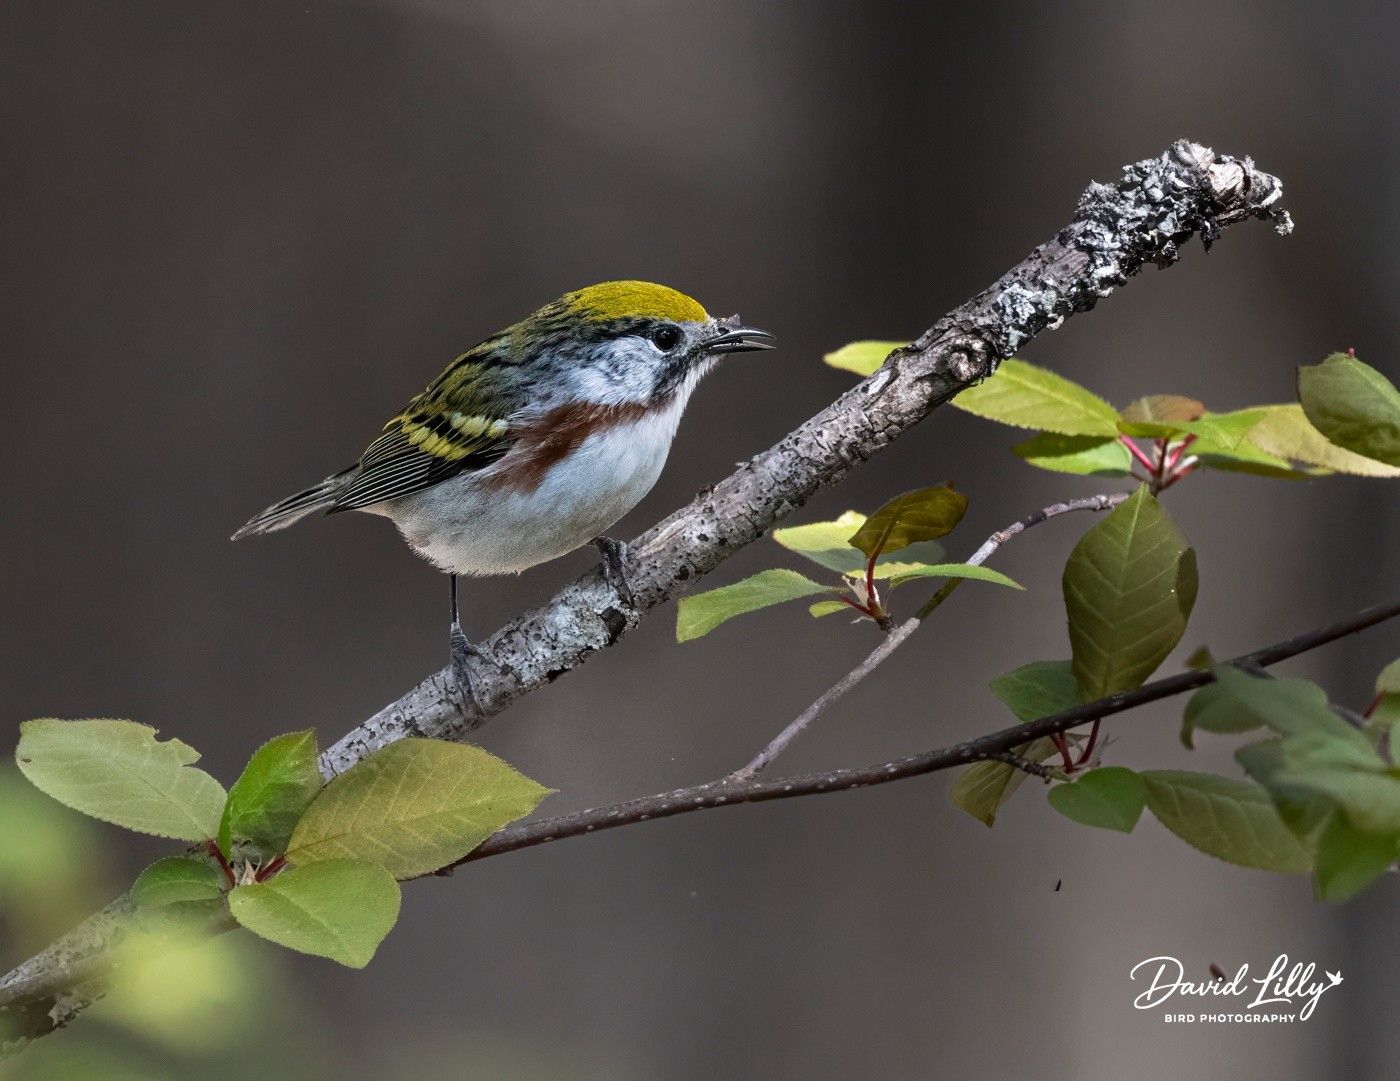
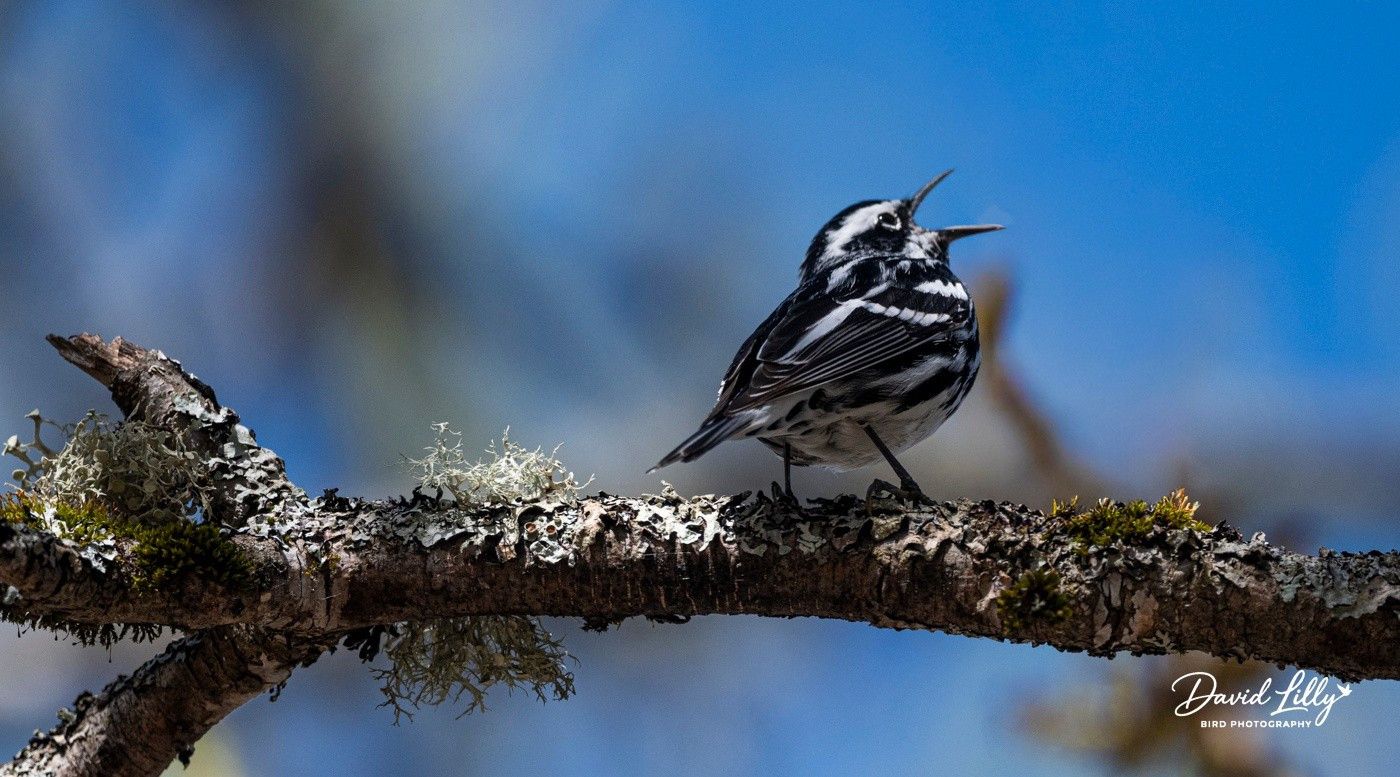
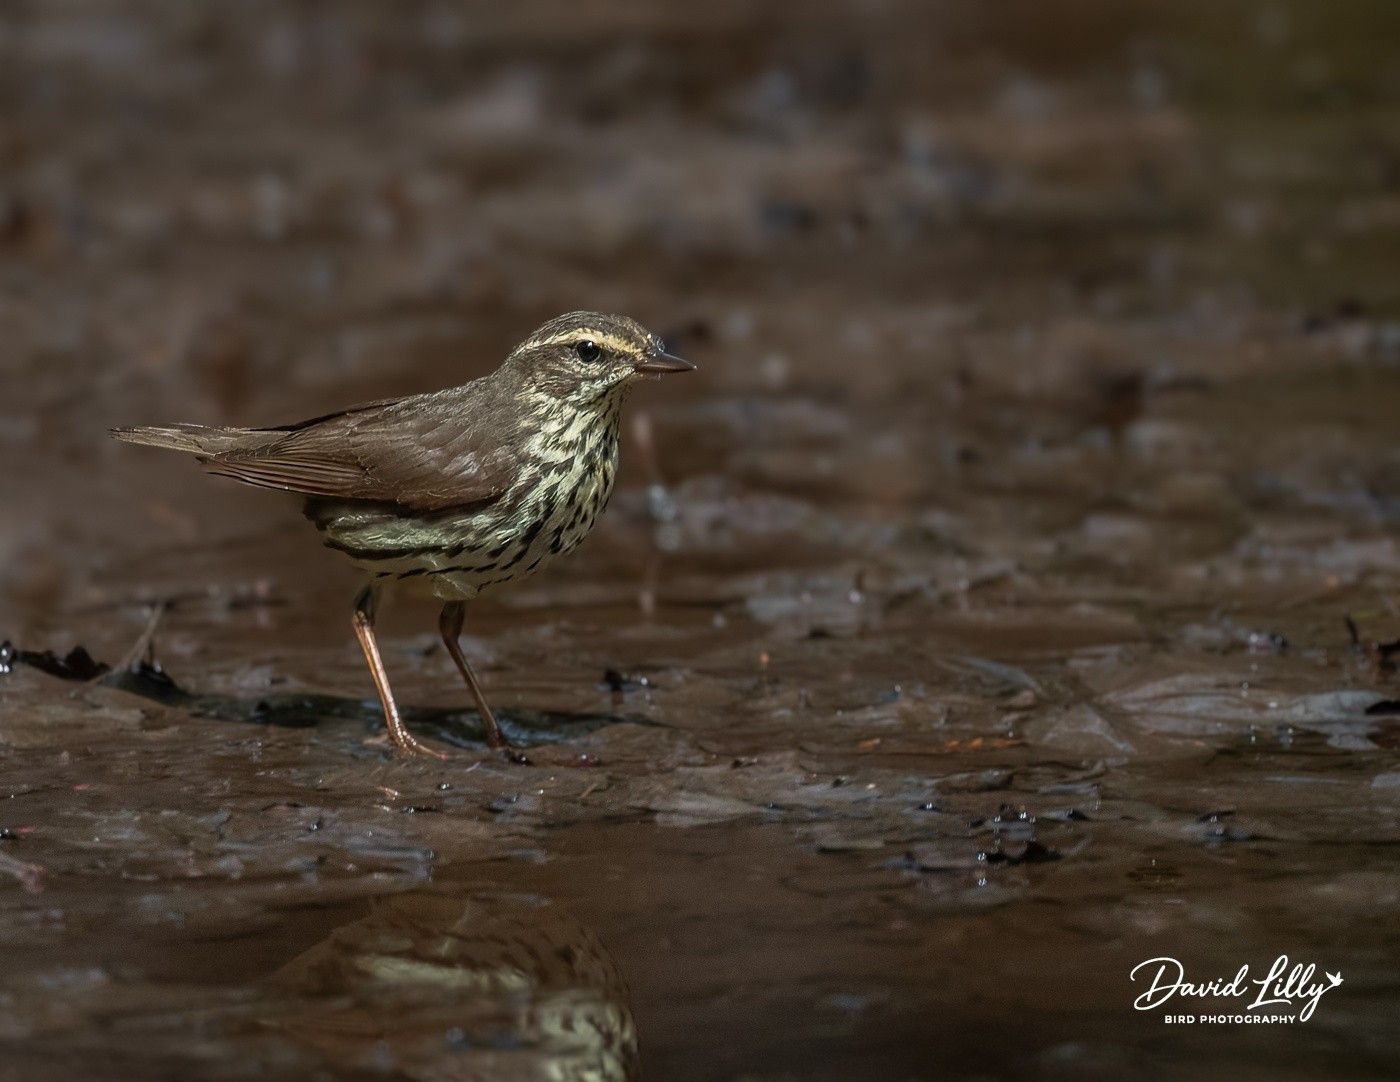
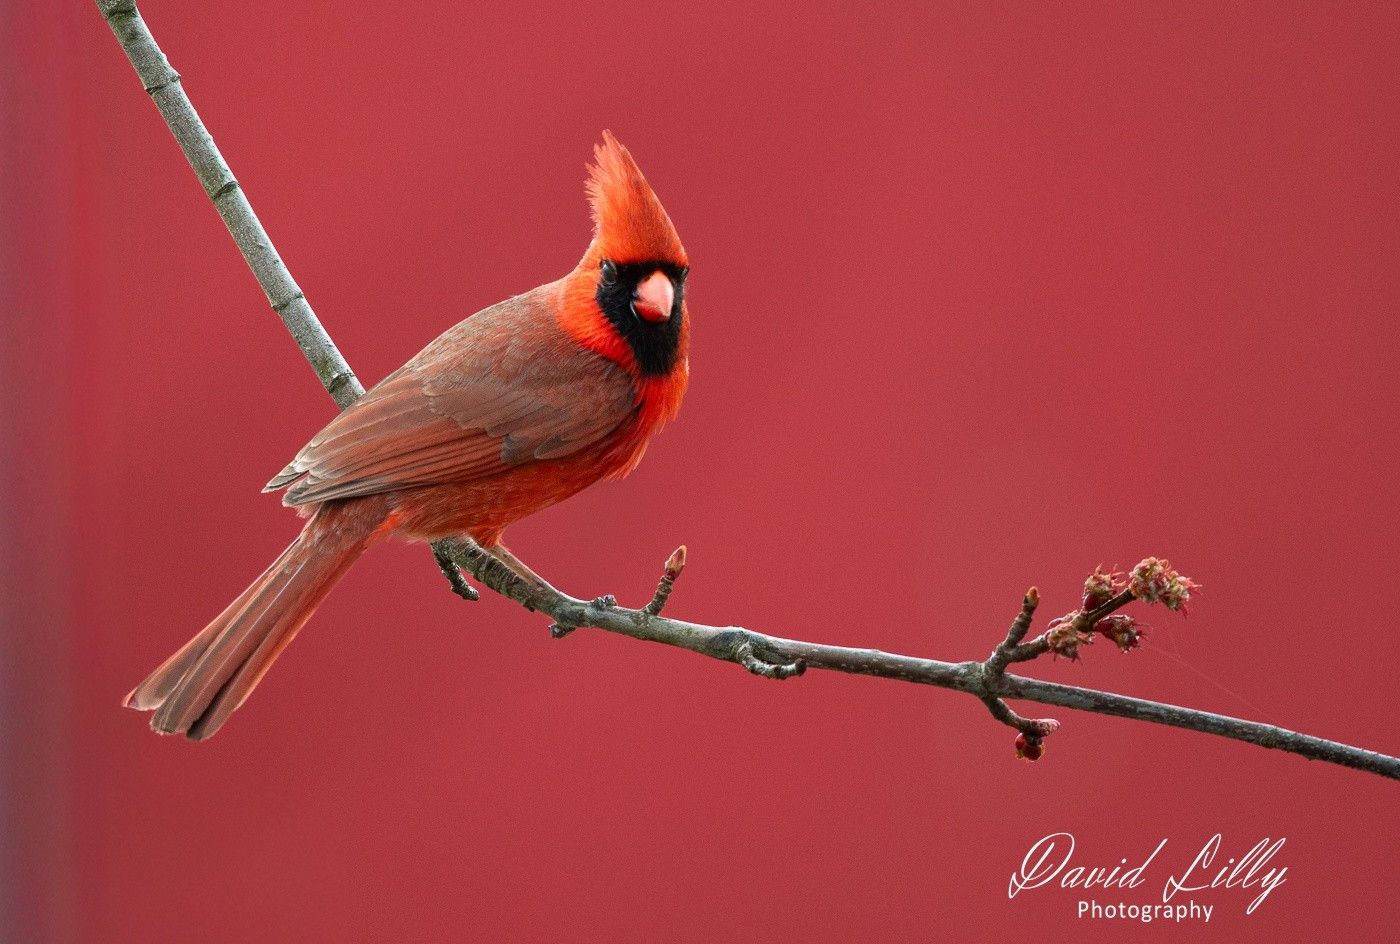
Forest and Songbirds: The trails are teeming with Black-capped Chickadees, Blue Jays, Golden-crowned Kinglets, Brown Creepers, Hairy and Downy Woodpeckers, Red-breasted Nuthatches, and White-throated Sparrows. During spring migration, it's also a great spot for various species of warblers. On my recent visit, I photographed a Hermit Thrush.
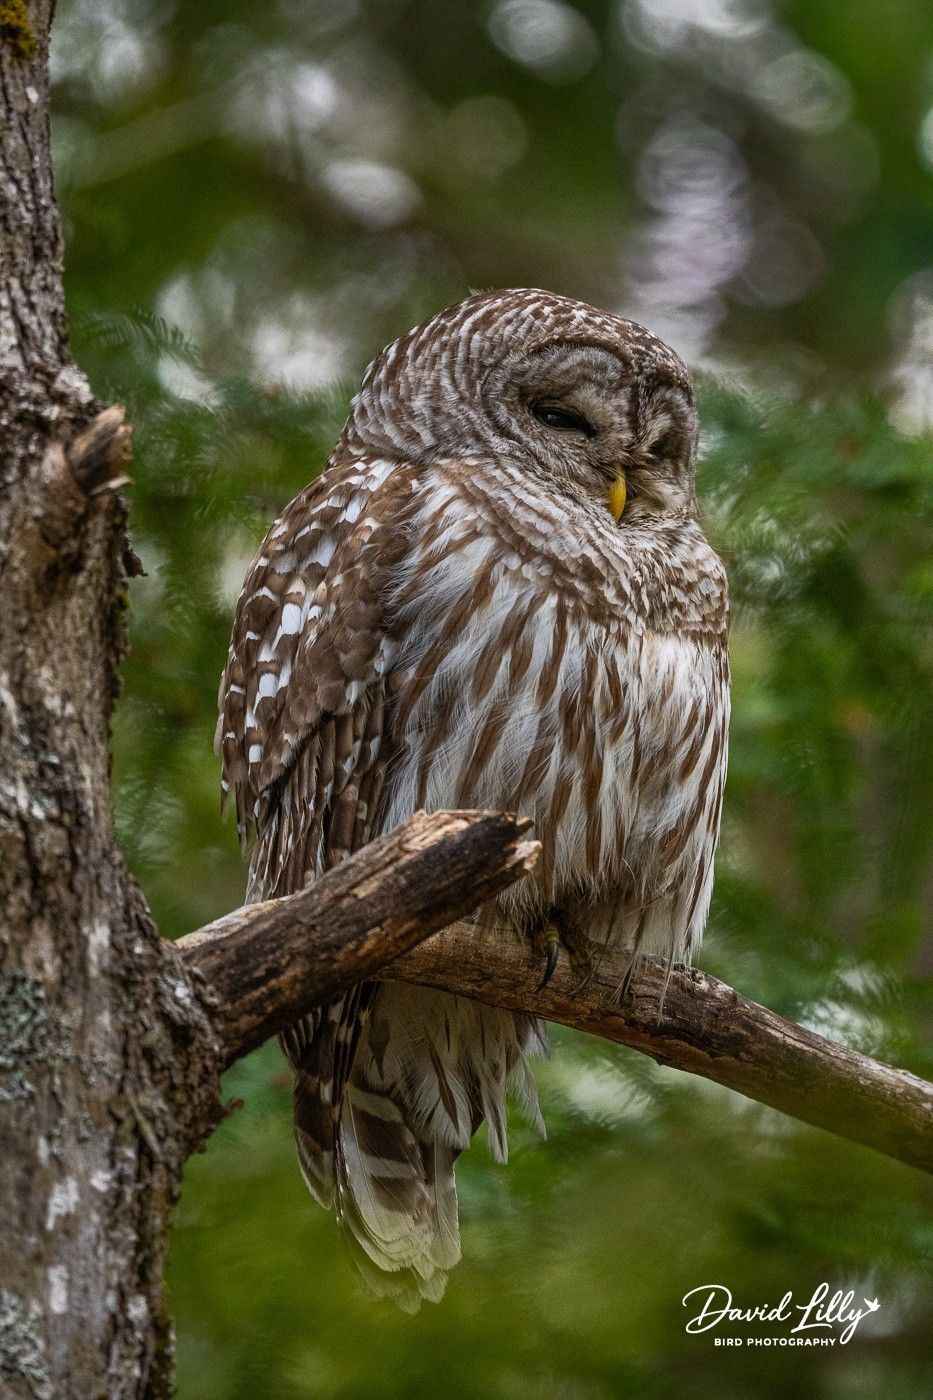
Birds of Prey & Large Waders: Great Blue Herons are frequently spotted hunting along the shallows. If you head toward the powerhouse parking lot near the Mactaquac Dam, you are highly likely to spot majestic Bald Eagles and Ospreys soaring over the water.
3. Excellent Birding Infrastructure: The park is designed to be highly accessible for nature lovers. The Beaver Pond Trail includes a comfortable boardwalk with seating, observation gazebos, and interpretive panels. This allows photographers and birders to sit quietly, blend into the environment, and wait for birds to approach without disturbing their natural behaviours.
4. Excellent Birding Infrastructure
The park is designed to be highly accessible for nature lovers. The Beaver Pond Trail includes a comfortable boardwalk with seating, observation gazebos, and interpretive panels. This allows photographers and birders to sit quietly, blend into the environment, and wait for birds to approach without disturbing their natural behaviours.