Photographing birds in flight is the most challenging nature photography. However, understanding your Camera settings will make it much easier. Below are the recommended settings by the Canadian Bird Photographer. Remember this is an excellent starting point, you may want to tweak these settings for your own bird photography. Although, my settings are for Nikon the same settings can be applied to any camera system.
Step 1 – In your menu set the camera meter to centered weighted metering.
Step 2 – Set the focusing to continuous (high speed)
Step 3 – Set your focus to dynamic Auto focus. This means set the camera to maximum number of autofocus points. Eg; 9, 11, 39, 51 points. You can also choose just the center point (1 point) Dynamic auto focus works very well for birds against the sky. Since I have been using the D 500 I use the 25 points and have set my preview button when pressed se to group focus.
Step 4 – Set your ISO to auto ISO from 100 to Max 1600, by doing so you will not have to worry about ISO. The image quality will be excellent on the up-to date digital cameras. On the D 500 I have set my maximum to ISO 3200.
Step 5 – Set your camera to Manual, set the Aperture to F-7.1 and adjust the shutter speed according to the light. You will need a minimum shutter speed of 1000 sec, the faster the better. I photograph birds in flight handheld at shutter speeds of 1500 sec or higher based on the available light. Remember most modern DSLRs can handle four to five F-stops in dynamic range. So, if you are over or underexposed by one f-stop don't panic. Your histogram should indicate this. You want your Histogram mostly to the right.
Step 6 - Set your quality to 12 bit Raw instead of 14 bit Raw. By doing so, your Camera Buffer will not fill up as fast because 12 bit RAW files are smaller. There will be know noticeable difference in quality of your images.
Notes:
In the menu change from focus to release (Nikon). This allows the camera to take a photograph and not lock the focus, whereas if the camera is set to focus for one second or longer, it will slow down taking the photograph because it must be locked on.
Birds against a blue sky or sky in general, I add a 1.5 EV setting. If the bird is white you may want to leave the EV to 0 or a EV setting of -.05. You could try a flash in situations as described. I would recommend the Highlights be turned on as this will tell you if the highlights are overexposed by blinking. Also, check the histogram.
I sometimes use a technique called (Back-focusing). The means in the menu I have changed the focusing mode of the camera from the shutter button to the AF ON button on the back of the camera. Some Cameras have a button called AFL/AEL. This button can be set in the menu to back focusing. (Focus Priority). Some cameras allow you to use both the Shutter or the AF - ON button to focus, D 500 for example.
A flash will help in situations where a bird is against the sun or in the shadows. If you a flash on a Nikon set flash in the menu to Auto FP. This will allow you to use any shutter speed.
Always try to position yourself with the sun to your back if possible.
For Bird photography Equipment Reccommendations, follow this link.
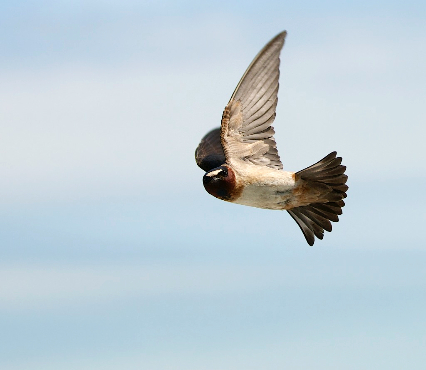
For this photograph of the Cliff Swallow you will need a Shorter Telephoto lens, 70 - 200 2.8, as it is next to impossible with a longer lens. You will need wide open aperture and at least 3000 sec shutter speed with excellent light or try a flash.
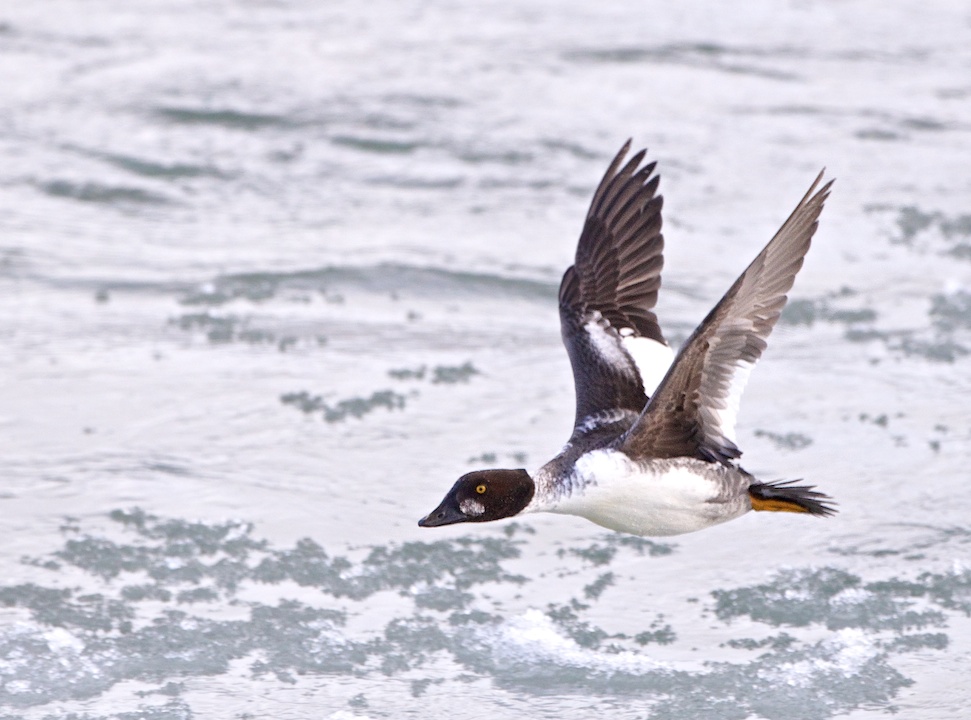
For this photography of a Goldeneye a longer lens, 300 F4, with at least 1500 sec or faster shutter, with aperture wide open.