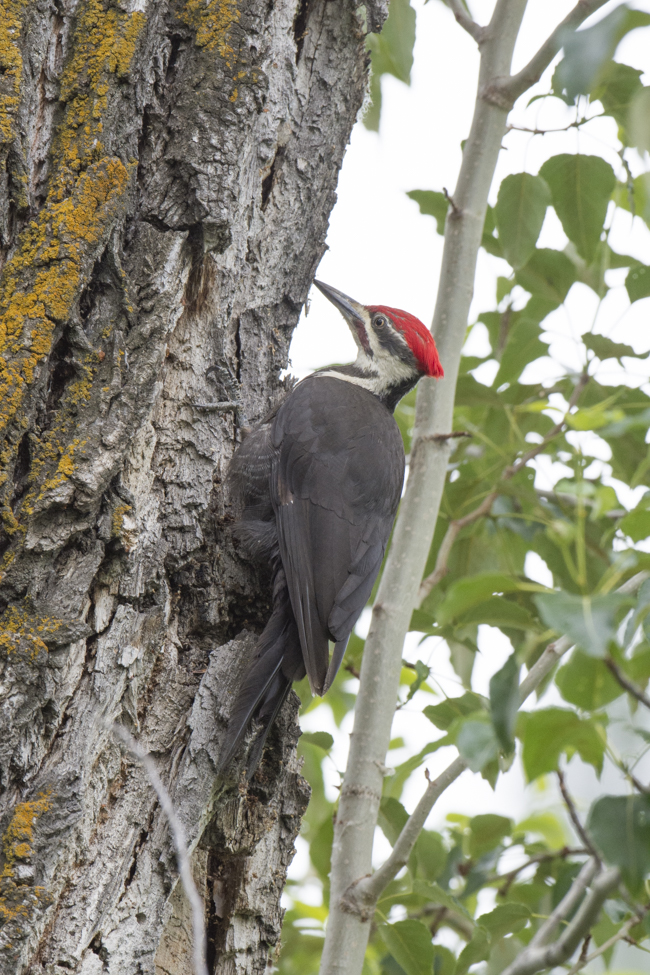
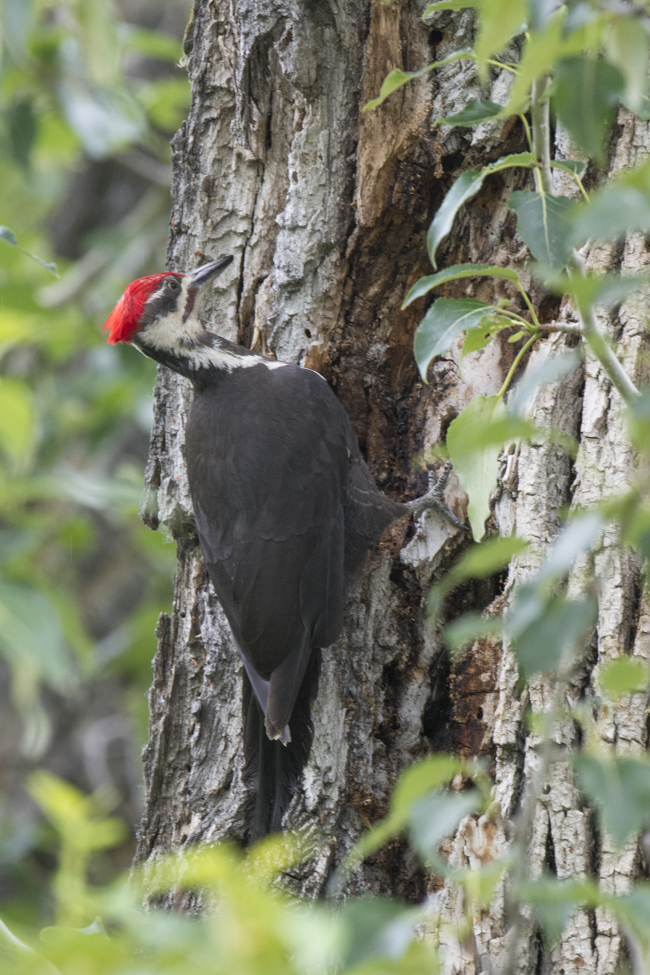
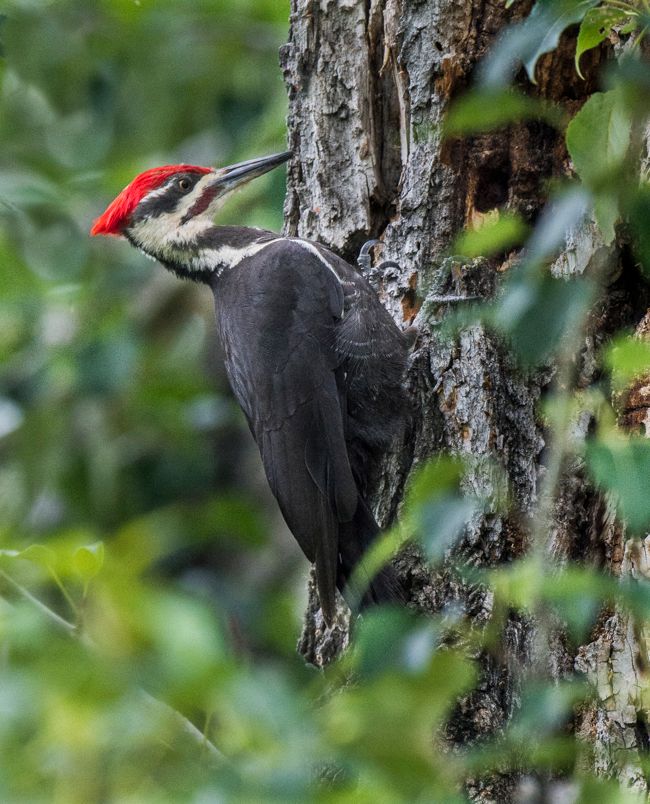
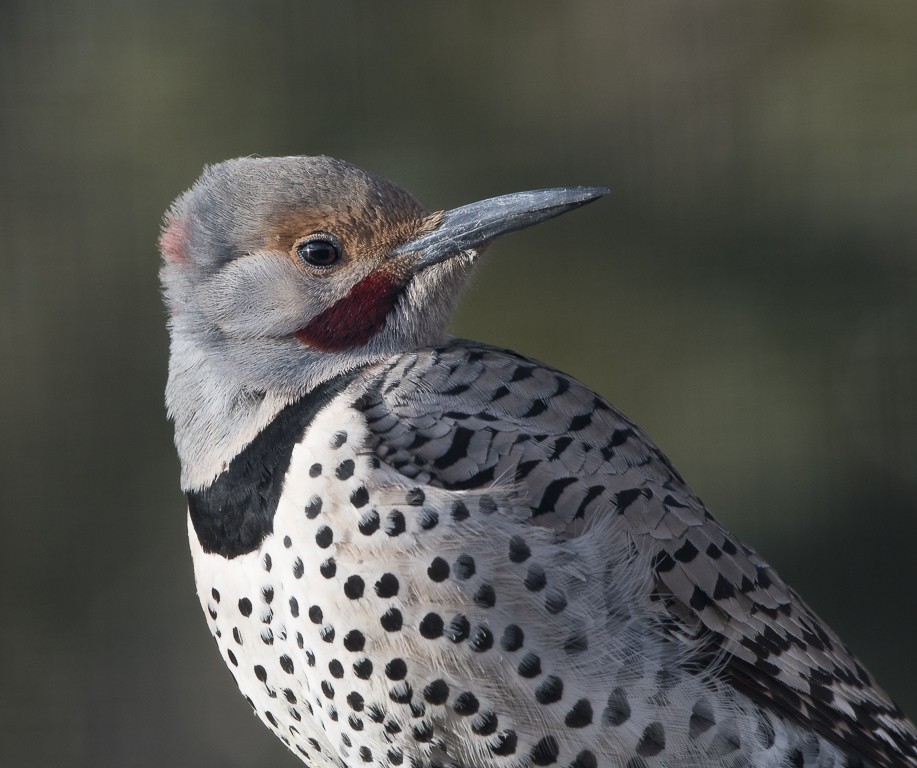
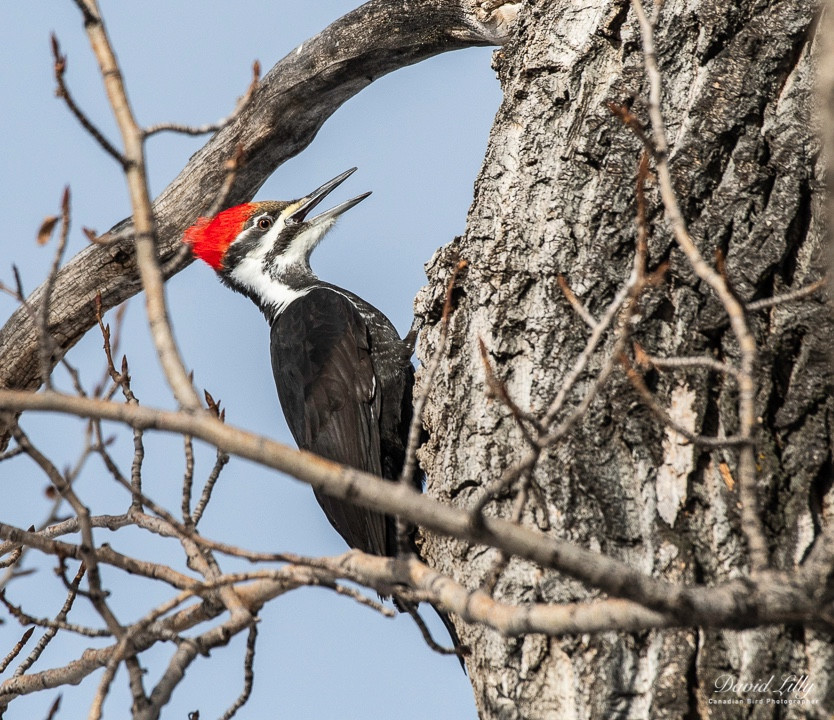
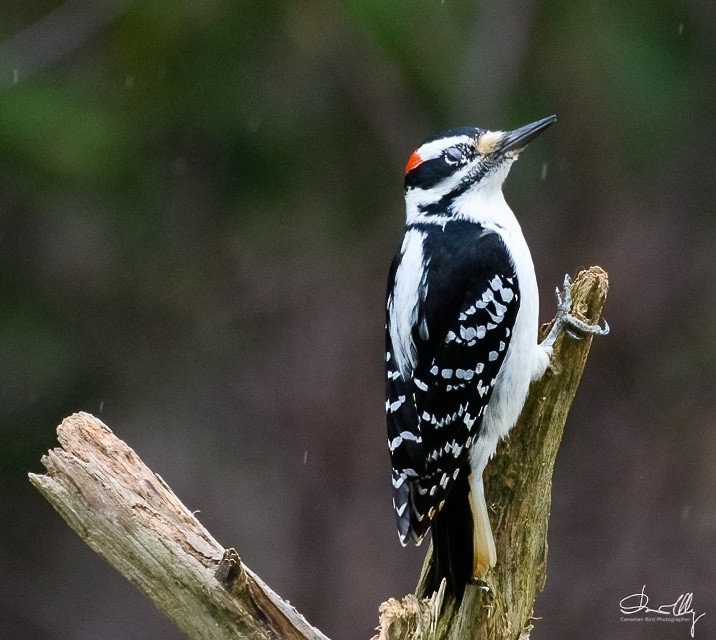
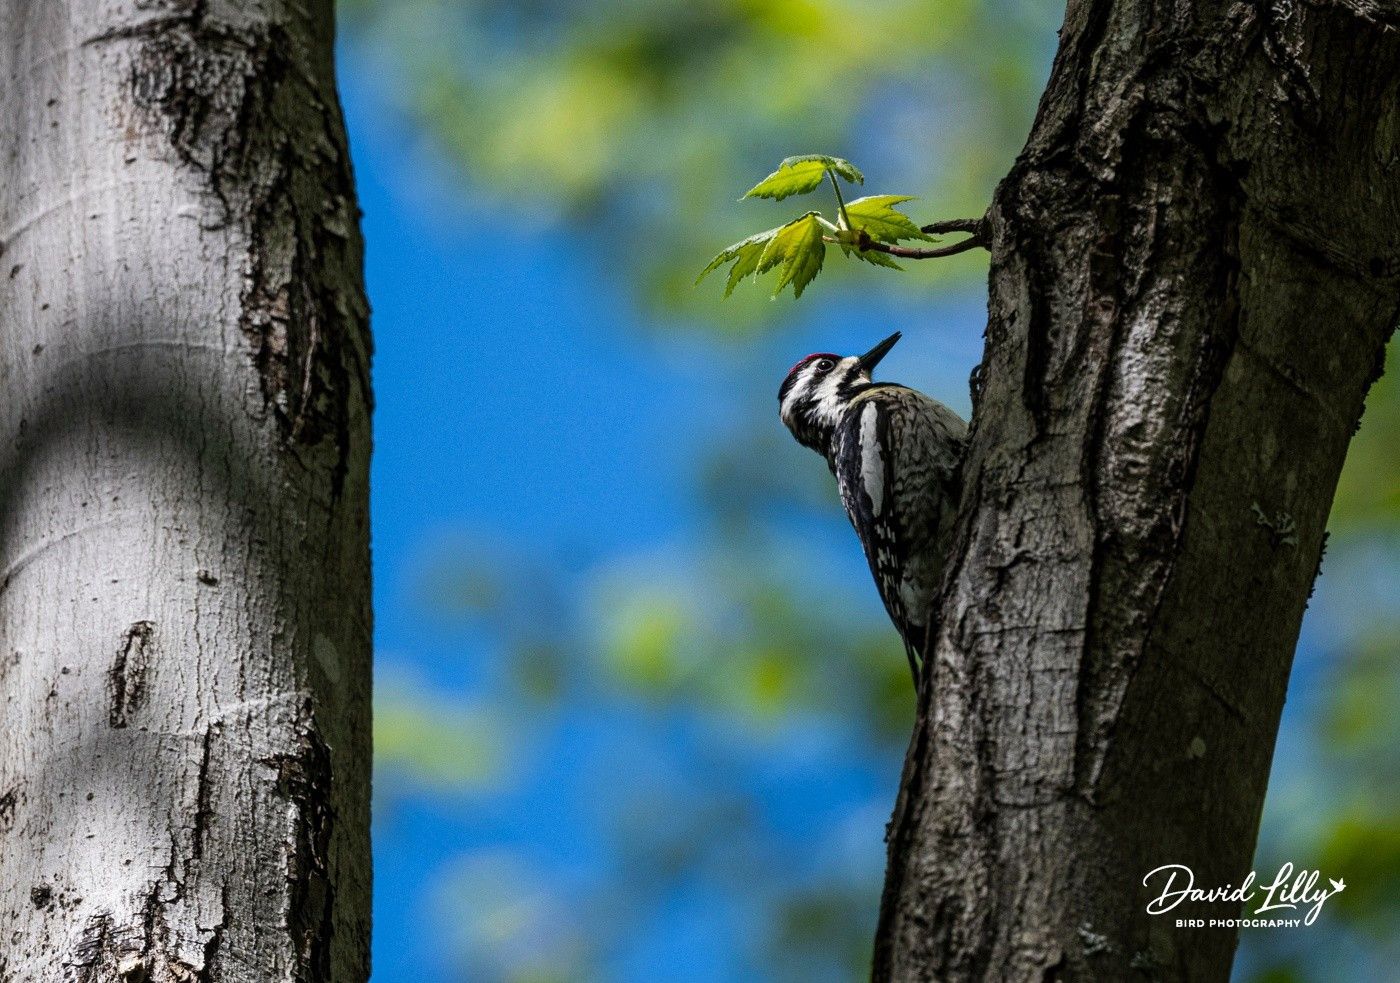
The question bird photographers always ask themselves is, Should I remove the leaves, branches etc.? In some photographs it is ok to leave leaves etc. in the photograph. This photograph of the Pileated Woodpecker I left the leaves and branches in the photograph. I darkened the surrounding leaves with the brush tool to make the woodpecker more prominent. In this photograph the leaves etc. were ok in this photograph.
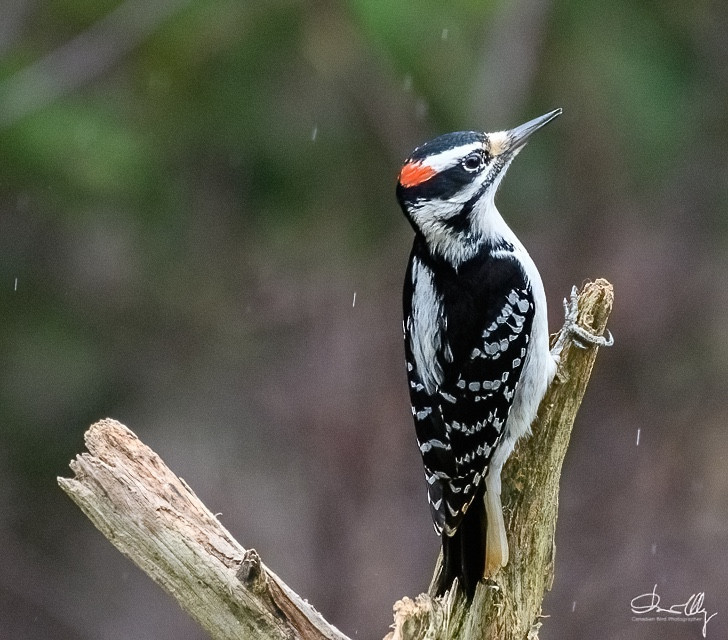
Yesterday, I photographed a Pileated Woodpecker. When I first saw the woodpecker I was in a wrong position to get a good photograph ( Photo 1 below). We can't tell a bird where he or she should pose for us, so, in this case I was photographing into the overcast sky. I moved around (180 degrees) and photographed facing north and placed the woodpecker in the frame with a dark background, ( Photo 2 below) the better photograph. My tip move around,get a lower angle, but eliminate the sky from your photograph, especially when it is contrasty. Note: photos are unedited, as photographed.
There are many different settings for your camera to photograph birds. Here are the settings the Canadian Bird Photographer recommends and uses:
1. Set camera to manual.
2. Set aperture to F 8 for the best possible sharpness.
3. Adjust exposure with the shutter and try for the fastest possible shutter speed - birds in flight 1/2000 sec or faster.
4. Set the ISO to Auto - minimum 100 ISO and Maximum 1600 ISO. This can be done in the menu. On the newer DSLRs 3200 is more than acceptable.
5. Use a support, either a monopod or a good tripod.
6. Use the EV to increase or decrease the exposure. Birds against blue sky use +1.5
7. Set camera to Continuous shooting mode with fastest rate, 7 frames per second etc.
8. In the Nikon menu under the pencil - custom shooting menu - A1 and A2 the camera should be set to Release and not on focus. In A3 should be off.
Here are some common sense Tips for Bird photographers or you could say reminders:
1. Keep the sun in your back.
2. Try to get down low when photographing ducks and shorebirds.
3. Use a blind when possible.
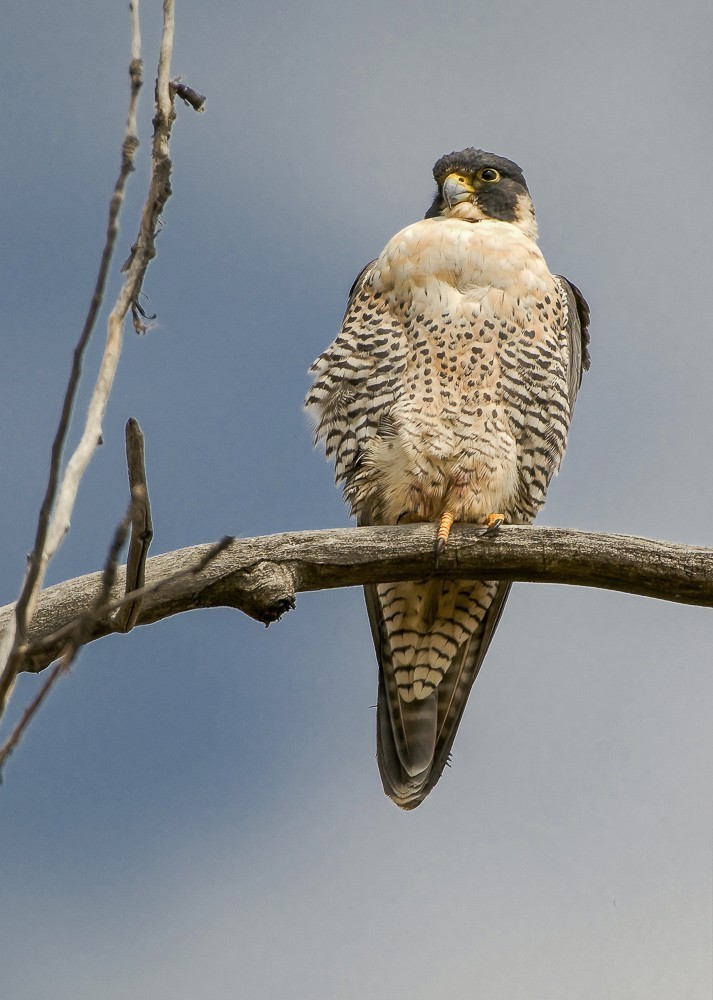
4. Include a little of the surroundings - avoid cropping to close.
5. Keep your hand on the lens to avoid lens vibration.
6. Use a tripod when possible.
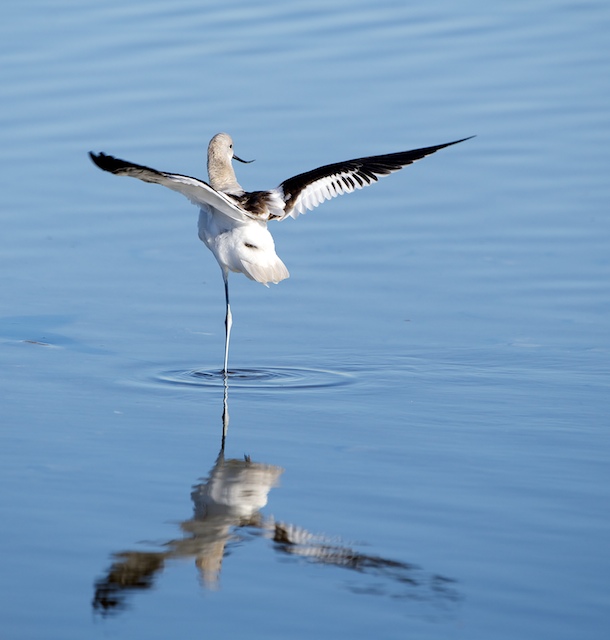
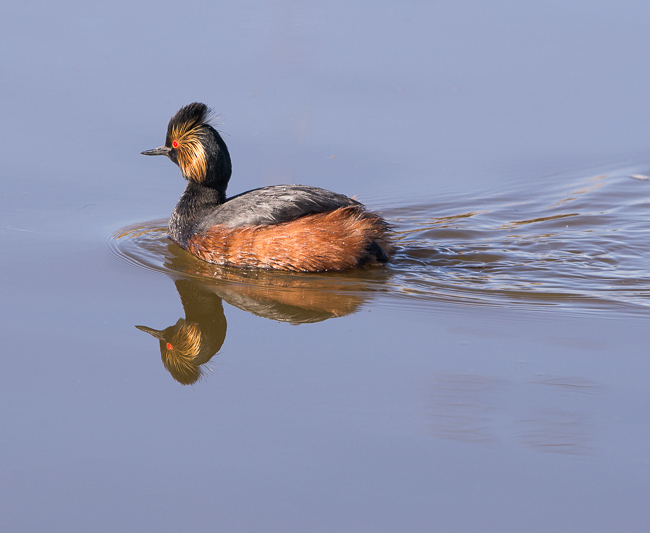
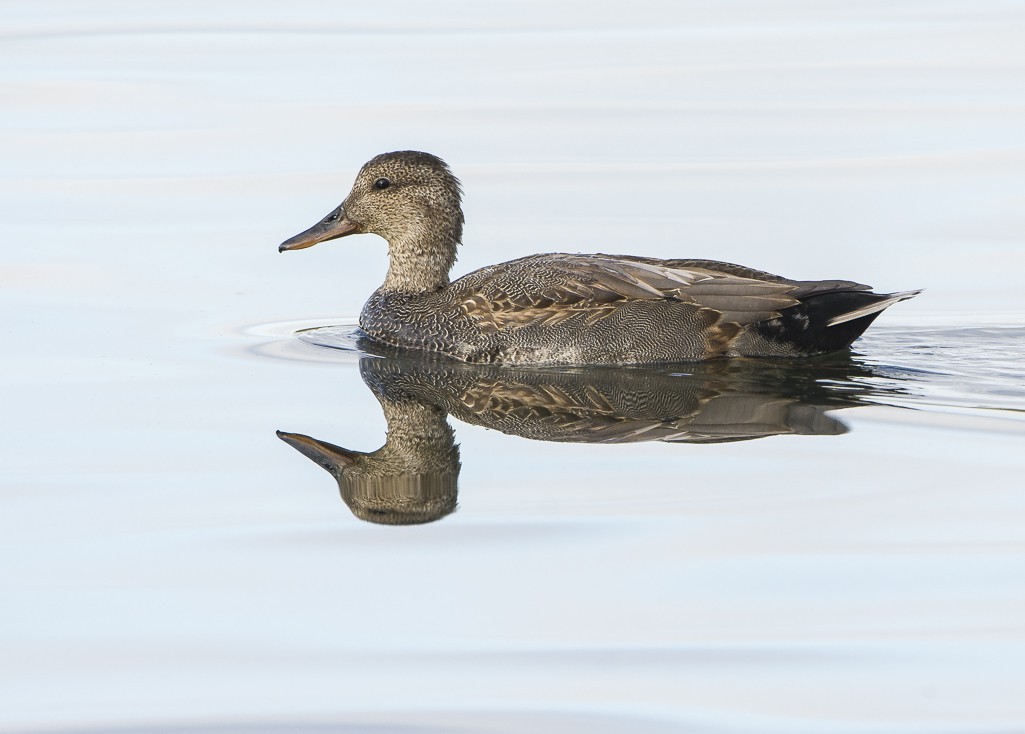
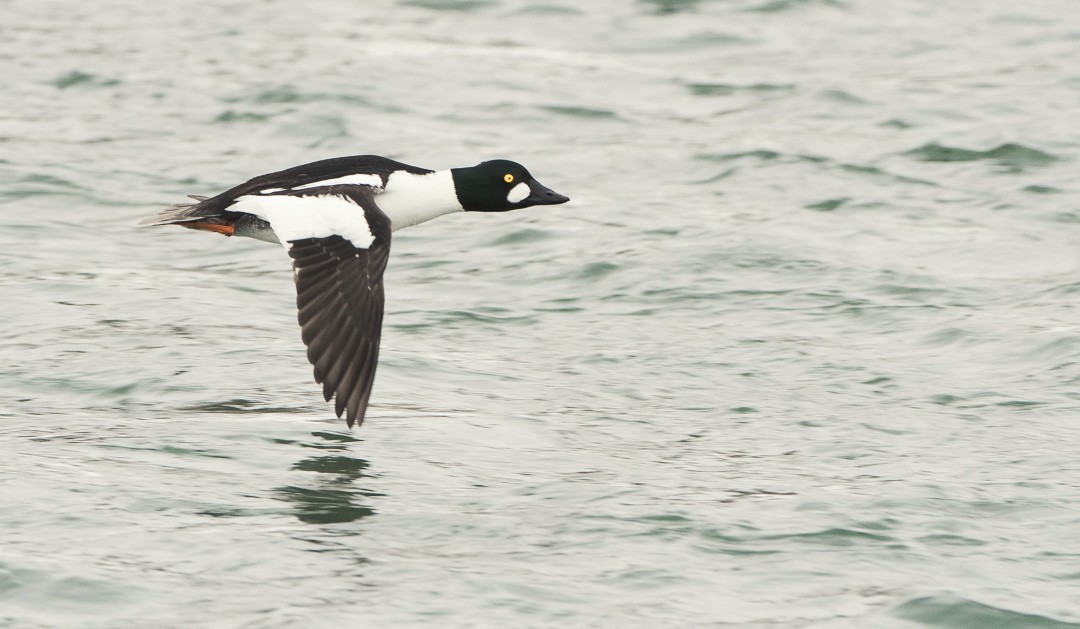
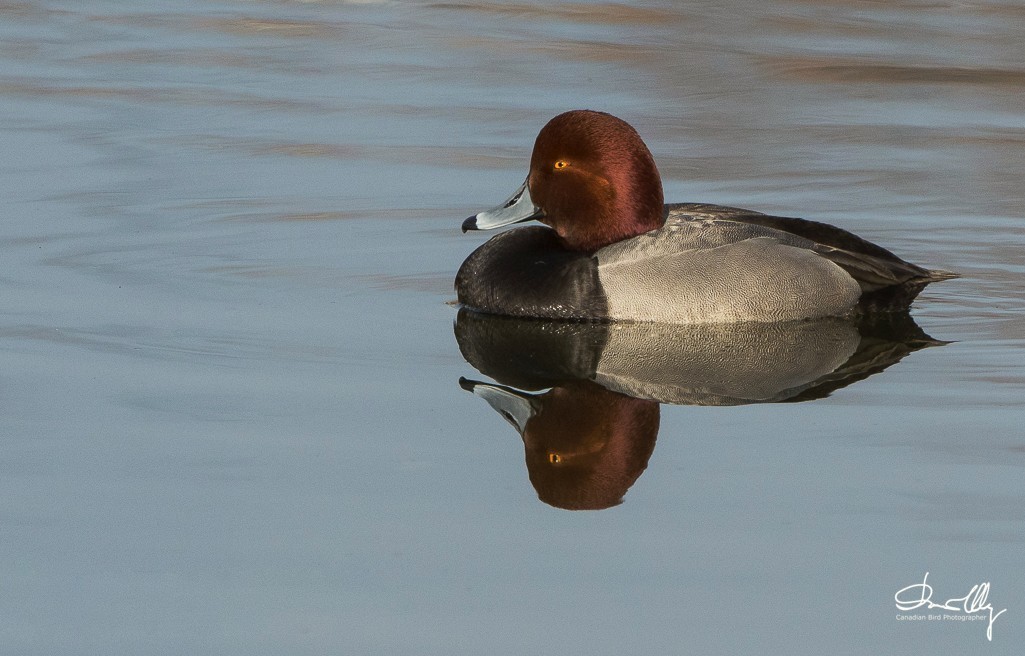
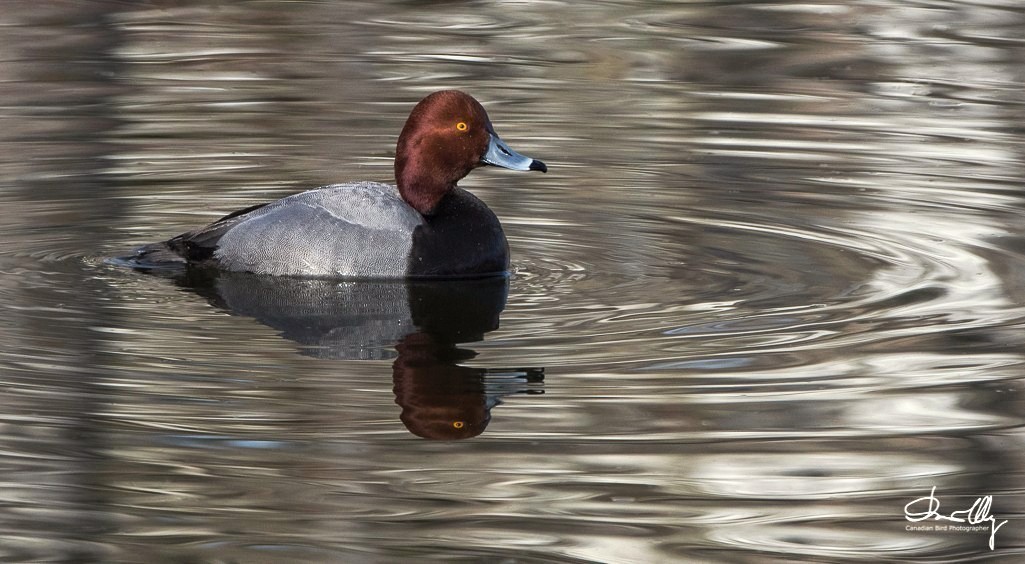
When photographing Ducks and Shorebirds, look for reflections. Reflections can add a lot of interest to a bird photograph as shown below.
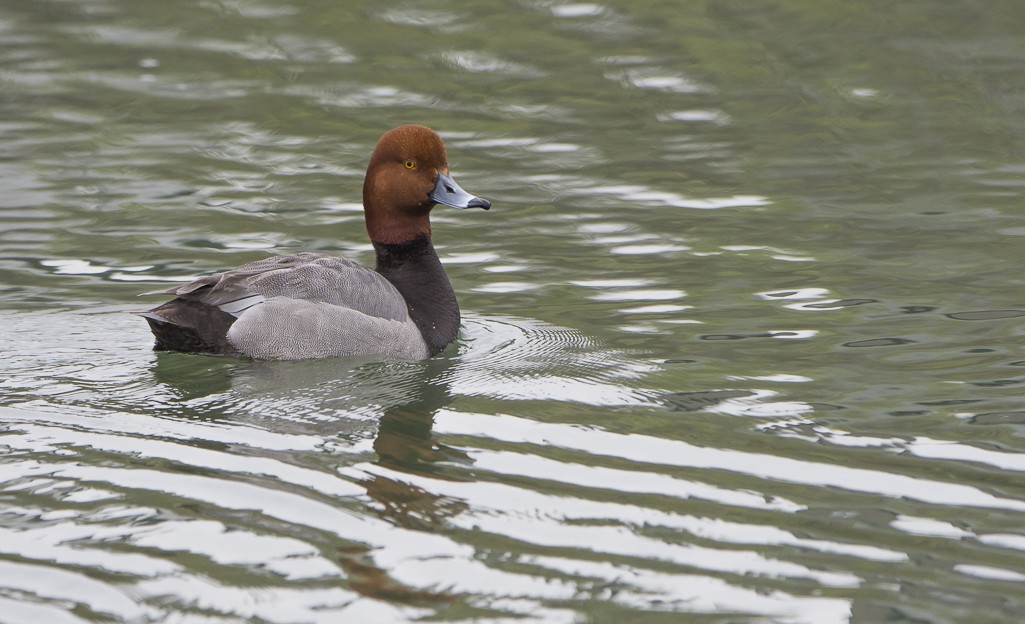
Here is a tip for photographing ducks in the water. Look for dark areas on the water or wait for the duck to swim into the darker areas. (Photo 1 below). Photo 2 Below shows the same duck in sky reflected area in the water. The bright area is distracting and takes away the emphases of the subject - Red-headed Duck.
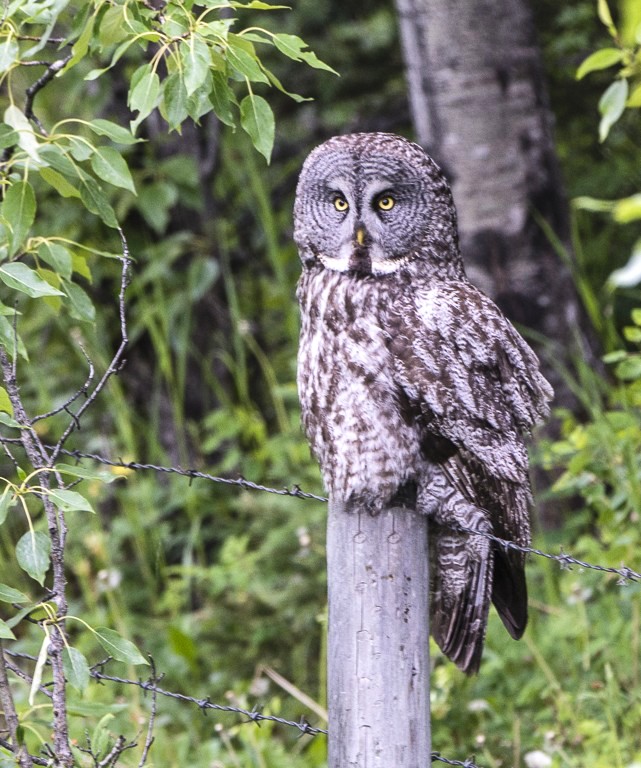
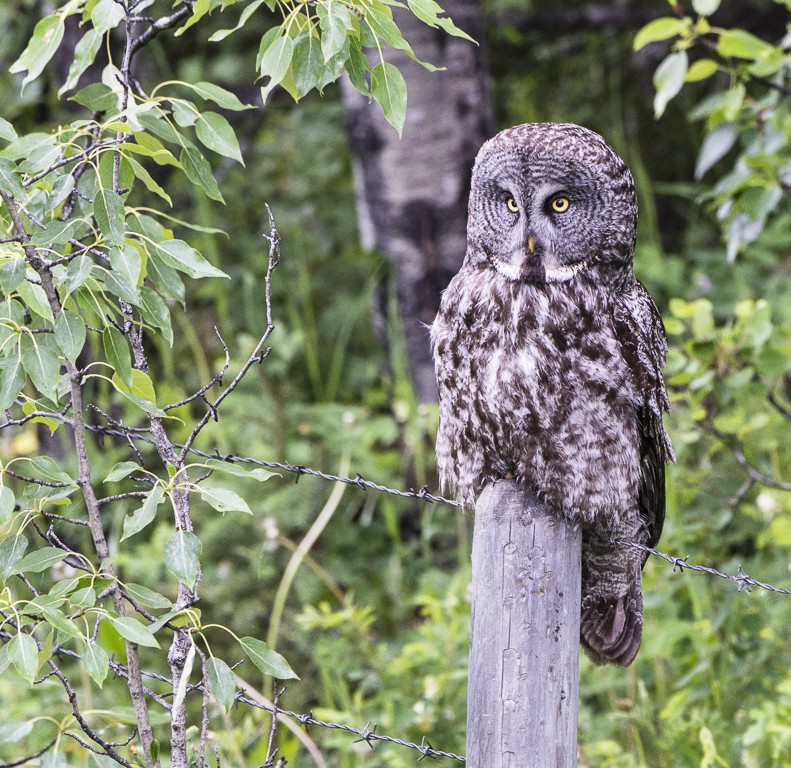
I have written about the background in bird photos on several occasions. Below are two photos of same Great Grey owl sitting on a fence post. In photo 1 I have an Aspen tree in the background. In photo 2 I moved to my left approximately three to four meters and got a much better unobstructed background. Don't be afraid to move around for better backgrounds.
Photo 1
Photo 2
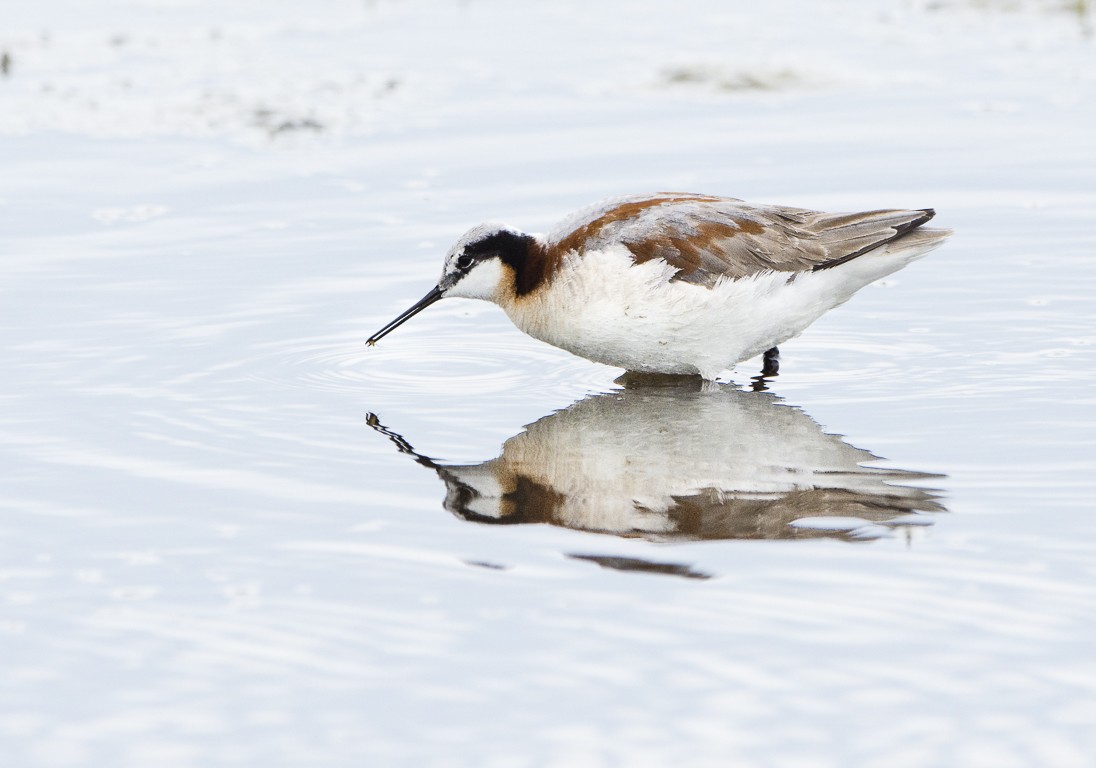
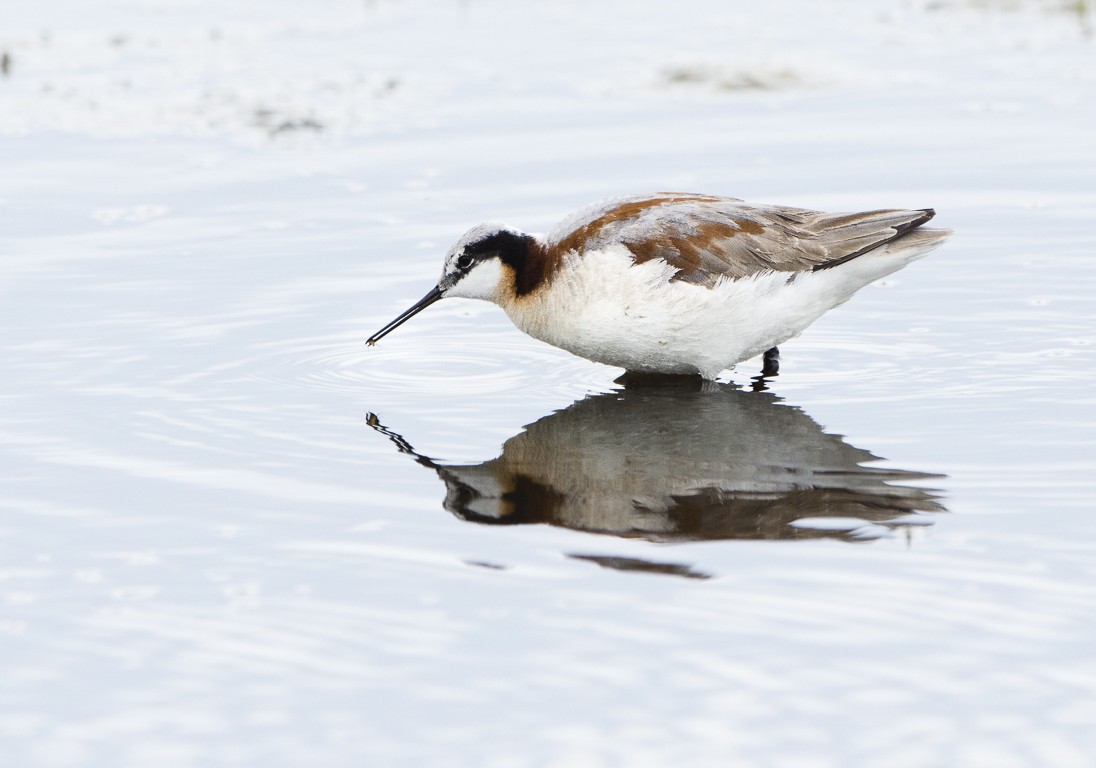
When editing your bird photographs, especially birds with reflections, make sure you also edit the reflection. The top photo of the Wilson's Phalarope I edited the bird but not the reflection, In the bottom photo I edited the reflection to match the edit done on the bird. In the top photo the reflection is way to dark and on the bottom photo the reflection is where it should be. To lighten up the reflection I used the adjustment brush in Lightroom and brushed over the shadow area to lighten the reflection until I thought the reflection looked good.
Click on any photo to see a larger image and the name of the bird.
I have mentioned it in other articles, but I will say it again, A good bird photographer will have at least 20 good photographs of the same bird.
This is important if you are trying to sell your bird photographs. Editors will ask for the most unusual photograph - one you don't have. This is why I photograph all of the common birds whenever I have a chance. In my portfolio, I always try for a better photograph and then replace the older photograph with the newer and better photograph - always improving.
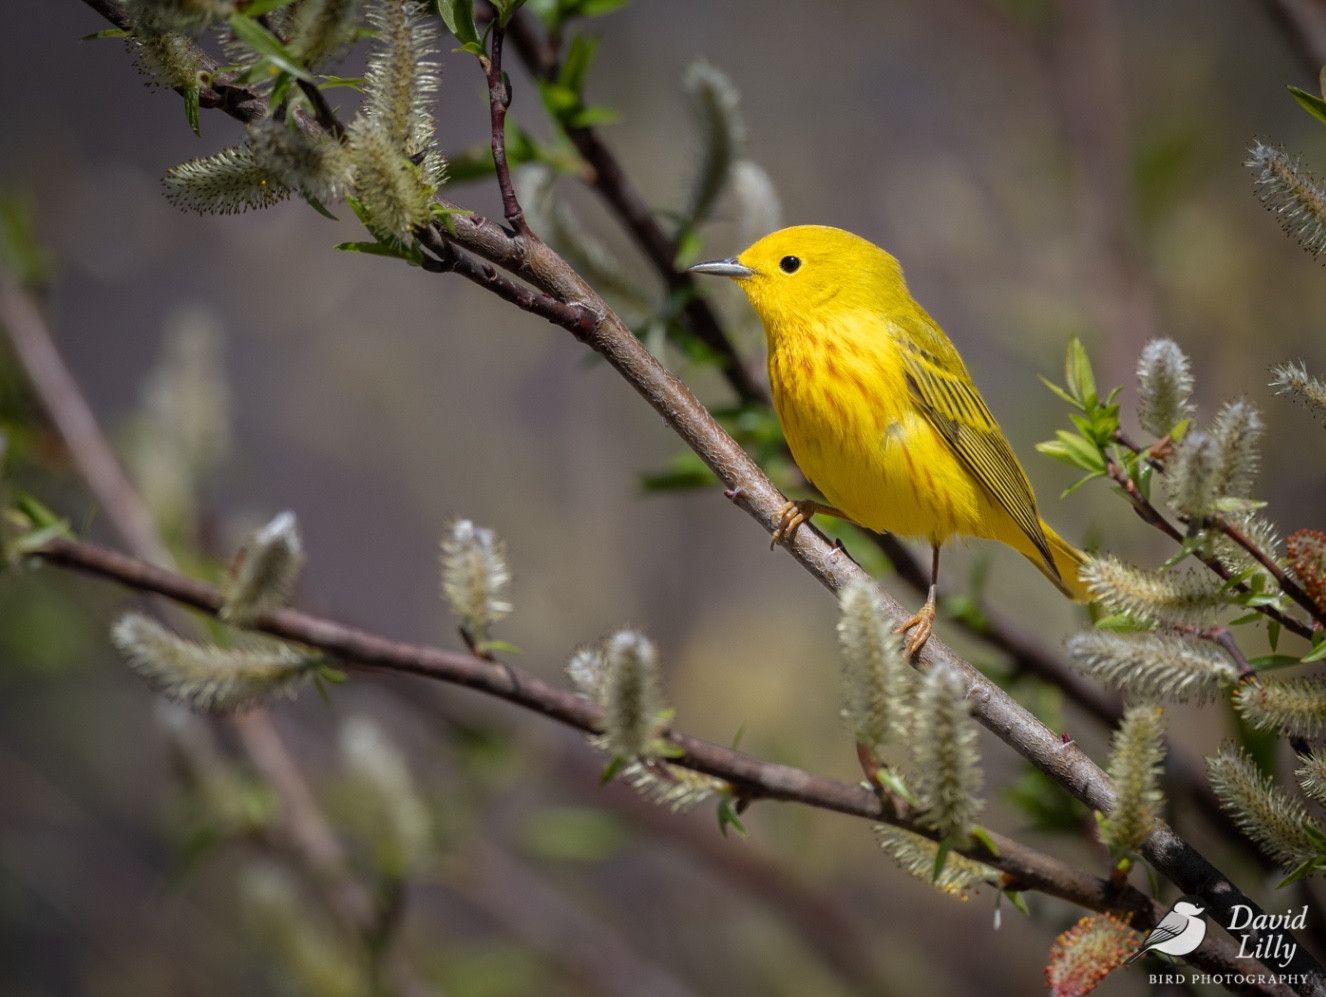
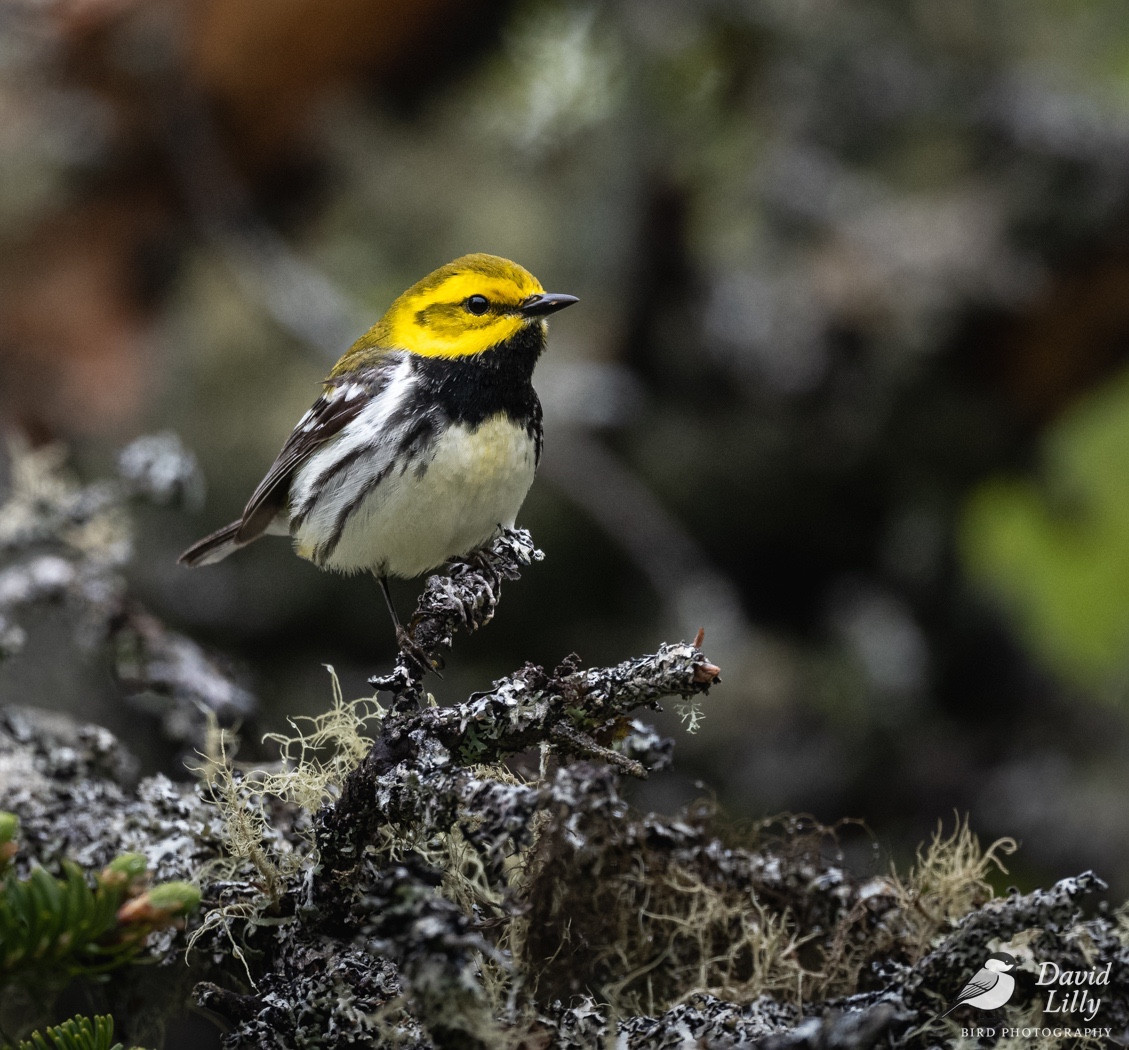
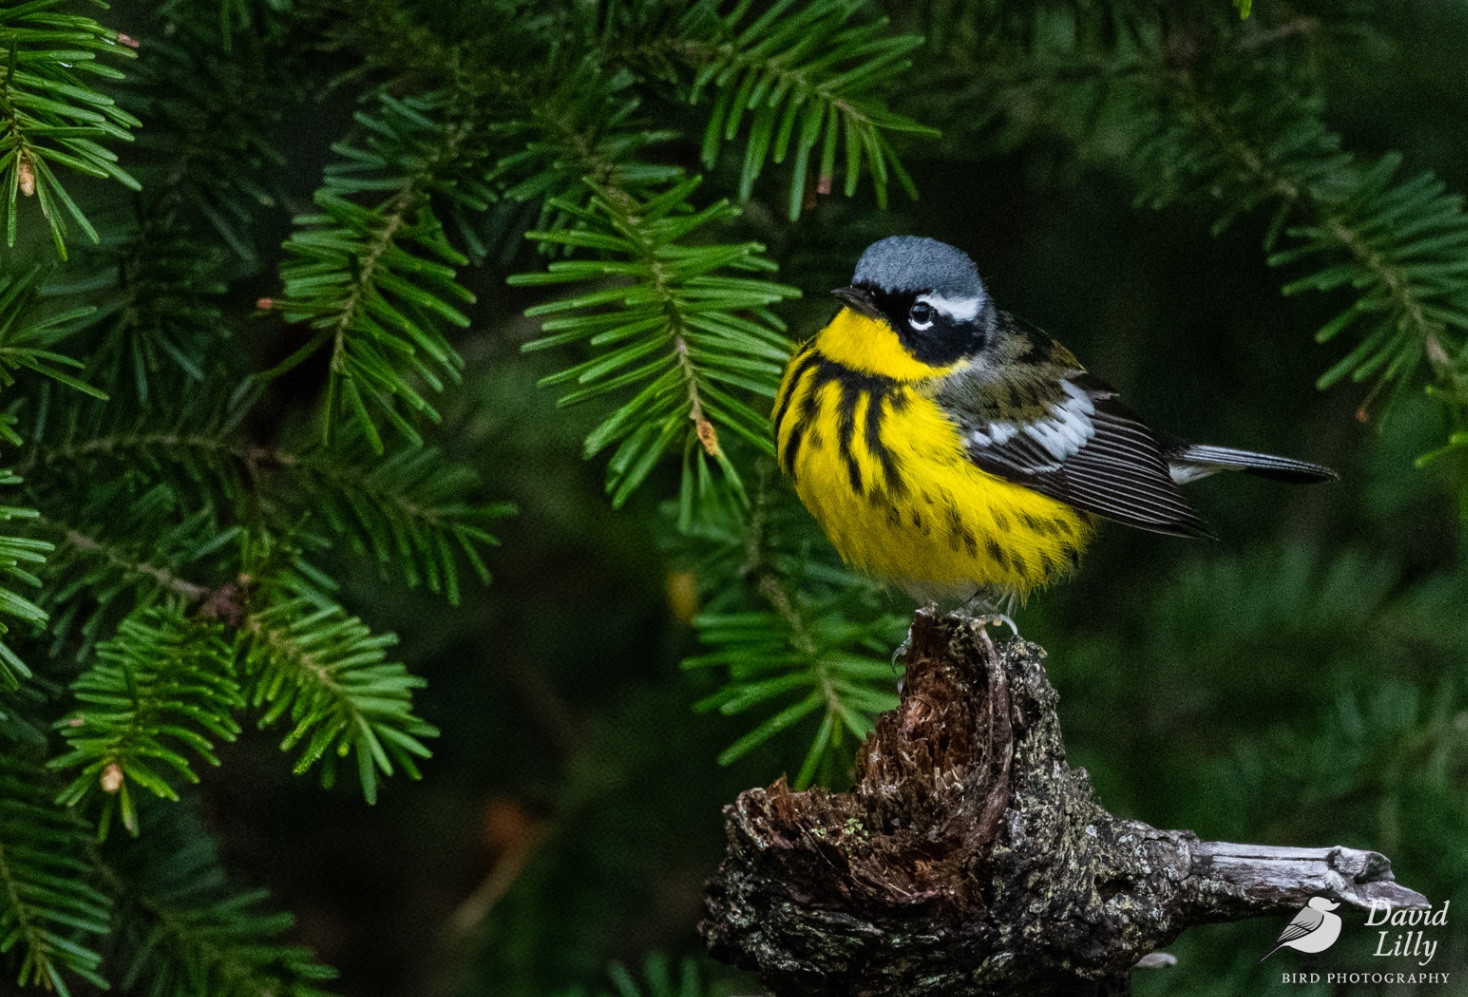
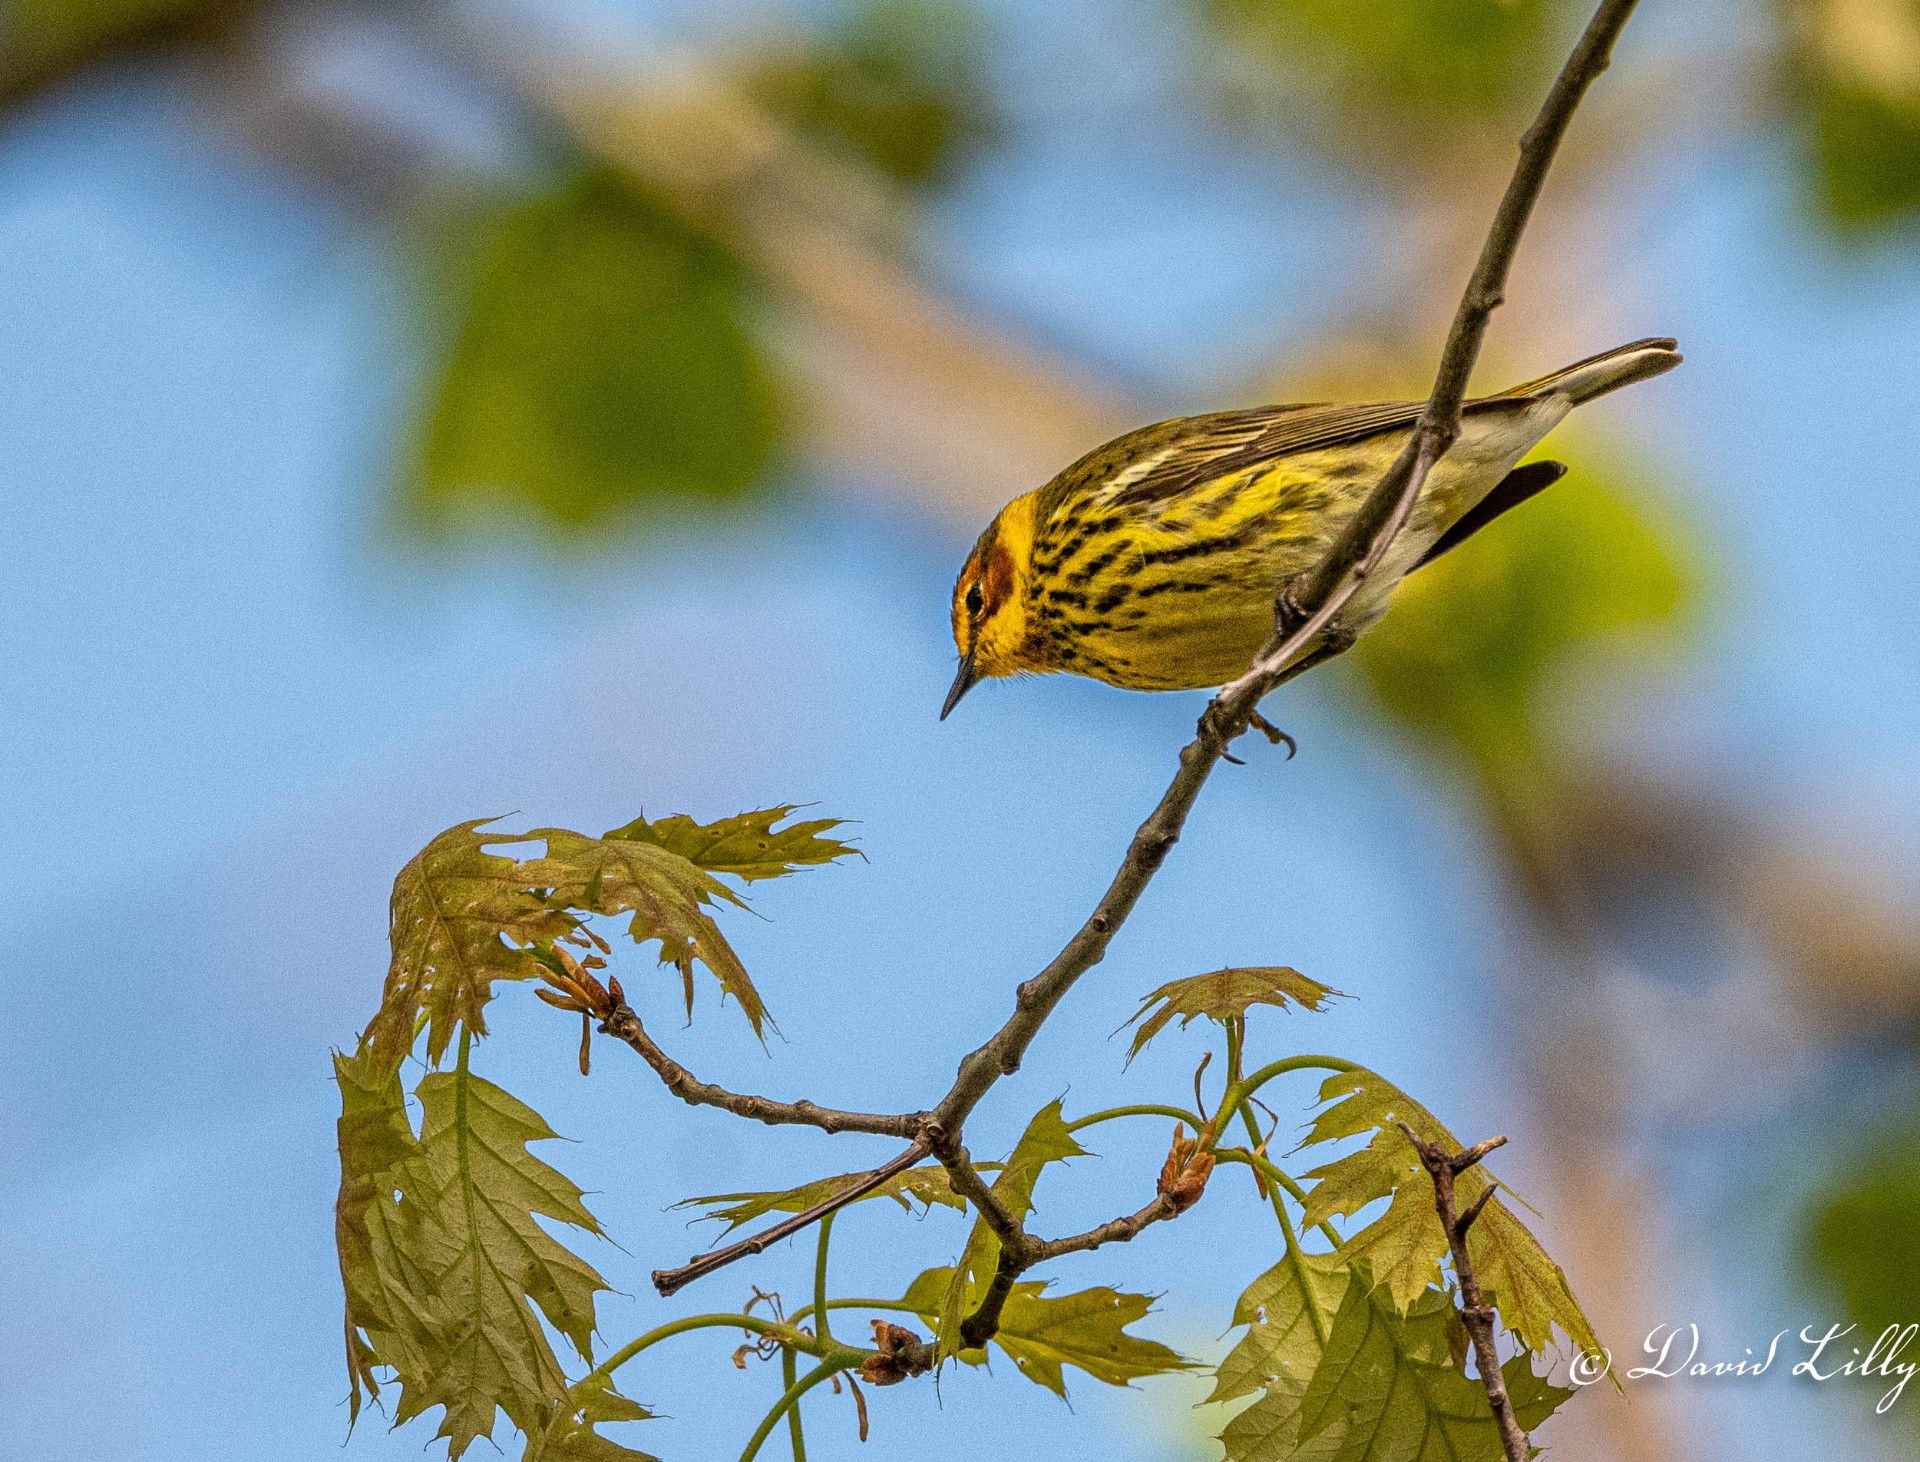
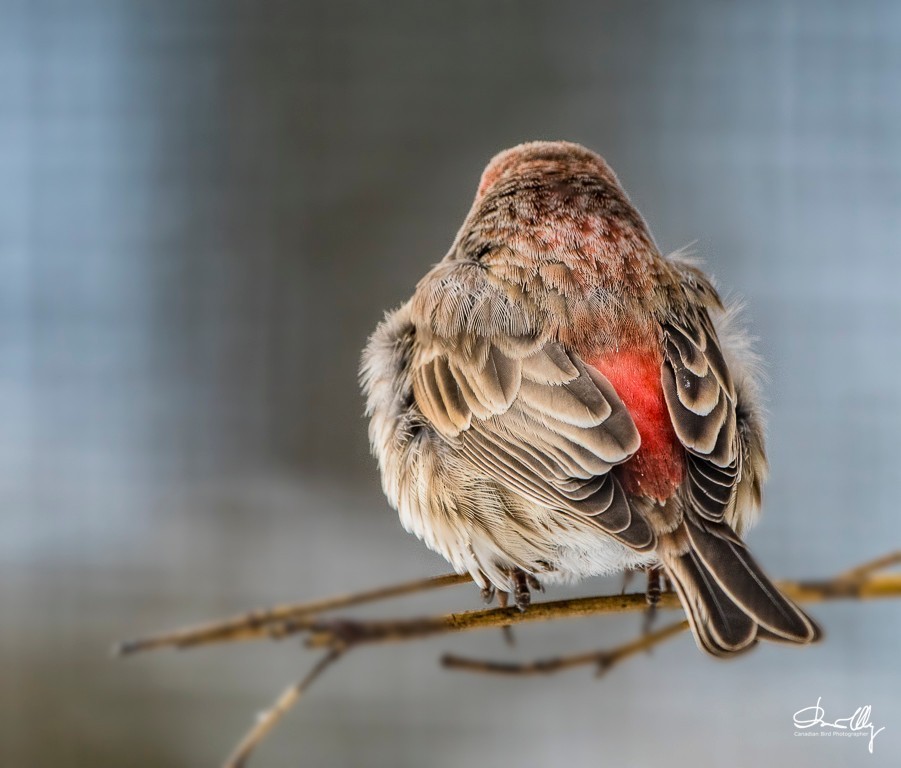
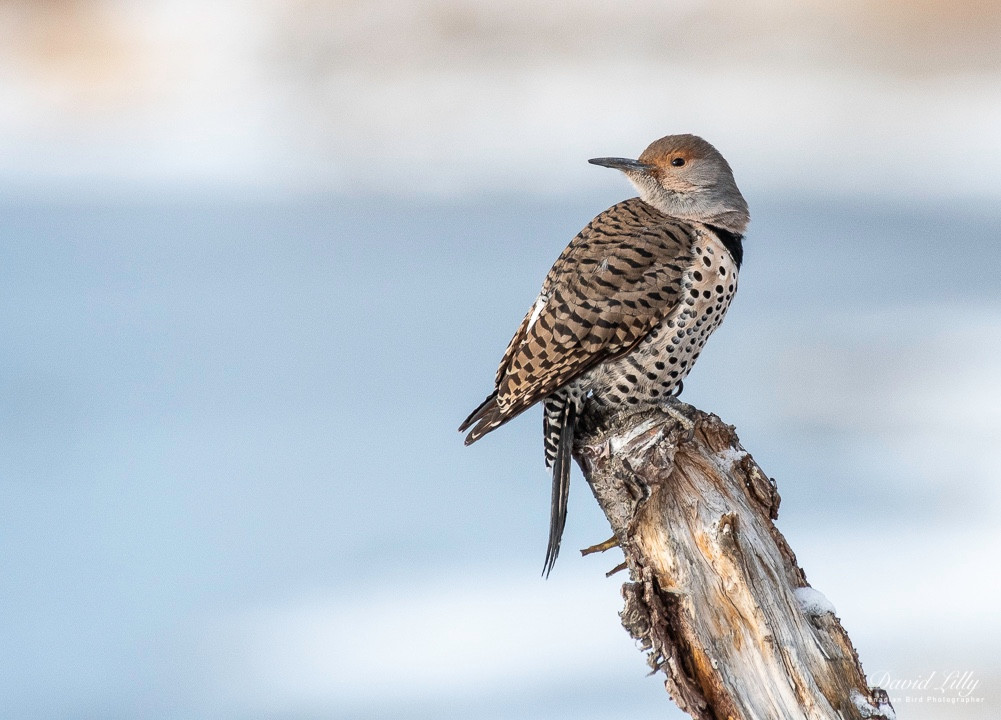
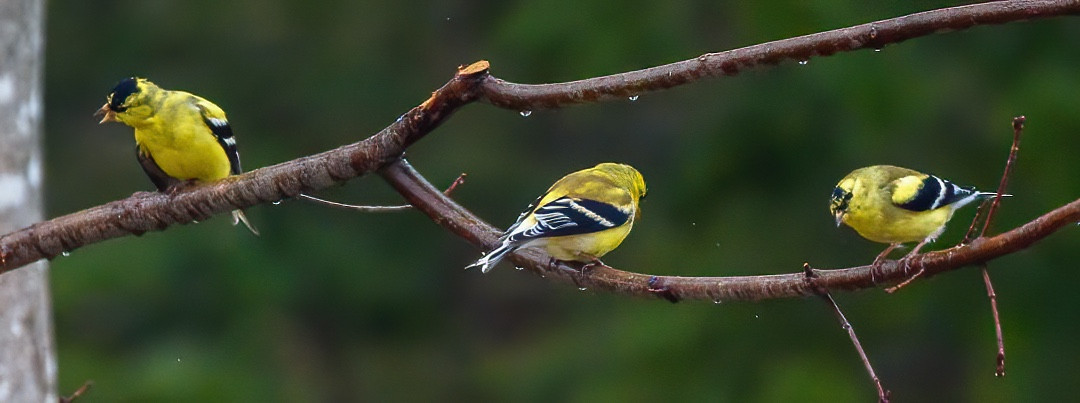
Below is a list of some of the photographs you should strive to add to your portfolio for every bird. The list by no means complete. This is my list and I am always adding to the list. By keeping a list you keep yourself motivated and always looking for bird photography opportunities. To the right, I have a gallery with some examples you might want to add to your bird photography portfolio that illustrates the list below. my American Robin Gallery is a good example.
1. Side views pointing to the right and left with light in the eye.
2. View from the back.
3. Bird in flight (underbelly and side view).
4. Bird Maiting.
5. Bird on a nest (keep your distance).
6. Juvenile bird.
7. Both male and female in breeding plumage and without breeding plumage.
8. Bird in winter.
9. Bird catching its food.
10. Bird eating or feeding.
11. Bird attacking another Bird.
12. Leucistic birds are always interesting.
13. Backyard birds.
14. Birds in their natural habitat (American Robin in a tree and not on a post).
15. Bird feeding its young.
16. Bird with food in the mouth.
17. Bird in the summer.
18. Birds bring material for the nest.
19. Dead bird. ( If you see a dead bird).
20. Rear bird.
21. Groups of the same bird.
22. Birds with other birds.
23. Bird landing.
24. Bird lifting off.
25. Bird with different backgrounds.
26. Bathing bird.
27. Bird sleeping.
28. Bird silhouetted (Sunrise and Sunset).
29. Bird in winter
30. Bird singing or calling.
These are just some of the possibilities, there are many more.
The first step to Identifying a bird is getting a general impression.
It looked like a hawk, a duck, a crow, a Robin, a Sparrow.
It reminded me of a goose.
It was a colourful bird or it was drab
Shape and Size - American Robin is the standard size.
Smaller than a Robin - Size of a Chickadee.
Bigger than a Robin, the size of a crow.
Traits, Behaviors, Colours.
It was blue, red, etc.
It moved its tail up and down.
It was a diving bird.
It mostly was on the ground.
It soared in the sky with flapping its wings.
Before the digital age, it was very difficult to photograph a bird through the glass.
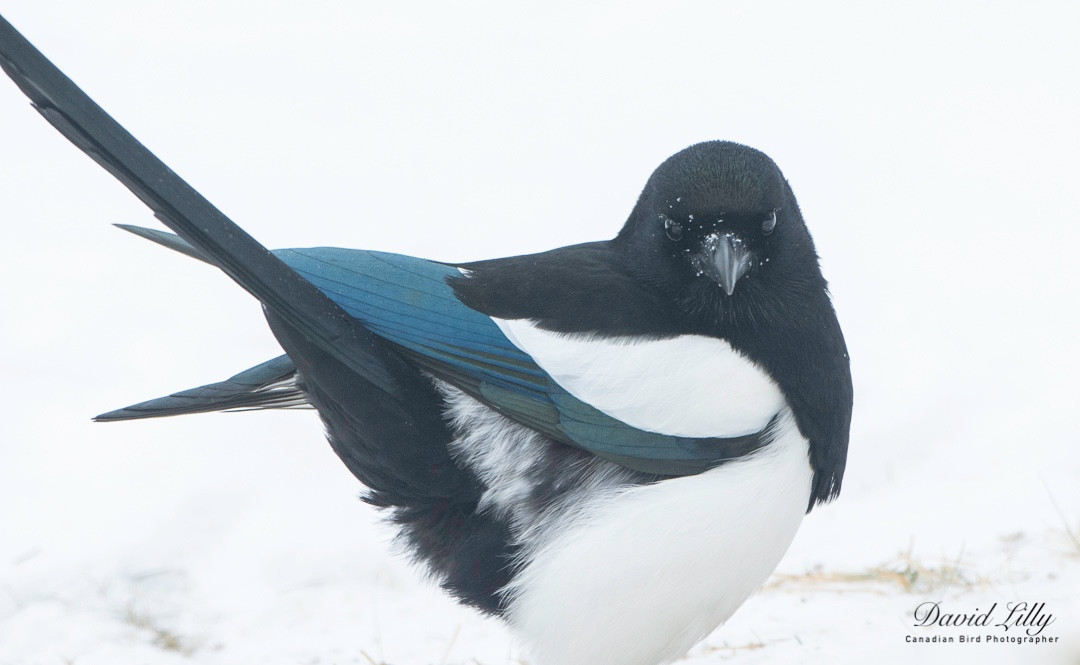
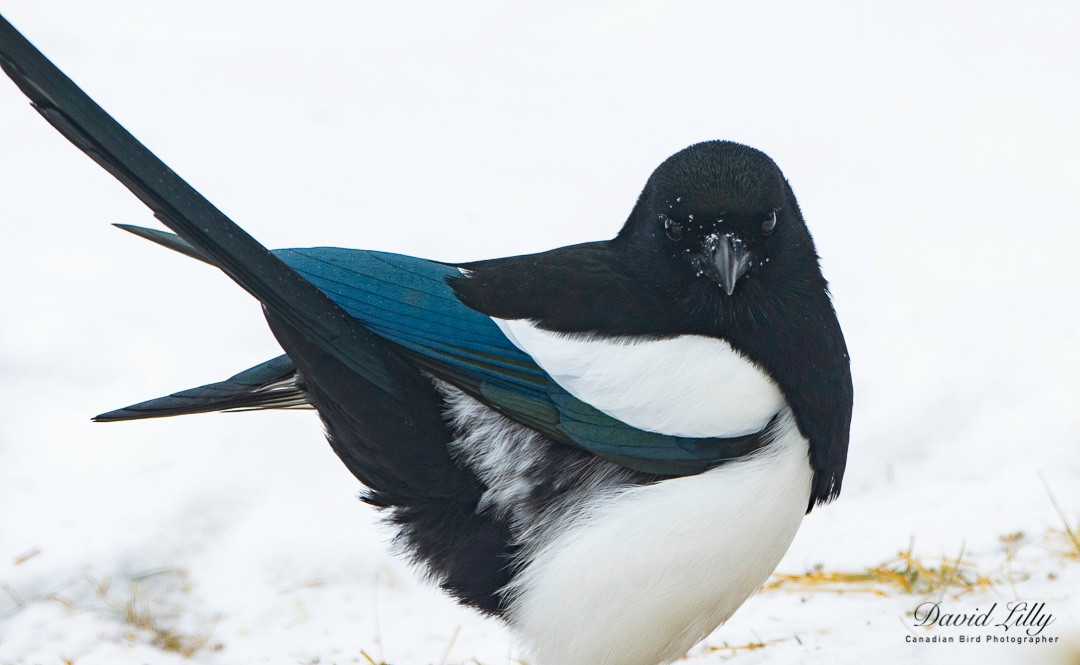
However, with the Dehaze Adjustment in Lightroom, the soft white haze can easily be removed. The amount of Dehazeing effect is entirely in the photographer's control - simply by sliding the slider and watching the effect on the monitor.
The two photos at the bottom are an example. The left photograph of a Black-billed Magpie was photographed through a window with no Dehaze Adjustments. The right photograph has the Dehaze adjustment applied. In this case, I adjusted the slider to 47. The difference is very noticeable. To the right were my adjustments for this photograph.
The Dehaze adjustment can also be used when photographing birds on the water. You can use the Dehaze Adjustment instead of the contrast adjustment. My advice is to start using the adjustment if you already haven't used it. It can make a difference in your bird photography.
Nikon D 7200 with a 500mm F4 Nikon Lens.
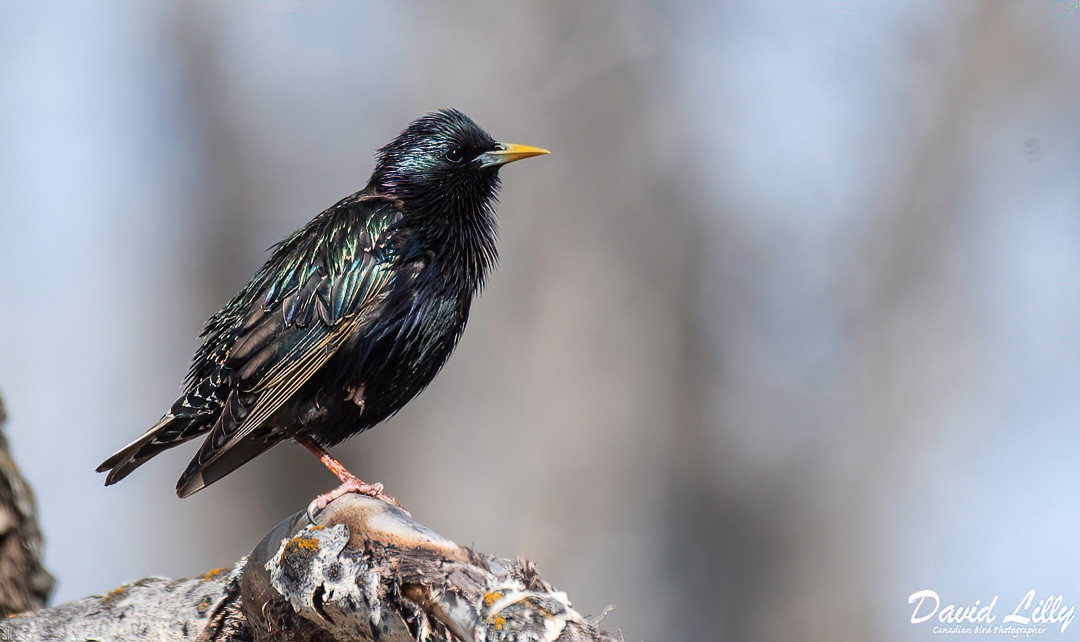
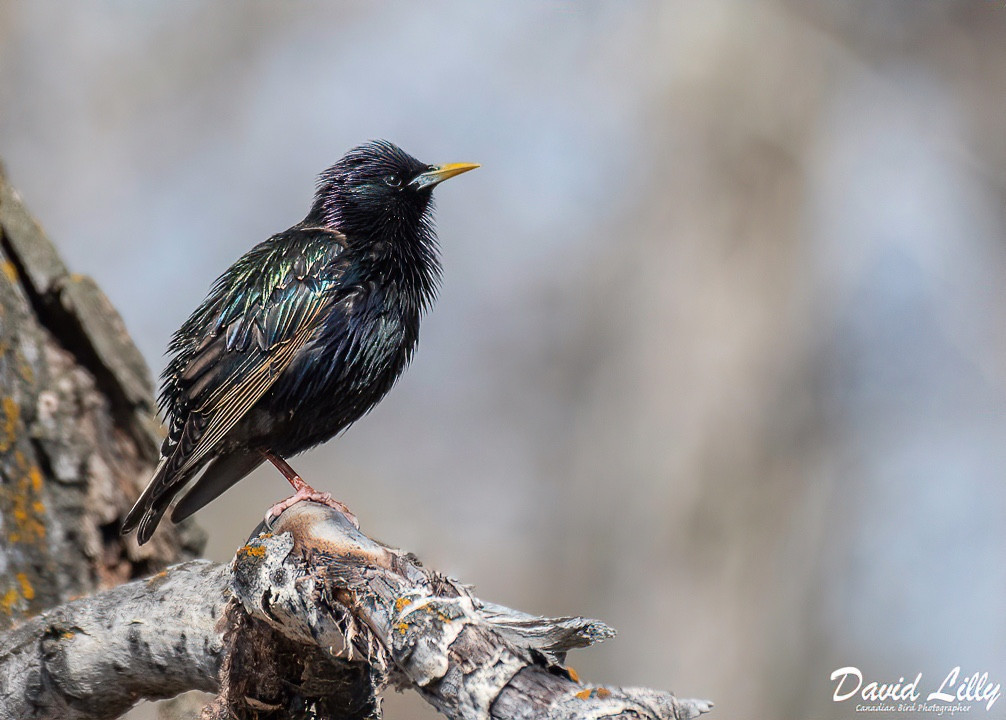
I explain to bird photographers to move around to get better backgrounds.
The two photos of European Starlings to the right are examples of what a small move can do for your compositions.
In the top photo, I did not like the tree on the left. To adjust and to get the bottom photo I move about a meter to my left. By doing so I almost eliminated the tree and got a much better composition.
Remember the bird is not going to move, so in order to get a better composition the photographer must move — it can mean the difference between a good photo and a bad photo.
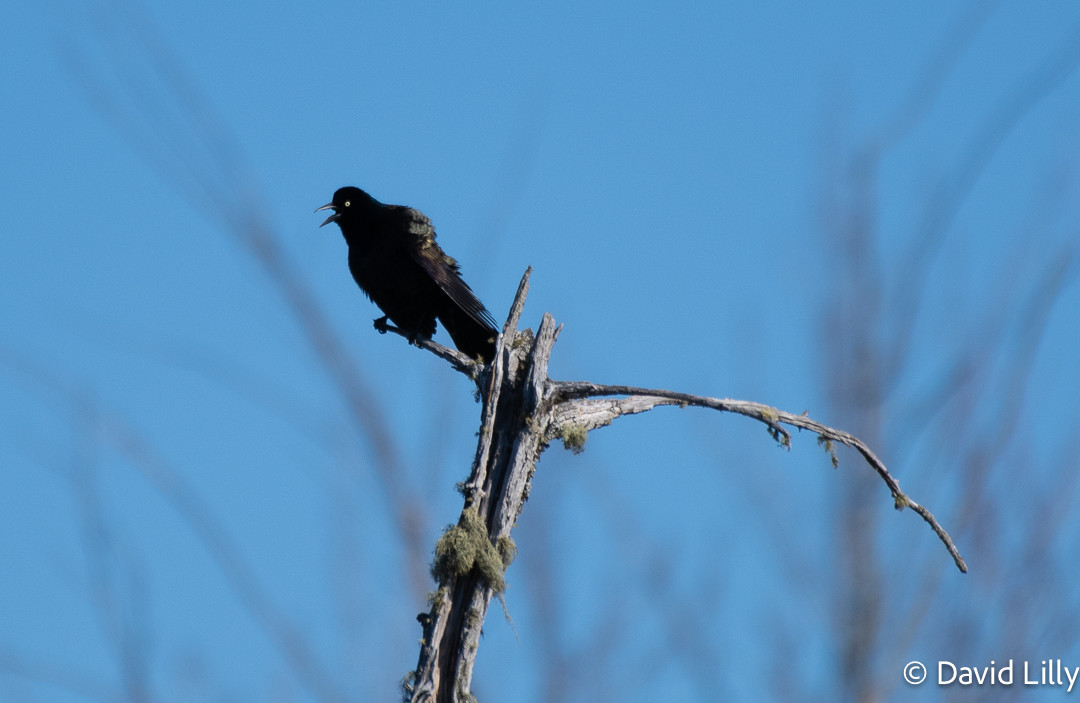
These blackbirds are difficult to photograph, however in this case I stuck to my main principle and keep the sun to my back.
Nikon D 500 with a Nikon 200 - 500mm lens.
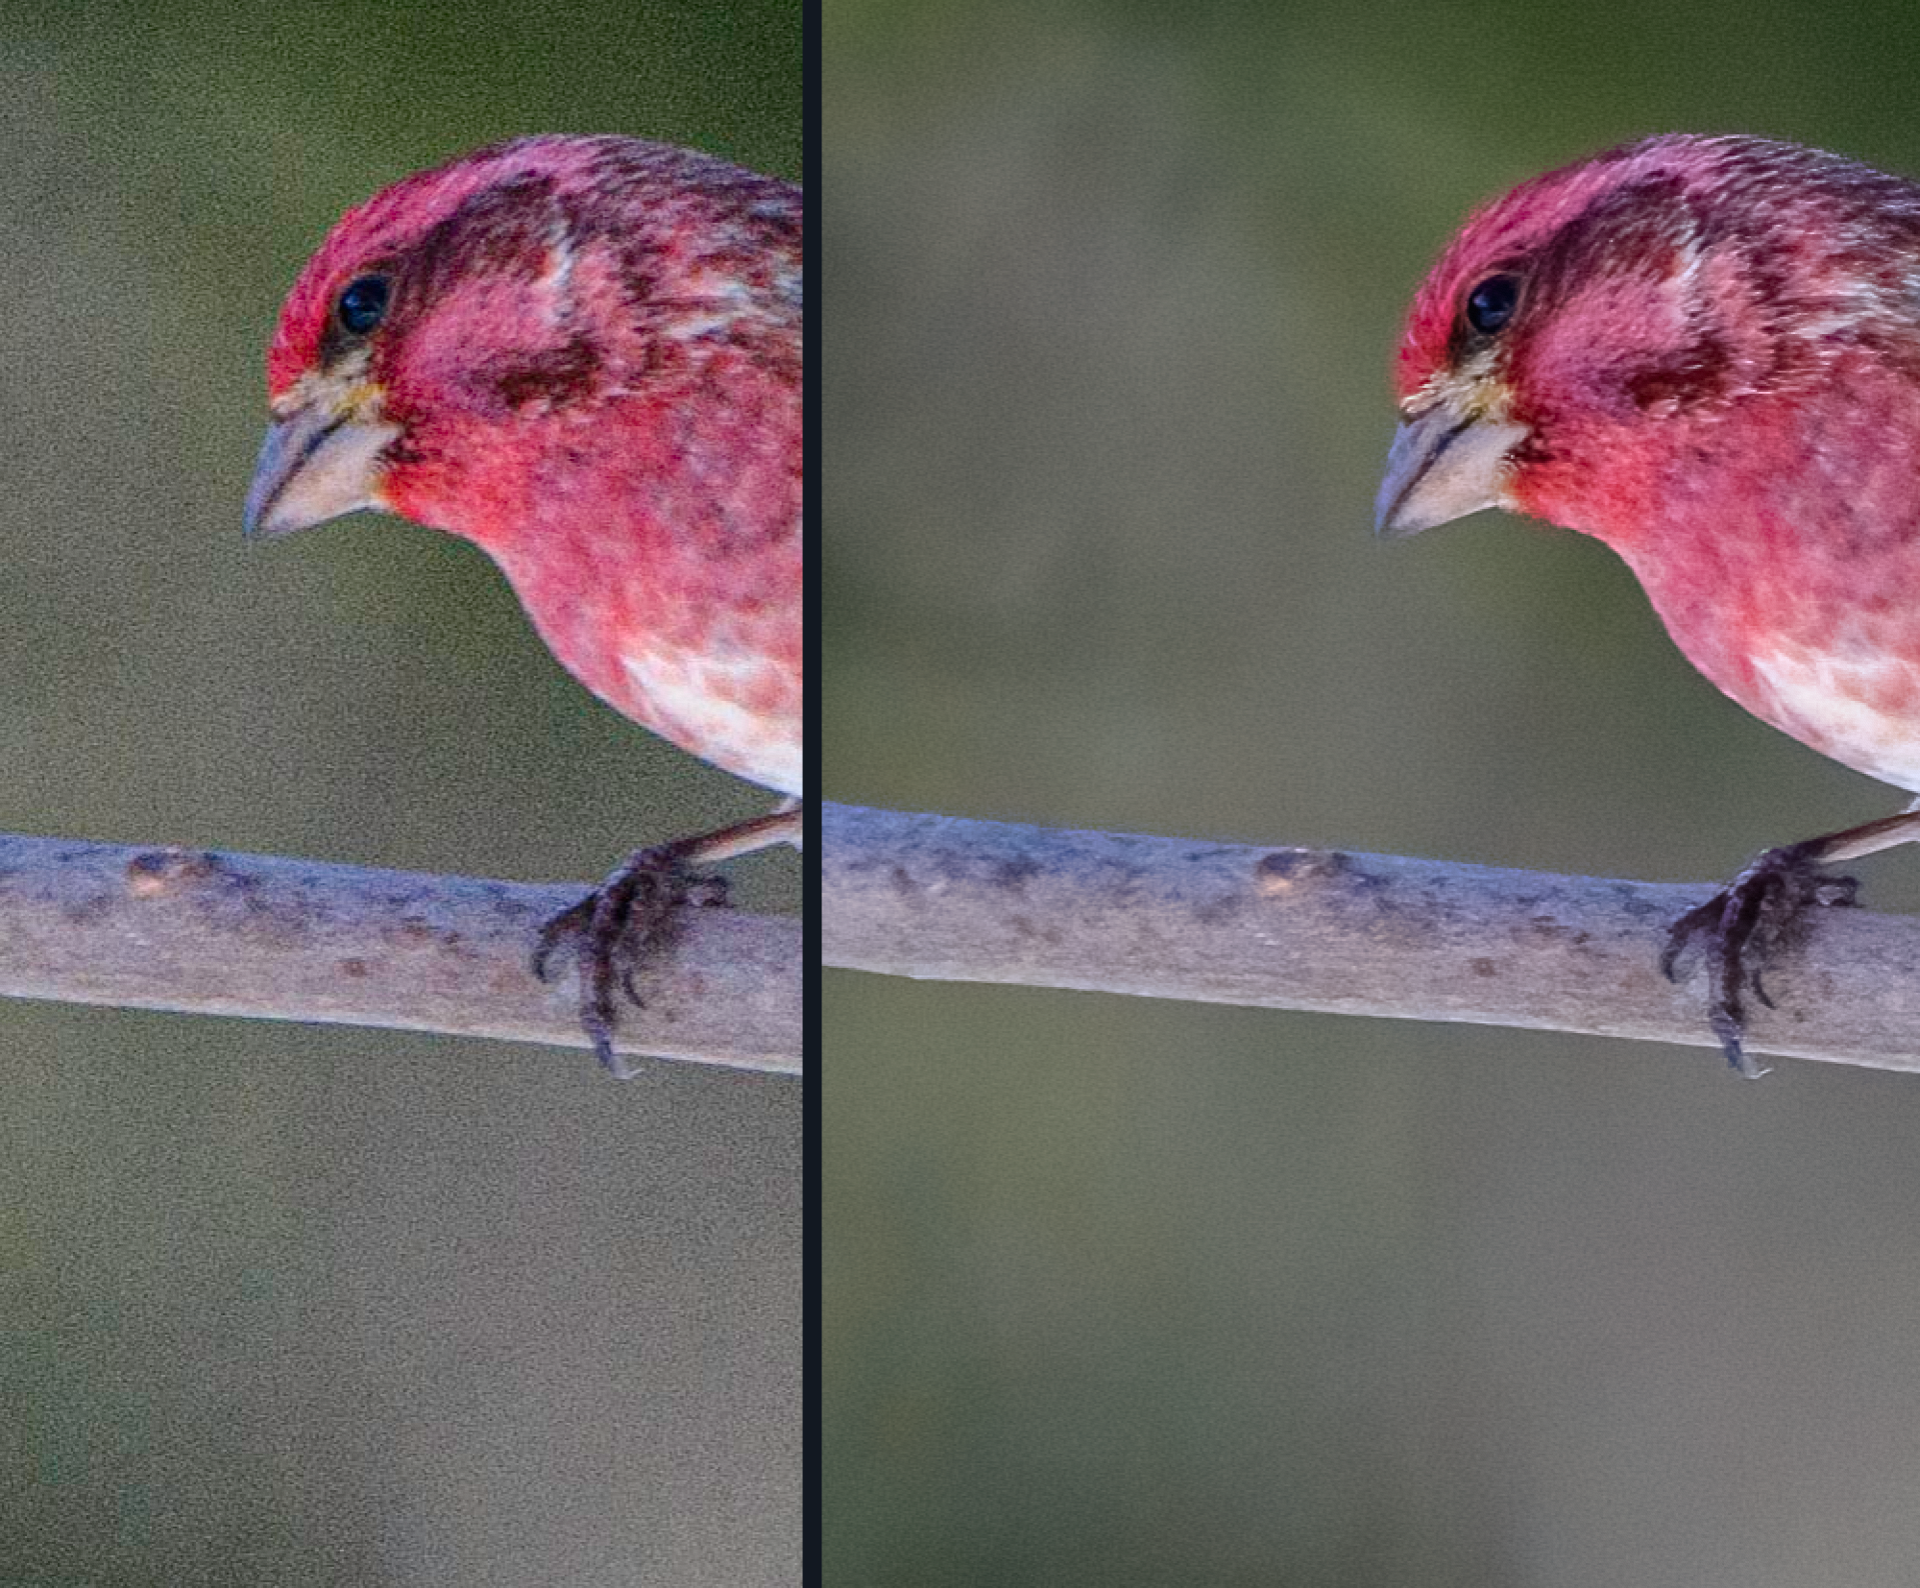
When the first digital cameras were introduced digital noise was a big problem with higher ISOs.
Today, we photograph at 12000 ISO with little digital noise.
However, if you don't have the top of line camera and still struggling with digital noise - there is a solution.
The comparisons of digital noise before and after to the right were photographed with a Nikon D 300s. On the left image are digital noise and on the right image, I removed the digital noise. Click on the image to enlarge the image to see the difference.
Coming out of the camera the image on the left was not useable but with the AI Noise removal software by Topaz the noise was eliminated or reduced and the image was improved to a point of being able to be used.
If you have a digital noise image you can download a trial version of the Topaz software for a 30-day trial.
When I first started photographing birds with the older Digital Nikon cameras I would rarely use High ISOs.
It was a case of high ISOs would produce a lot of grain and affected the sharpness of the image. In bird photography sharpness is very important.
Recently, I have invested in Topaz Denoise software.
As a result of this purchase, I now photograph birds at a maximum of 3200 ISO and don't worry about the noise. In post-processing, I run the finished image through Topaz Denoise and go to bed knowing the image is sharp
and noise-free.
The two images to the right are examples. The top image is the before and the bottom image is the after I processed it in Topaz Denoise. The image was photographed at 3200 ISO with a Nikon D 500 and 200 - 500mm lens.
The difference is very noticeable Topaz Denoise made a huge difference. Don't forget if you have older images with lots of digital noise you can now reclaim those images in Topaz Denoise.
In the photograph to the right of the Common Grackle I left the branch on the right to give a sense of balance to the photograph.
The photo below shows the Grackle but with the branch cut off.
The tip here is be carful where you crop and image.
A big mistake many bird photographers make in post processing is they crop too much
My advice is leave some space to show the enviroment of the bird.
Below is an example of a photo of a Yellow-bellied sapsucker on the left cropped too much. On the right is what I liked and cropped.